💡 ESP32 Blinking LED Code Generator
Generate ESP32 Arduino blink code with custom GPIO pin and on/off timing. Download ready-to-flash code instantly — no registration needed.
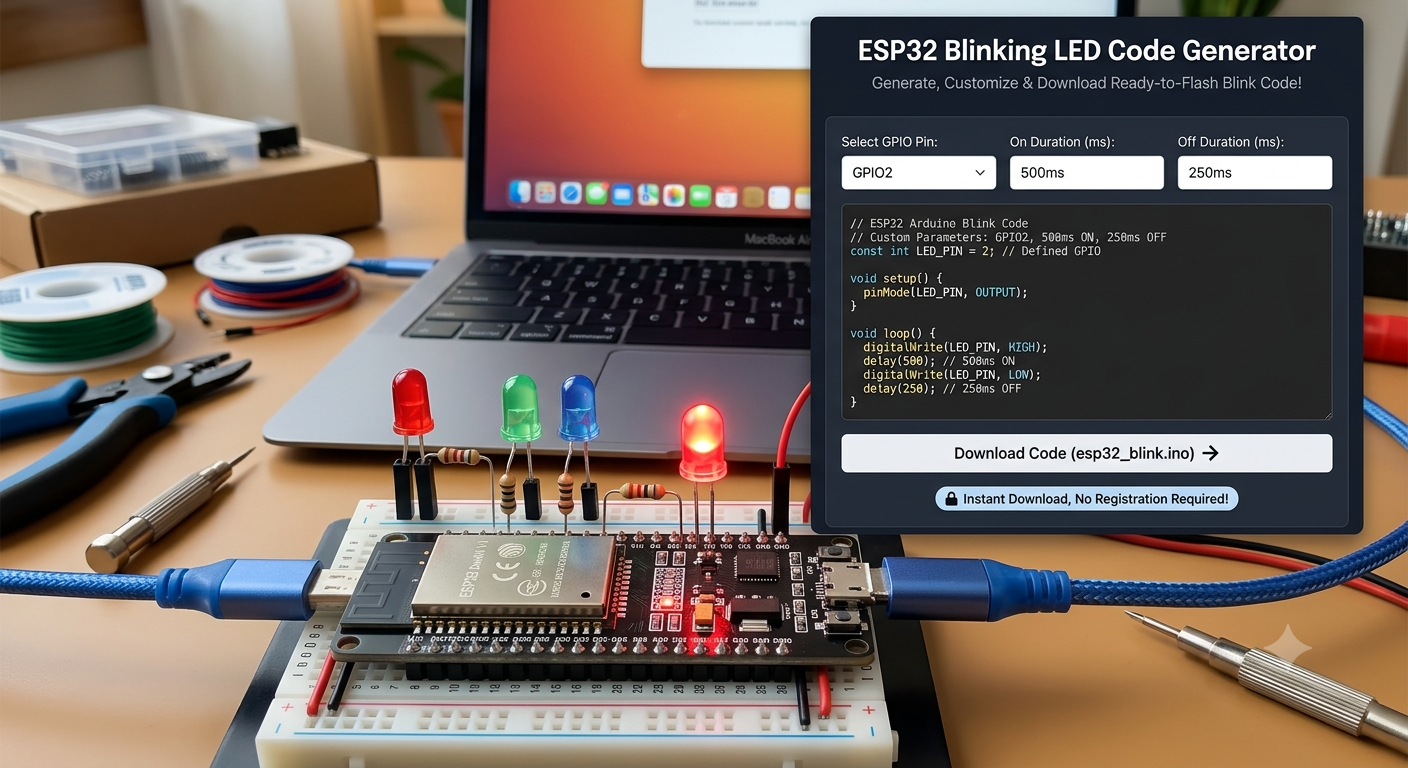
ESP32 Blinking LED — The Hello World of Microcontrollers
Blinking an LED is the first program every electronics hobbyist writes — and for good reason. It confirms your board is alive, your toolchain works, and you understand the basics of digital output pins. This generator makes it even easier by letting you configure the GPIO pin and blink timing before you download a single line of code.
Hardware You Need
- ESP32 DevKit board (any variant — DevKit v1, WROOM-32, WROVER, etc.)
- USB cable for programming
- Optional: External LED + 220Ω resistor if you want to blink a pin other than GPIO 2
Understanding the Timing
The ON Time and OFF Time sliders control how long the LED stays in each state during one blink cycle. Setting them equal gives a symmetric 50% duty cycle. Making ON time shorter than OFF time produces a quick flash effect; making ON longer produces a long glow, short gap pattern — useful for status indicators.
GPIO Pin Notes
GPIO 2 is connected to the onboard blue LED on most ESP32 DevKit boards — no external components needed. For any other GPIO, connect your LED's anode (longer leg) through a 220Ω resistor to the chosen pin and the cathode (shorter leg) to GND. Avoid GPIO 6–11 (connected to internal flash memory) and GPIO 34–39 (input-only pins).
/*
  ==========================================================
   ESP32 Blinking LED
   Generated by techlogics.net
   https://techlogics.net/electronics/esp32-blinking-led.php
  ==========================================================

   CAUTION: Review this code fully before uploading to any
   hardware. Verify all pin connections and power requirements
   match YOUR specific components. We are not responsible for
   damage to hardware, fire, or injury resulting from incorrect
   wiring, faulty components, or misuse of this code.

   Generated on: 18 Oct 2026
  ==========================================================
*/

// ESP32 Blinking LED
// Generated by TechLogics Code Generator
// Board: ESP32 | GPIO: 2 | On: 500ms | Off: 500ms

#define LED_PIN   2   // GPIO pin connected to LED
#define ON_TIME   500    // LED on duration  (milliseconds)
#define OFF_TIME  500   // LED off duration (milliseconds)

void setup() {
  Serial.begin(115200);
  pinMode(LED_PIN, OUTPUT);
  Serial.println("ESP32 Blinking LED — TechLogics.net");
  Serial.print("Pin: ");
  Serial.print(LED_PIN);
  Serial.print("  ON: ");
  Serial.print(ON_TIME);
  Serial.print("ms  OFF: ");
  Serial.print(OFF_TIME);
  Serial.println("ms");
}

void loop() {
    // GPIO 2 — onboard LED (active HIGH on most ESP32 DevKit boards)
  digitalWrite(LED_PIN, HIGH);  // Turn LED ON
  Serial.println("LED ON  (onboard)");
  delay(ON_TIME);

  digitalWrite(LED_PIN, LOW);   // Turn LED OFF
  Serial.println("LED OFF (onboard)");
  delay(OFF_TIME);
}

/*
  ==========================================================
   End of generated code — techlogics.net
   Found this useful? Visit https://techlogics.net/electronics/esp32-blinking-led.php
   for more free CCTV, networking, electronics & finance tools.

   Questions or issues? https://techlogics.net/contact.php
  ==========================================================
*/
1. Select your GPIO pin from the dropdown. Use GPIO 2 if you want to use the built-in LED on most ESP32 DevKit boards — no wiring needed.
2. Set the ON duration (how long the LED stays lit) using the slider. Default is 500 ms (half a second).
3. Set the OFF duration (how long the LED stays dark). You can make these different for an asymmetric blink pattern.
4. Watch the live preview update in real time as you adjust settings.
5. Click Download Code to get the .ino file, then open it in Arduino IDE.
6. In Arduino IDE go to Tools → Board → ESP32 Arduino → ESP32 Dev Module. Select the correct COM port and click Upload.
7. Open the Serial Monitor at 115200 baud to see LED ON / LED OFF messages confirming the code is running.