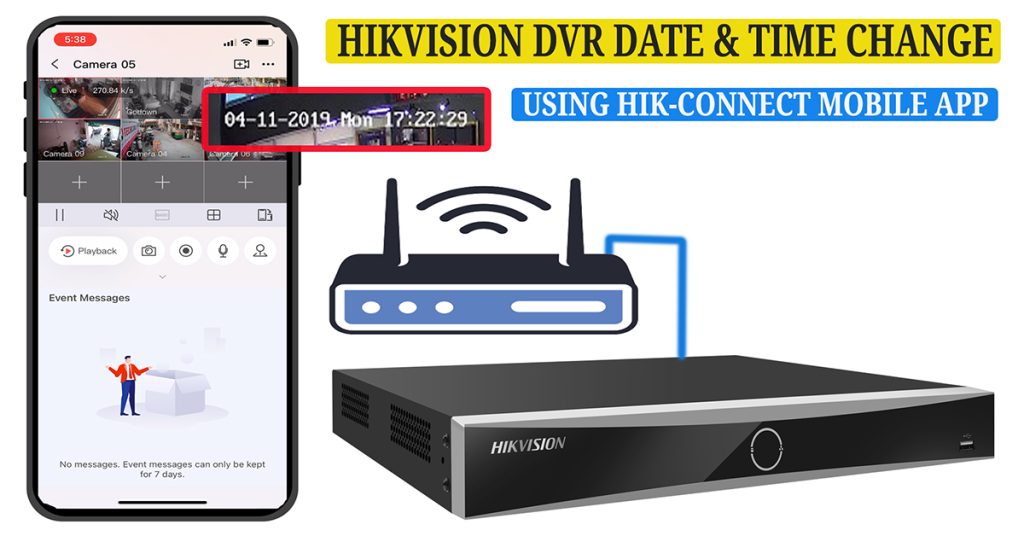
In this tutorial, we have shown how to configure or change the date and time for a DVR using the Hik Connect mobile app, whereas you don’t have a TV or monitor screen.
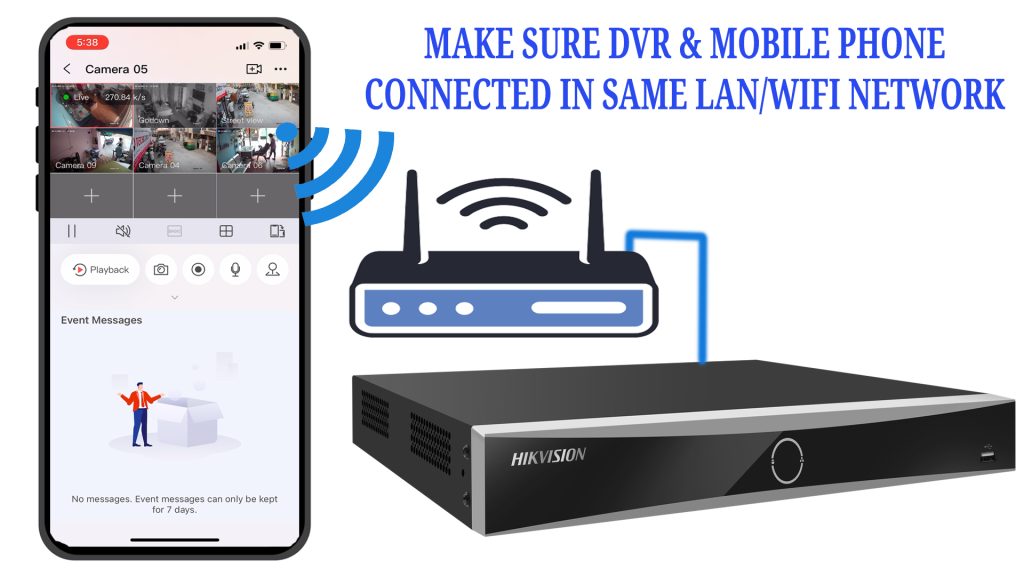
During this configuration, your mobile phone and DVR are connected to the same modem or router’s local LAN or WiFi network.
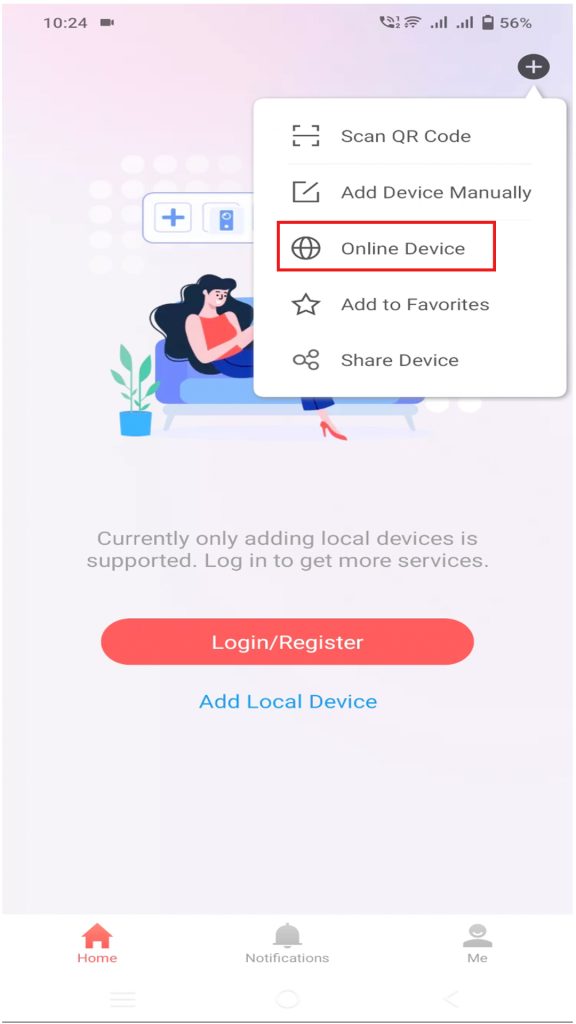
Open your Hik-Connect app, navigate to “Device”, then click on the “+” icon, and select “Online Device”.
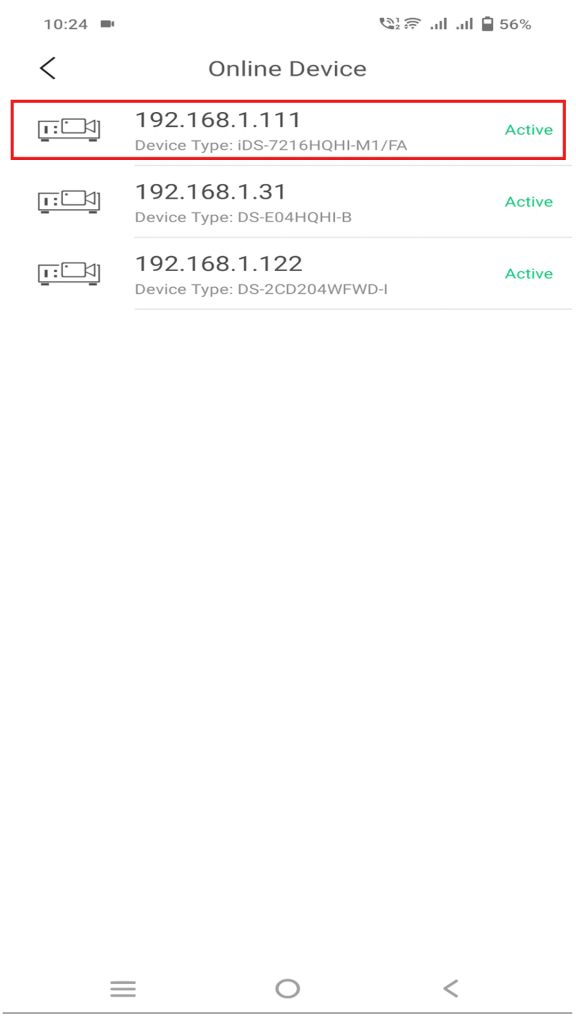
The IP address of the DVR connected to the LAN network will be listed here.
Select your DVR device and click the ‘add’ button.
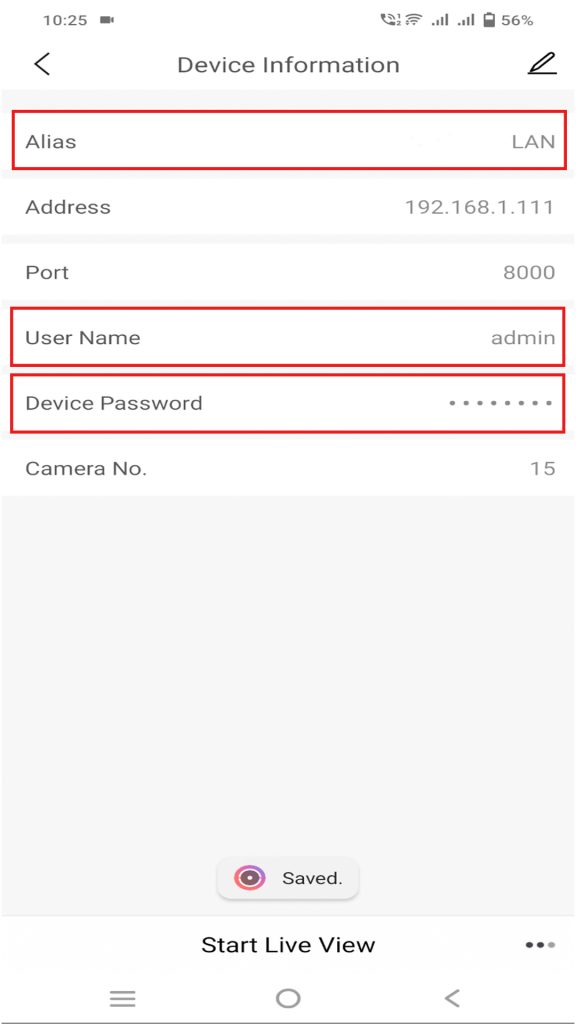
Enter your preferred alias name and your DVR admin account username and password then “Save” it.
The added device will be displayed on the Home Screen tab for viewing the cameras.
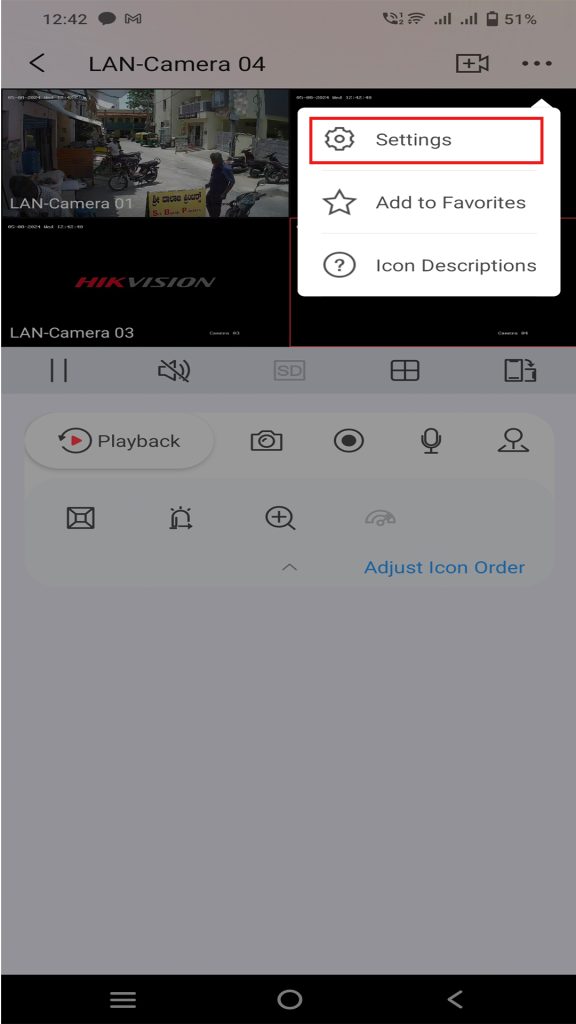
Suppose you are in the DVR live view, click the three dots (camera settings) on the upper right-hand side.
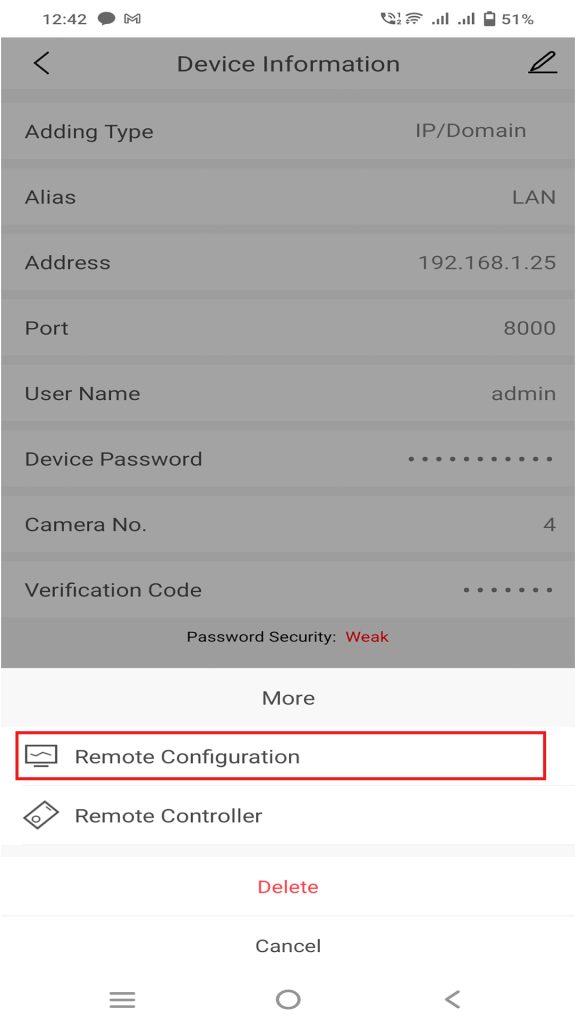
Which will take you to device information. Again, you have to select the three dots below on the right-hand side.
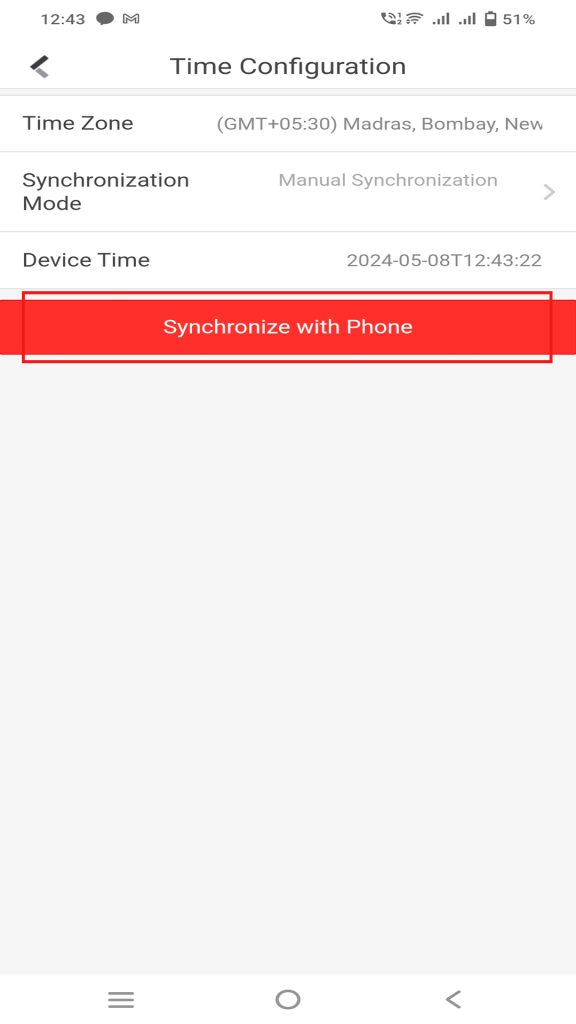
Now, go to remote configuration, then time configuration. Here, you can configure the date and time by selecting the option “Synchronize with phone.”
Then, the DVR device will synchronize the current date, time, and time zone with our mobile phone’s settings.
That’s all; the new date and time will be effective, and you can view it on the live feed.
