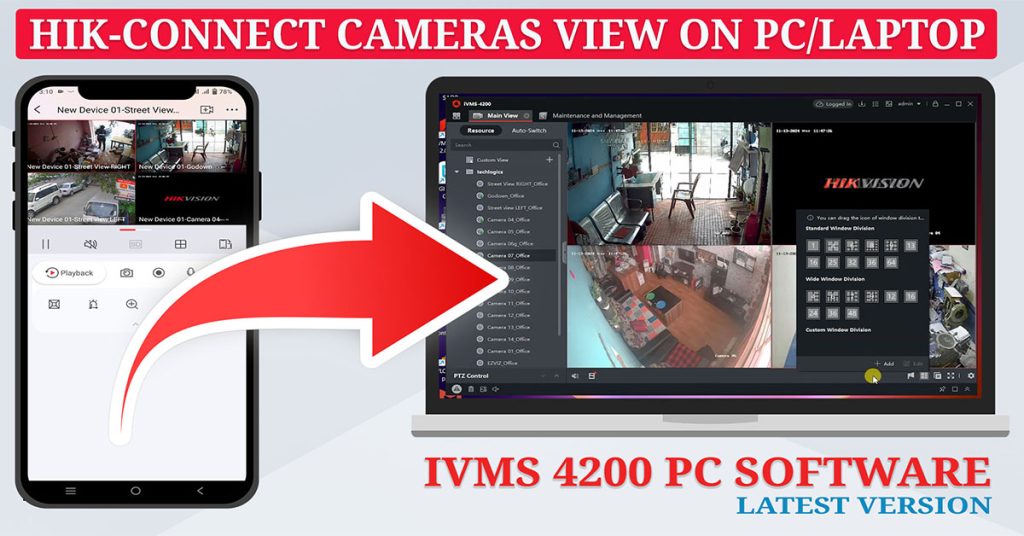
Managing your Hikvision cameras just got easier with the latest iVMS-4200 software. This comprehensive guide walks you through installing and configuring the iVMS-4200 PC client, enabling seamless live view and playback of your Hikvision cameras on your Windows PC or laptop. Whether you’re a beginner or looking to optimize your Hikvision system, this step-by-step guide has you covered.
Step 1: Downloading iVMS-4200 Software
To get started, download the iVMS-4200 software from the Hikvision official website. Here’s how:
- Visit the Support page on the Hikvision website.
- Navigate to the Download section and choose Software.
- Under the iVMS-4200 tab, select the Windows installation file.
Download Link : https://www.hikvision.com/en/support/download/software/ivms4200-series/
After reviewing and accepting the Materials License Agreement, your browser will begin downloading the setup file. Depending on your internet speed, this process may take a few minutes.

Step 2: Installing iVMS-4200
- Locate the downloaded setup file in your Downloads folder.
- Right-click the file and select Run as administrator to ensure smooth installation.
- Accept the License Agreement and choose your installation location. For first-time users, enable only the Basic Configuration and Video Features options.
- Click Install and wait for the installation to complete.
Pro Tip: Check the Launch client and Create a desktop icon options before finishing installation for easy access.

Step 3: Initial Setup
When you launch the software for the first time, you’ll need to:
- Create a Super User Account: Choose a strong username and password. For convenience, enable the Auto Loginoption.
- Set Security Questions: These will help recover your account if you forget your password.
- Decide whether to enable Upgrade Detection for automatic updates or handle them manually.

Step 4: Adding Your Hik-Connect Account
To link your Hik-Connect account:
- Open the Device Management section in iVMS-4200.
- Under the Device tab, click Cloud P2P Device.
- Select your region (matching the settings in your Hik-Connect mobile app) and log in with your Hik-Connect credentials.
Once logged in, the software will automatically retrieve all cameras associated with your account.
Finding Your Credentials:
- Open the Hik-Connect mobile app.
- Go to the Me section and tap your account name to view your region and username.


Step 5: Verifying Your Cameras
When you access a camera for the first time, iVMS-4200 may prompt you for the Device Verification Code. Here’s how to find it:
- Navigate to Configuration > Network > Platform Access on your Hikvision device.
- Note the Device Verification Code displayed here.
Enter this code into iVMS-4200 to complete the setup.

Step 6: Live View & Playback
Live Viewing:
- Select a specific camera or view multiple cameras simultaneously by clicking the group name.
Playback:
- Access recorded footage via the Remote Playback menu.
- Use the timeline bar to navigate footage or select a specific date using the calendar icon.

Additional Tips
- If you close iVMS-4200 without logging out of your Hik-Connect account, your devices remain accessible the next time you open the software.
- Logging out requires you to re-enter your credentials upon reopening, ensuring security.
Conclusion
With iVMS-4200, managing your Hikvision cameras is straightforward and efficient. From live viewing to playback, this software offers powerful features to enhance your surveillance experience.
For more tutorials, including advanced features like local LAN live view and footage downloads, explore our video series. Don’t forget to like, share, and subscribe to support our efforts in creating valuable content for you.
Thank you for joining us on this journey to optimize your Hikvision system!


