Introduction
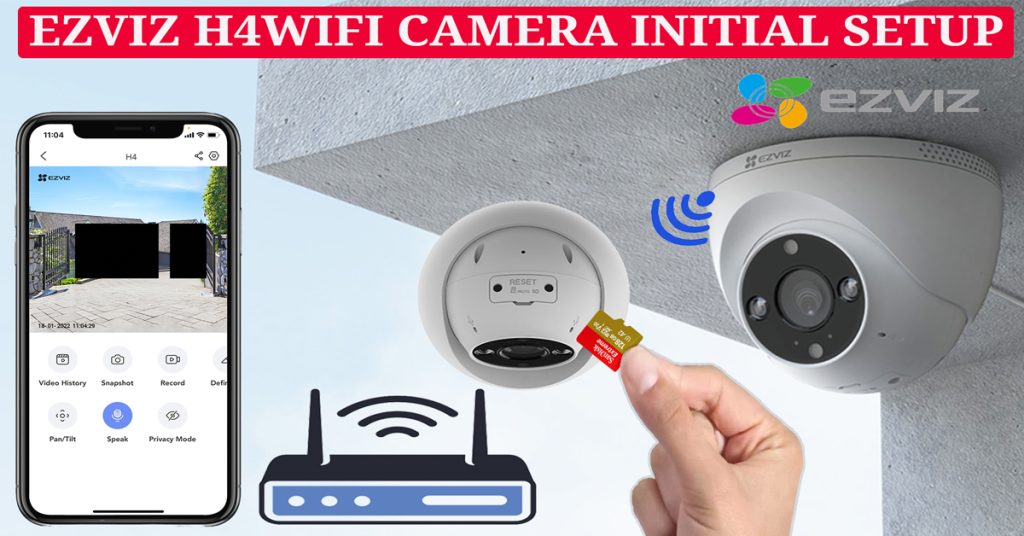
In this guide, we cover all the initial setup steps to get started with the Ezviz H4 Wi-Fi Smart 2K Home Camera. Watch as we unbox the camera, install a memory card, configure recording settings, install the EZVIZ mobile app, create a user account, configure Wi-Fi, and add the camera to the app.
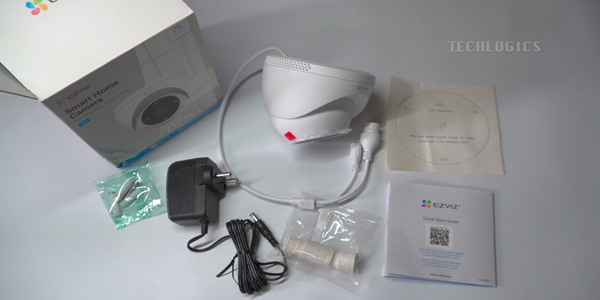
Unboxing the Camera
The Ezviz H4 Wi-Fi Dome Camera offers impressive value for a wide range of security needs. Featuring a robust 2K resolution and a durable design, it’s perfect for covering larger or busier areas. With advanced features like enhanced audio pickup, IP67 weatherproofing, and AI-powered human/vehicle shape detection, it ensures comprehensive security. Easily manage everything on the EZVIZ mobile app.
In the Box:
- H4 2K Camera
- Power adapter
- Drill template
- Screw kit
- Regulatory information
- Quick start guide
Memory Card Installation
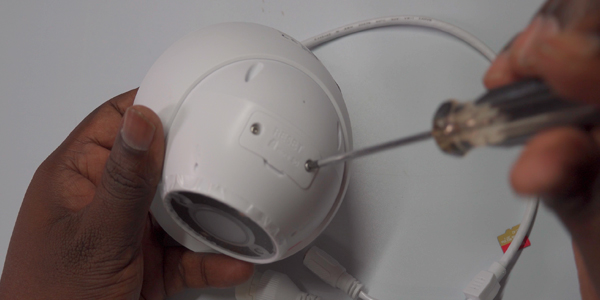
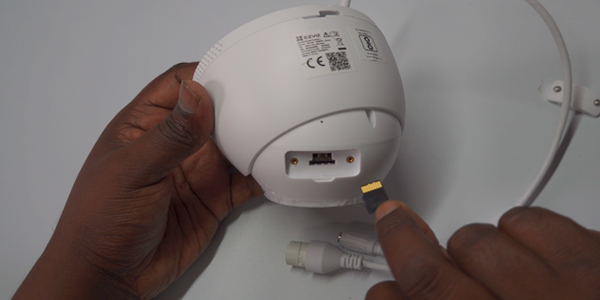
Before installing or removing the memory card, ensure the camera is powered off to safeguard both the card and the camera. Use a small star head screwdriver to open the memory card waterproof case located on the bottom of the camera. Insert the memory card as shown in the video.
The camera supports microSD card storage up to 512 GB. The maximum 512 GB SD card can record footage for up to three weeks, depending on factors like video quality and recording mode (continuous or event-based). After installing the memory card, turn on the camera.
Powering Up the Camera
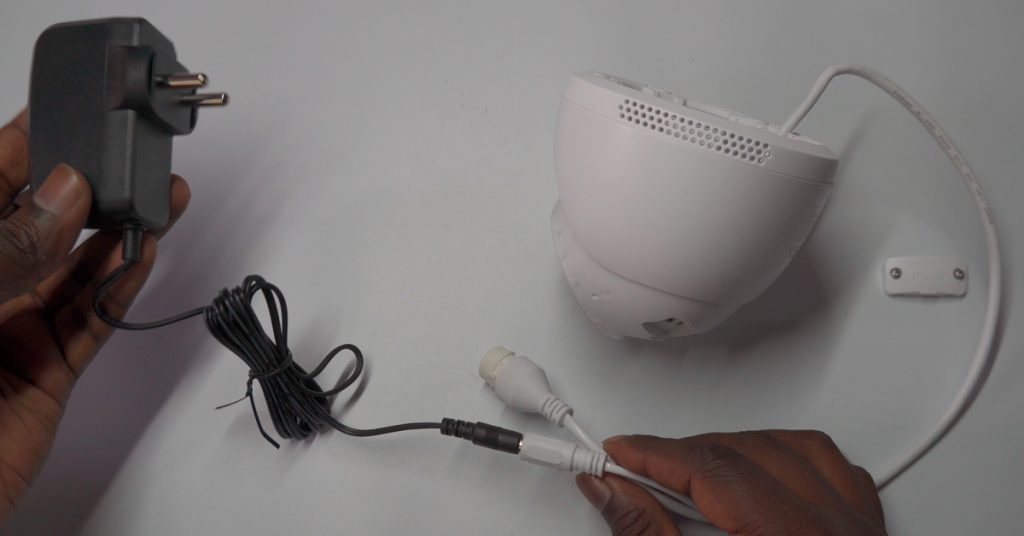
Use the provided DC power adapter to turn on the camera. Upon powering up, you will hear a voice announcement instructing you to connect to the network, and the LED light will flash to indicate this.
Installing the EZVIZ App
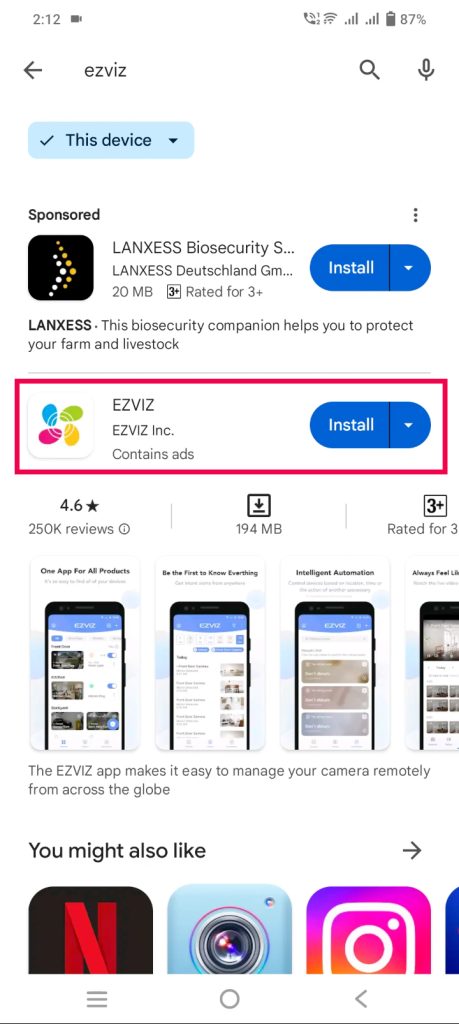
- Download and install the EZVIZ App from the Play Store.
- Once installed, open the app.
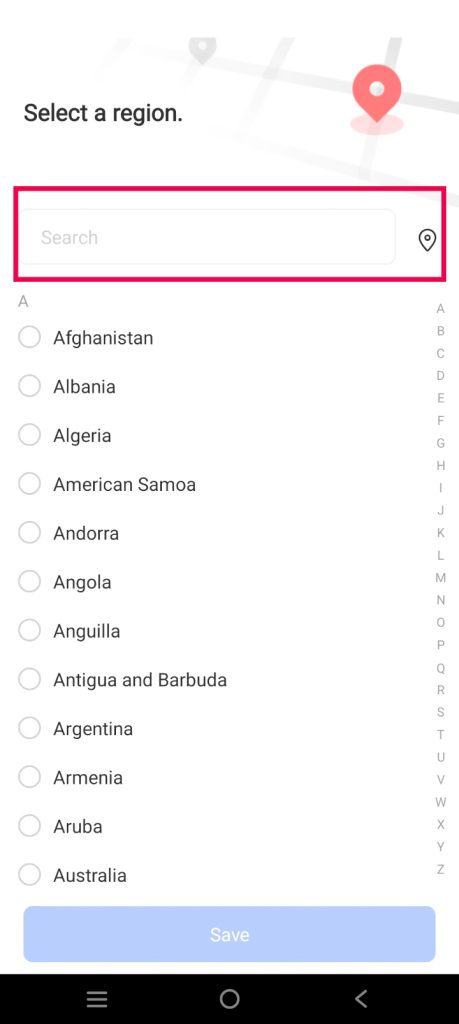
- Choose your region based on your country.
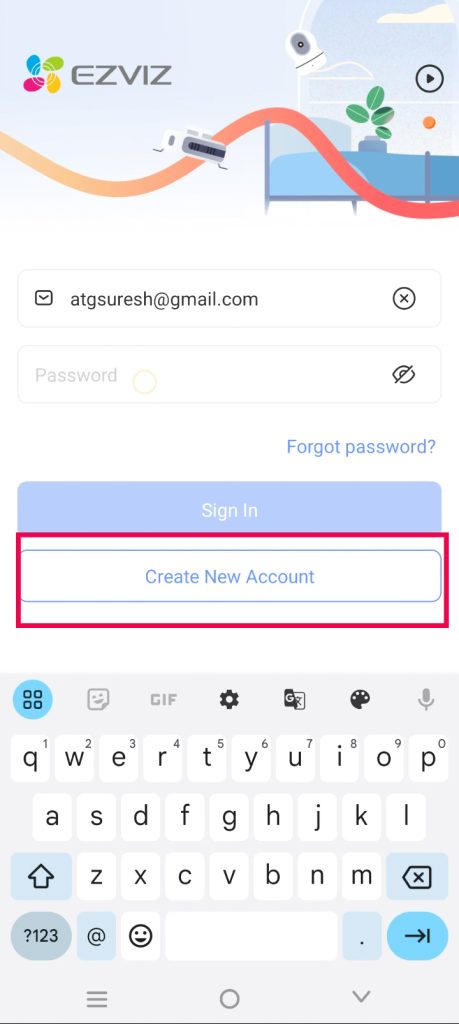
- If you already have an Ezviz account, log in using your credentials via phone number or email.
- If you’re new to the EZVIZ app, register an account using ‘Create New Account’.
- Choose to register via email or mobile number. For this example, we use Email registration.
- Enter your email address and create a password to register.
- Verify your email address by receiving the verification code.
- Optionally link your phone number and enable face or biometric authentication for future logins.
Adding the Camera to the App
- Keep the camera near the internet modem or router during Wi-Fi setup.
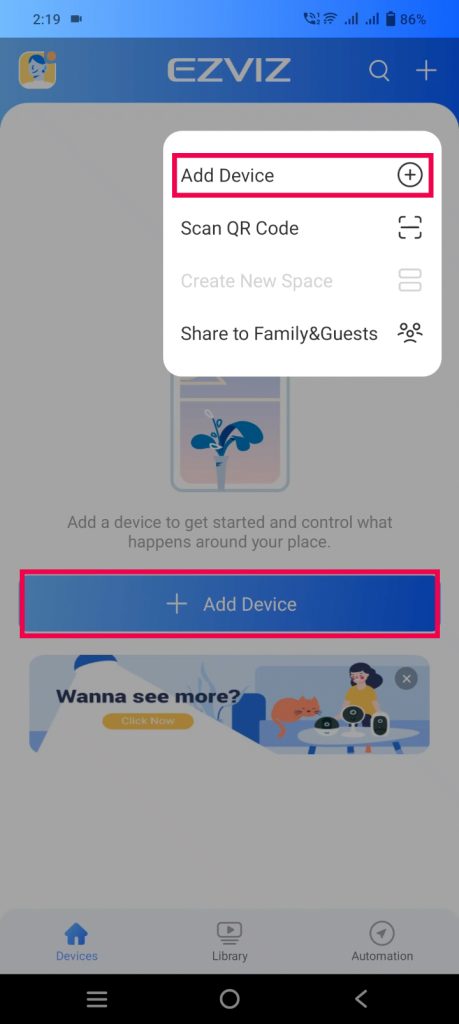
- Click on ‘Add Device’ or the ‘+’ symbol in the app.
- Ensure the camera is in network connection mode. If not, reboot or reset the camera.
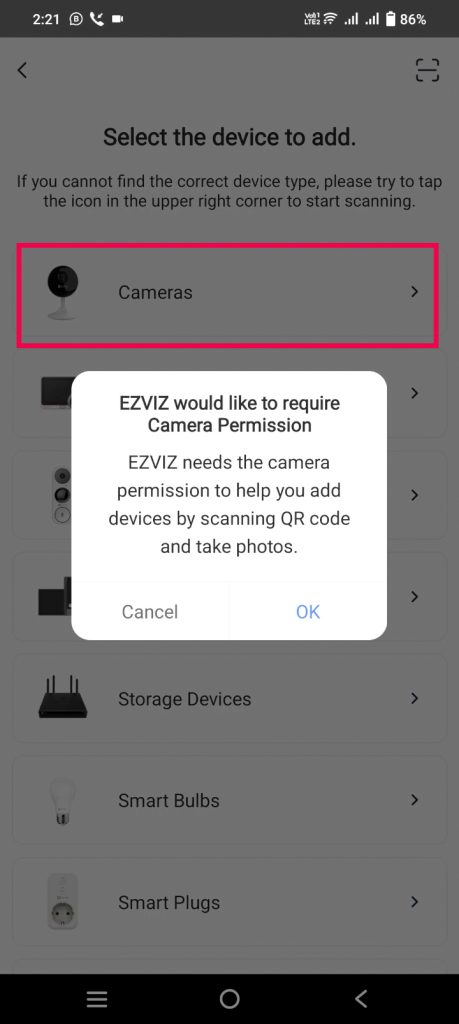
- Select ‘Camera’ as the device type.
- Allow the app to access your photos.
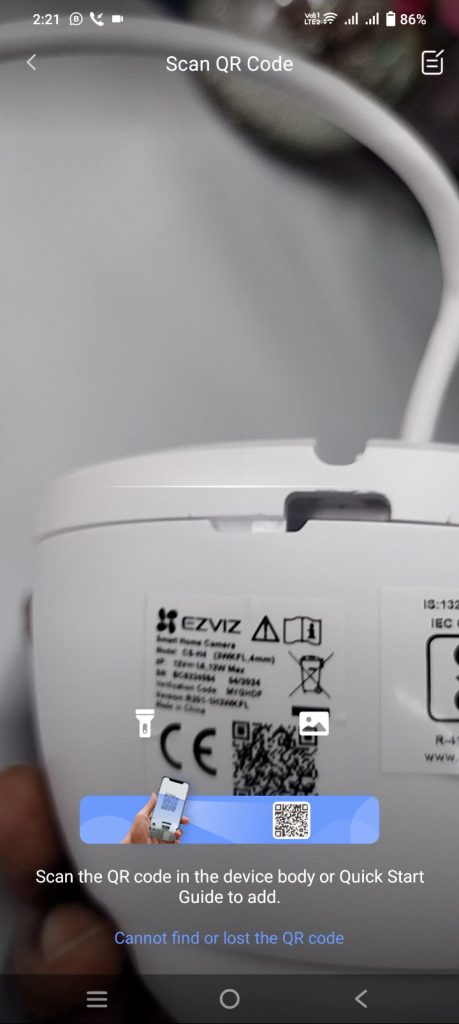
- Scan the QR code on the camera with the app.
- Confirm the camera’s blue LED is flashing and proceed with the setup.
- Allow the app to access your location.
- Select a 2.4GHz WiFi network and enter the password.
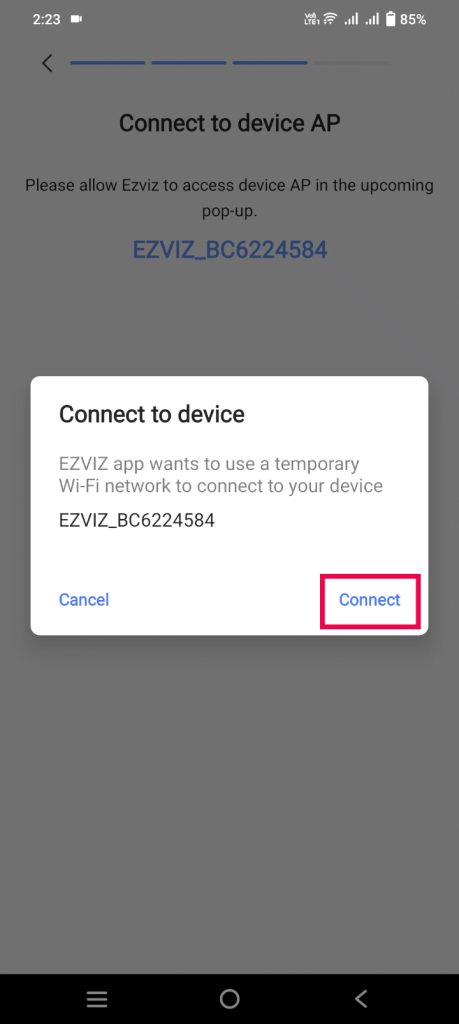
- Connect to the temporary WiFi network transmitted from the camera (starting with ‘EZVIZ’).
- Follow the voice prompt confirming the configuration once connected.
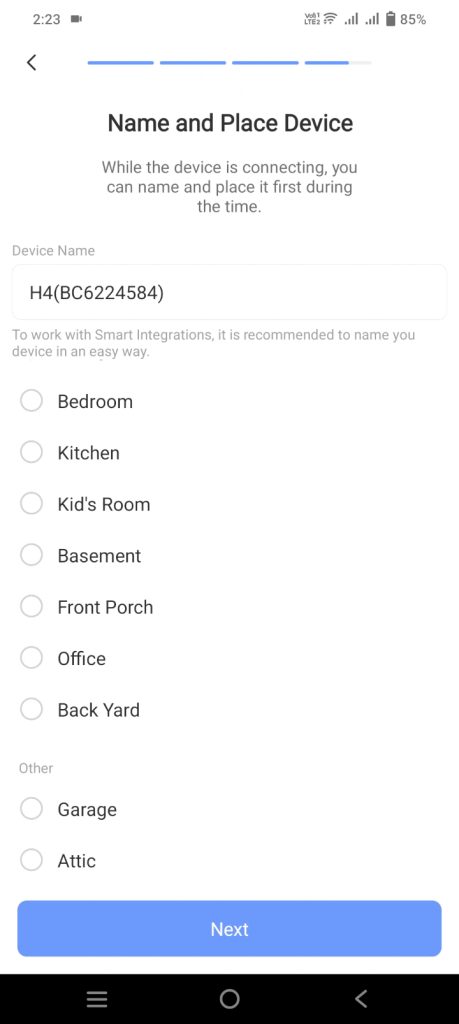
- Enter a device name and place the device.

Configuring the Camera
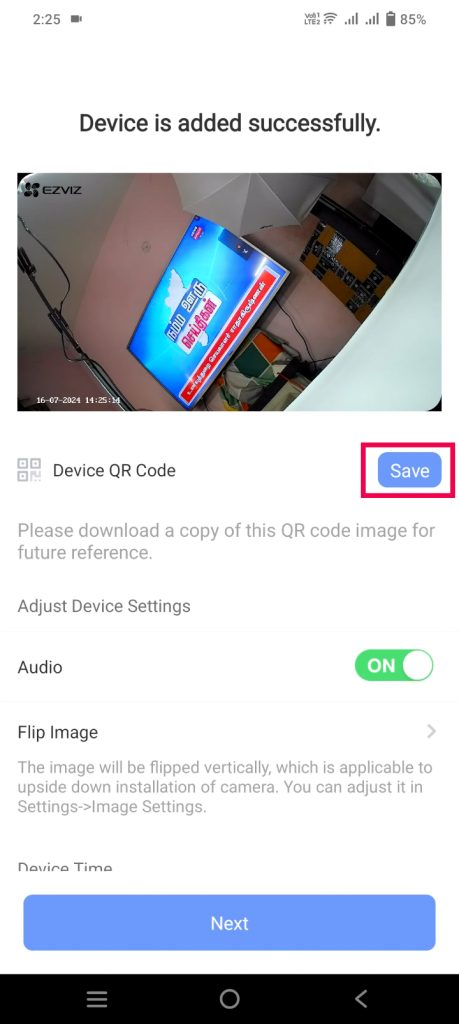
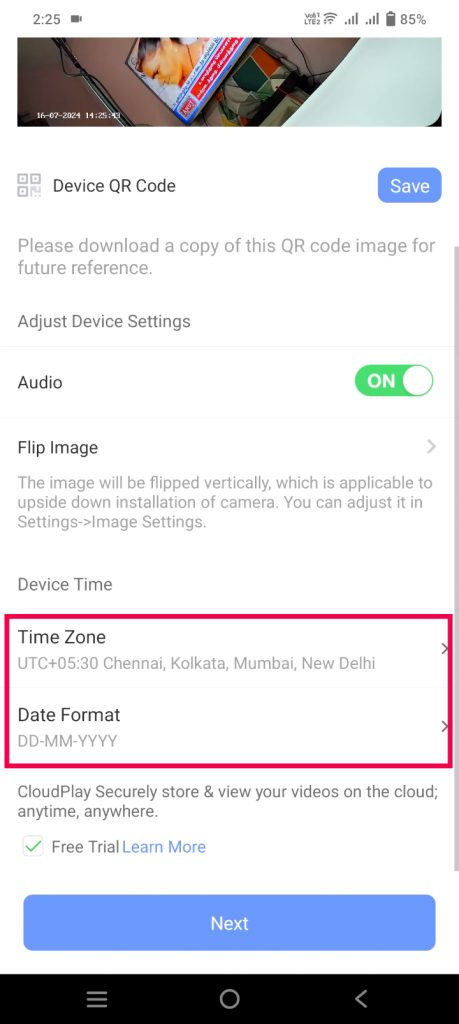
- Back up the device QR code for future network settings changes.
- Configure the date, time, and date format.
- Optionally enable cloud storage during the free trial period.
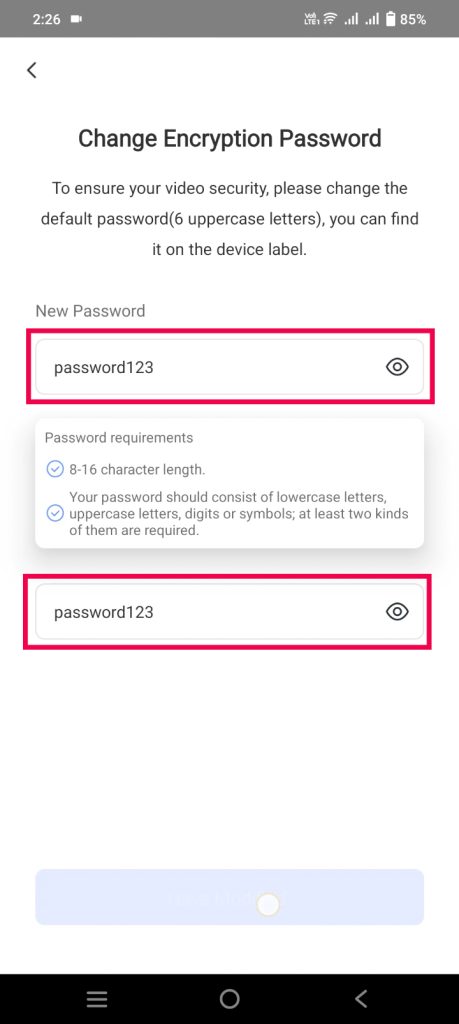
- Create an encryption password for additional security and sharing purposes.
Initializing the Memory Card
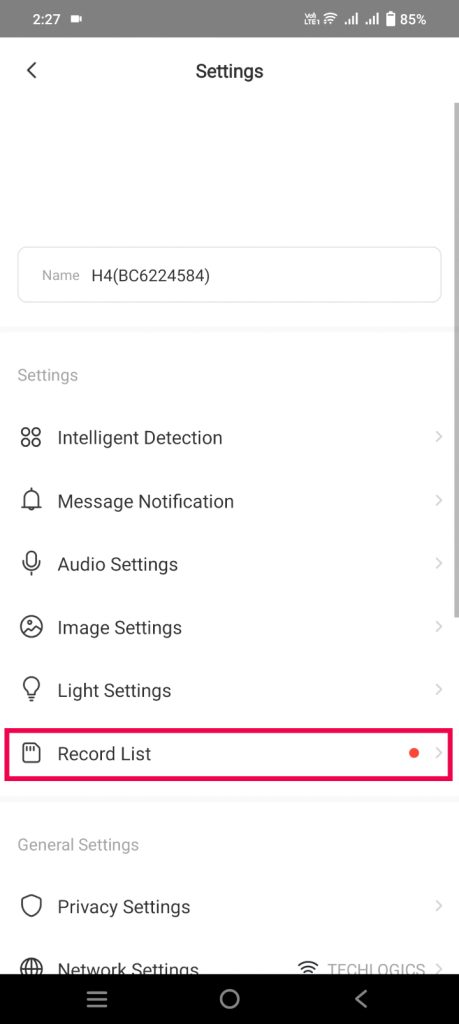
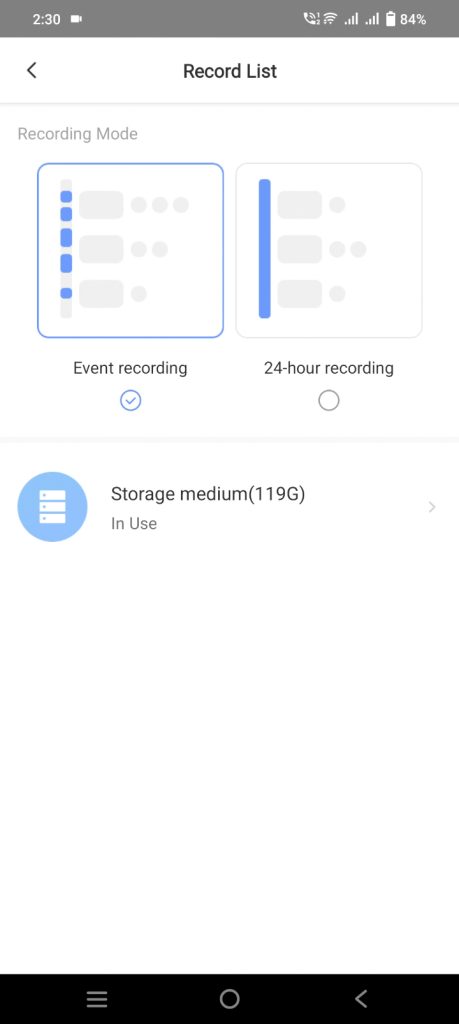
- Go to camera settings, then to the record list, and select ‘Storage medium’.
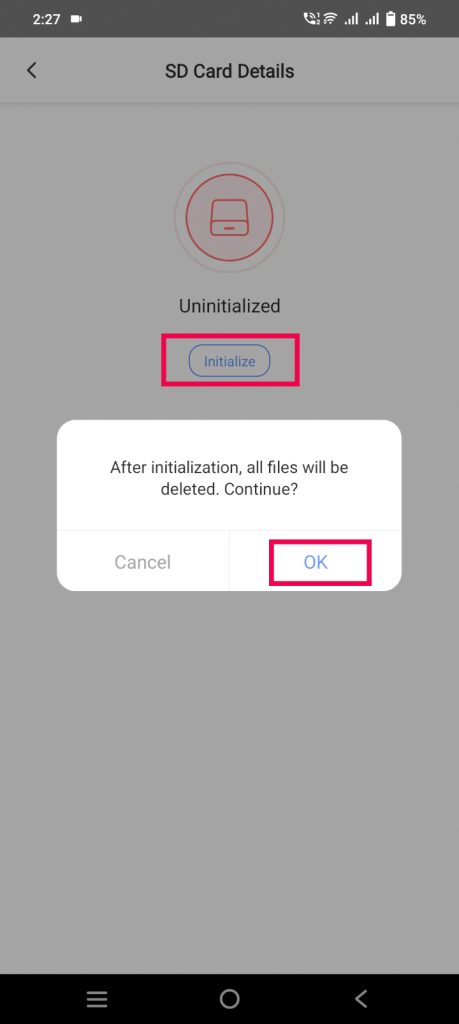
- If the card status is ‘Uninitialized,’ click ‘Initialize’ to format the card.
- Upon successful initialization, the card status will change to ‘In Use’ and display storage capacity.
- Default recording mode is motion detection or event-based. Adjust settings as needed for continuous or event-based recording.

Final Steps
- Install the camera in its intended location.
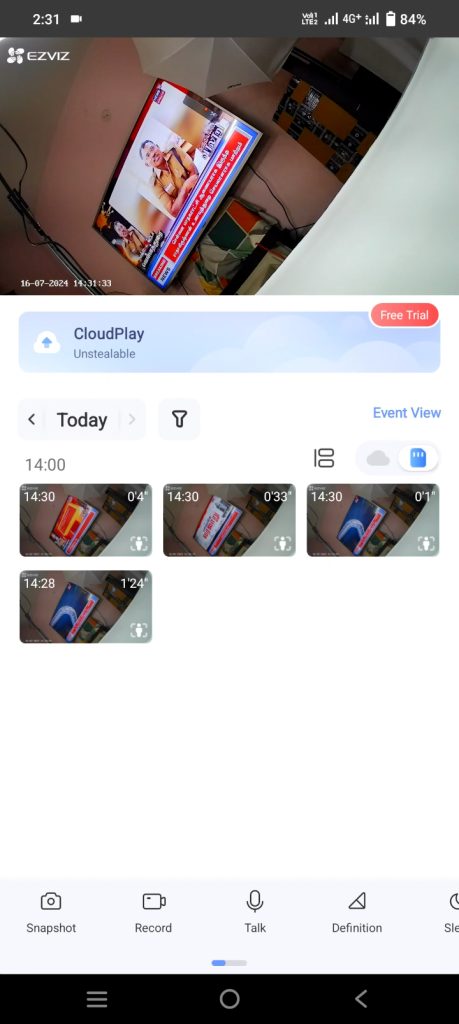
- Enjoy live streaming, playback, and notification features from anywhere via mobile data or WiFi.
Additional Resources
For further clarification or additional information, check out the other segments of this video series, where we offer detailed explanations about storage settings, event alerts, two-way audio, and other configurations.
Support Us
If you found this guide useful, please consider supporting us. Your support helps us create more informative content like this and continue providing valuable resources to our audience. Whether it’s through liking, sharing, or subscribing to our channel, every bit of support is greatly appreciated.
