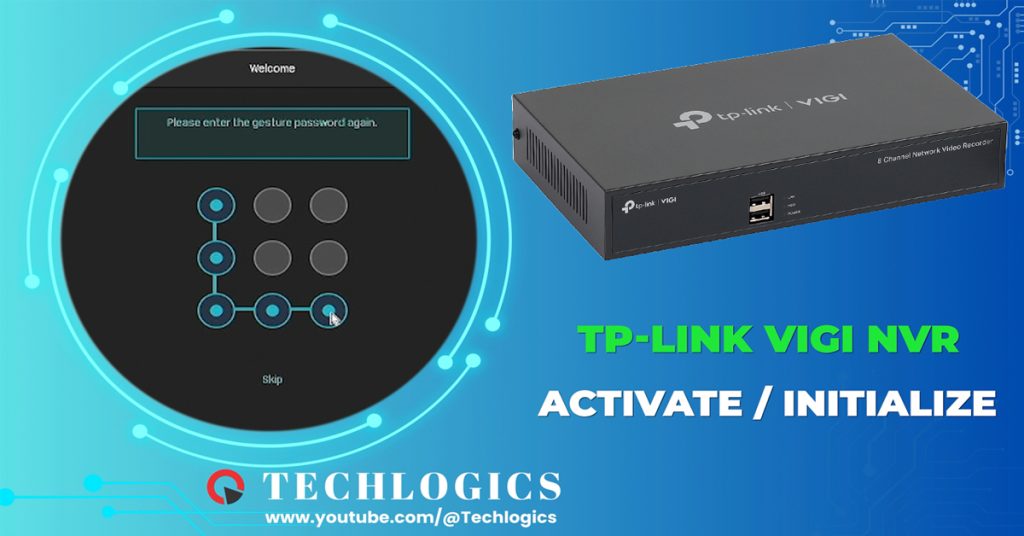
This guide will help you how to activate or initialize your TP-Link VIGI NVR for first-time use. Follow these steps to get your NVR up and running smoothly.
Step 1: Connect Essential Components
- Connect the Power Adapter, USB Mouse, and Display Cable
- Connect the power adapter to the NVR.
- Attach a USB mouse for navigation.
- Connect the display cable to an HDMI or VGA port on your monitor or TV.
- Optionally, you can connect the NVR to the internet via a LAN cable.
Step 2: Power Up the NVR
- Power On the NVR
- Turn on the NVR. The front panel light will indicate that the NVR is powered on.
Step 3: Initial Setup Wizard
- Welcome Screen
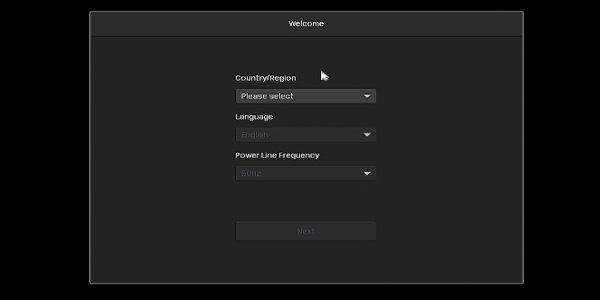
- Once the NVR boots up, the ‘Welcome’ wizard will appear on the display.
- Choose your country and language using the connected mouse, then click ‘Next’.
Step 4: Set Up Admin Password
- Create Admin Password
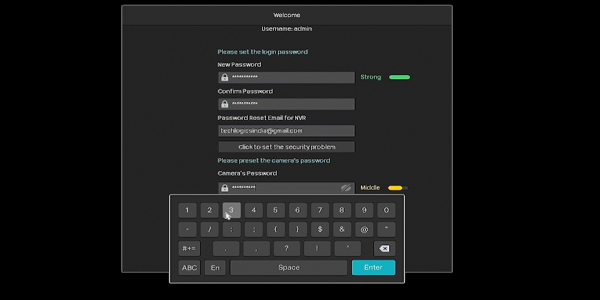
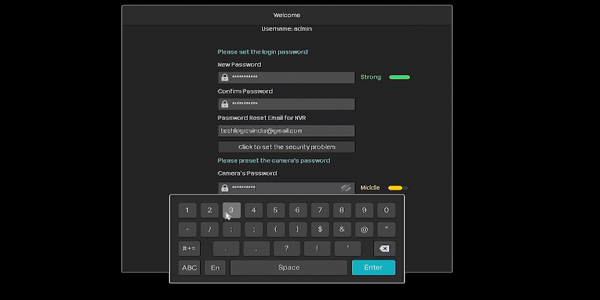
- Enter your preferred password in the ‘New password’ and ‘Confirm password’ fields.
- Provide your email address in the ‘Password reset Email’ field for password recovery options.
- Set Camera Password
- In the ‘Camera password’ field, set a password for the cameras.
- To use the same password and email for the cameras as the NVR, check the ‘Same as NVR’ box.
- Click on the ‘Complete’ button to finalize the password setup.
Step 5: Optional Gesture or Pattern Login
- Set Up Gesture Password
- The wizard may prompt you to set up a Gesture or Pattern type login. You can choose to set it up or skip this step.
- To set a Gesture password, draw your gesture twice and enable ‘Set as default login method’ for easy access.
Step 6: Manual Initialization
- Manual Initialization
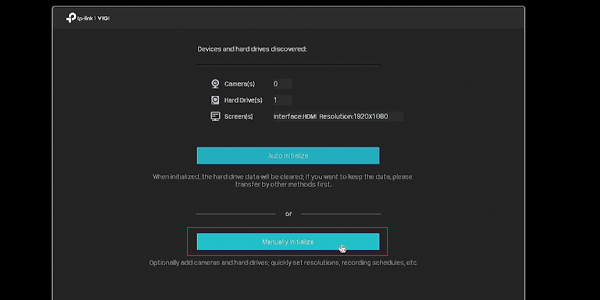
- Click on the ‘Manually Initialize’ option to configure the NVR according to your preferences.
- Select the display port resolution (HDMI or VGA) based on your monitor’s clarity. If unsure, keep it as ‘Adaptive’.
- If connected to the internet, the status will display here. For better connectivity, keep this mode as ‘Auto’.
- Set the time zone, date, and time under ‘Time Checking’ and ‘Time Settings’. You can skip this setup for now if desired.
Step 7: Initialize the Hard Disk Drive
- Initialize the Hard Drive
- In the setup wizard, you’ll need to initialize the hard disk drive. The current status should show as ‘Uninitialized’.
- Select the disk and click on the ‘Initialize’ option to format the hard disk. After formatting, the hard disk will start recording.
Step 8: Recording Settings
- Configure Recording Settings
- By default, the recording is set to continuous for the entire day. If preferred, change it to motion detection-based recording by selecting ‘Motion Detection Recording’.
Step 9: Finalize Setup
- Complete Activation
- Once the NVR is activated, a QR code for mobile app access will be displayed on the screen.
- The NVR has been successfully activated, and you can now use all its features.
What’s Next?
In the next part of this video series, we will show how to add cameras, integrate with the mobile app, configure recording settings, and explore other features. Stay tuned!
If you have any questions or need further assistance, enter your queries below in the post comment section.
