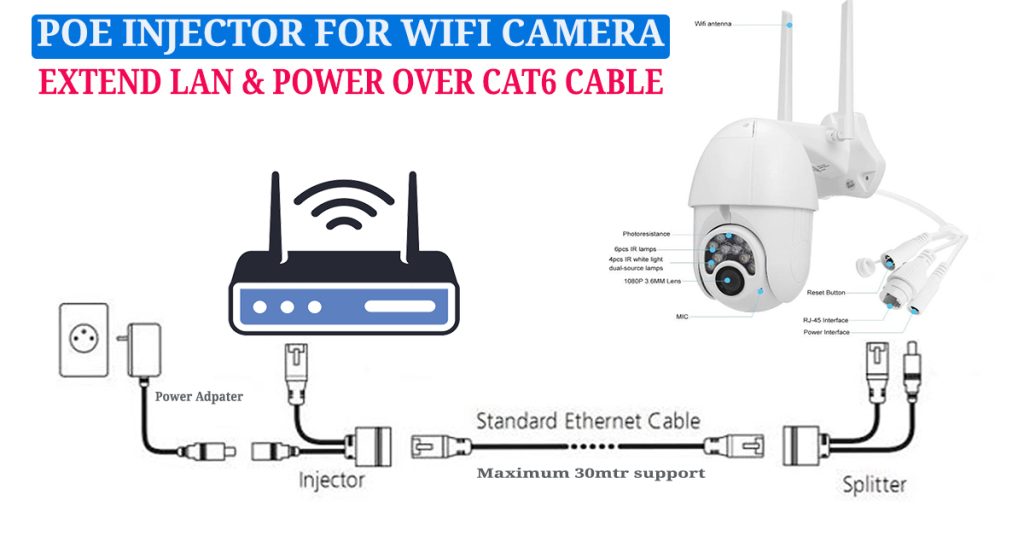
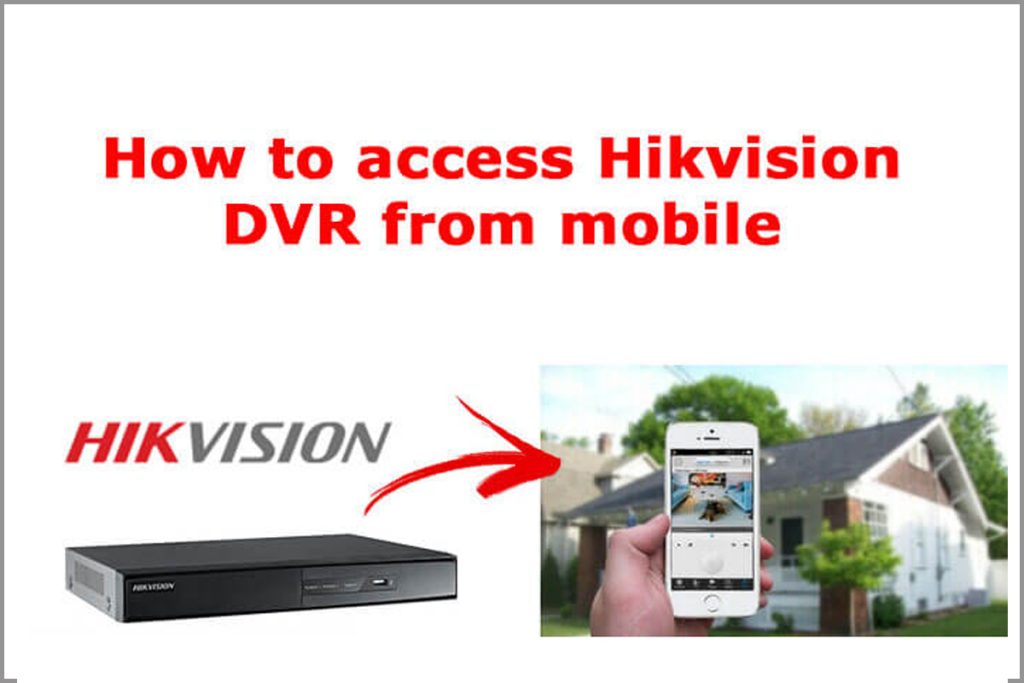
In this post, we describe about to utilize a PoE injector connector to extend the LAN and power over Ethernet LAN cables, enabling the seamless connection of cameras.
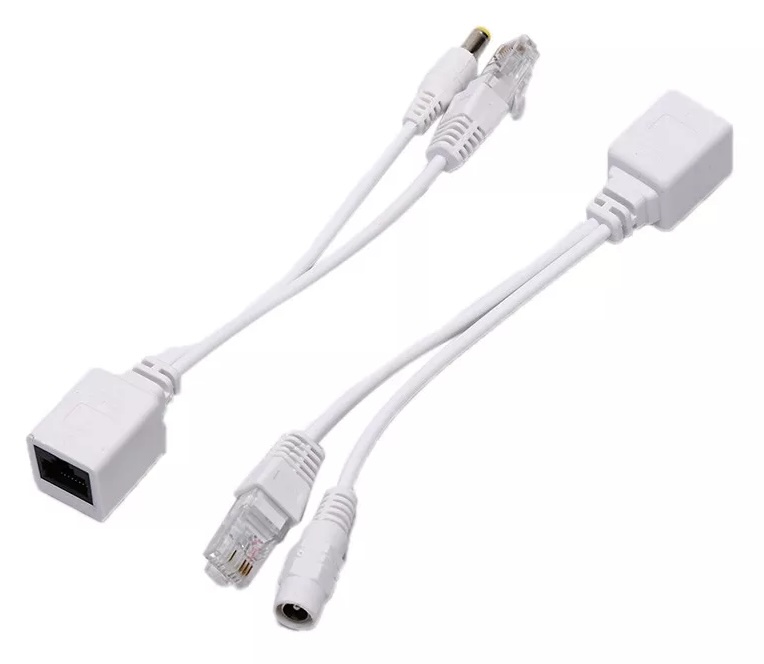
A PoE injector is used to add power to an Ethernet cable. It’s useful when your network switch or camera does not support PoE. It has an input for your network connection and a power source, and an output that delivers both data and power over a single Ethernet cable to the powered device.
We can use standard Ethernet cables, such as Cat5e, Cat6, etc., between cameras and the router or switch.This PoE injector will carry data and power up to a distance of 30 meters, so connect the camera accordingly.
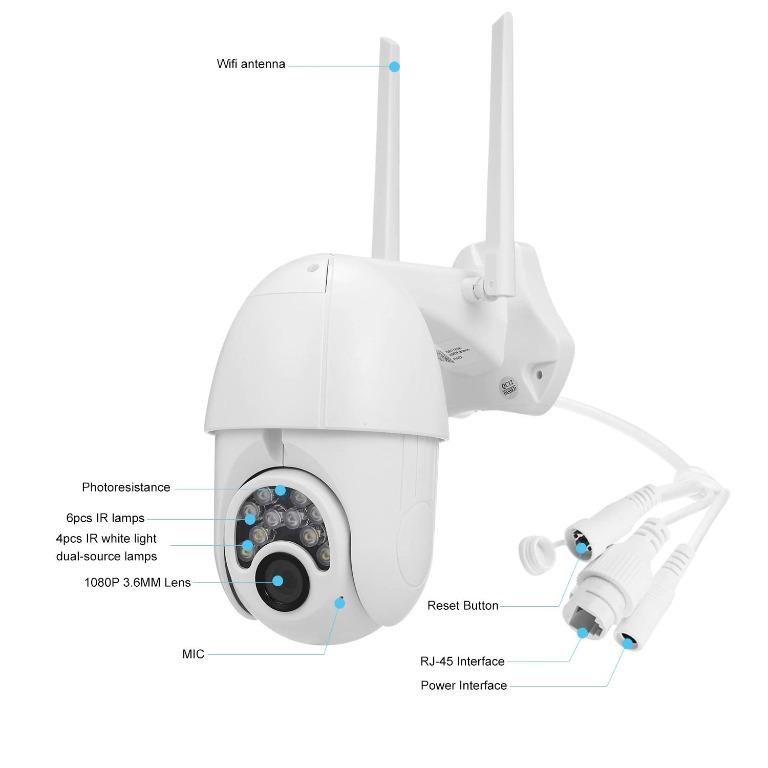
Connect the male pin of the DC input connector to the camera side’s DC pin and Ethernet port. On the PoE injector connector, connect your cable to the appropriate side. The other end of the cable should be connected to another part of the PoE injector.
This side’s DC female pin should be connected to the provided DC power adapter power supply. also can directly connect the LAN connector to the modem, router, or network switch where the internet is available.
To boot up the camera, turn on the power supply.
Here, the camera is powered via the Ethernet cable, and it is also connected to the internet.
When successfully connected to the internet, the camera will prompt with a voice message such as ‘network connected’ or indicate through the network LED, depending on the model of the camera.
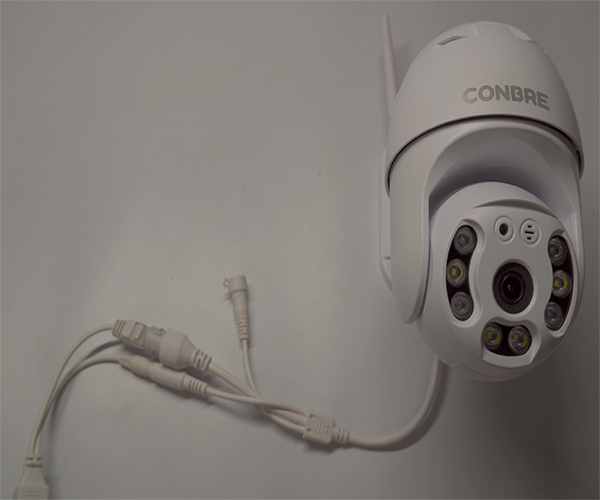
If we do not receive any network connected status, we can restore the camera to factory settings by pressing and holding the camera reset button.
Once we receive notification of the camera’s network information, we can proceed to add it to the app.
Open your ‘V380’ app and proceed to add your camera. Note: Ensure that you are already registered and logged in to your V380 account.
When adding the camera, ensure that your mobile phone is connected to the same Wi-Fi network as the camera.
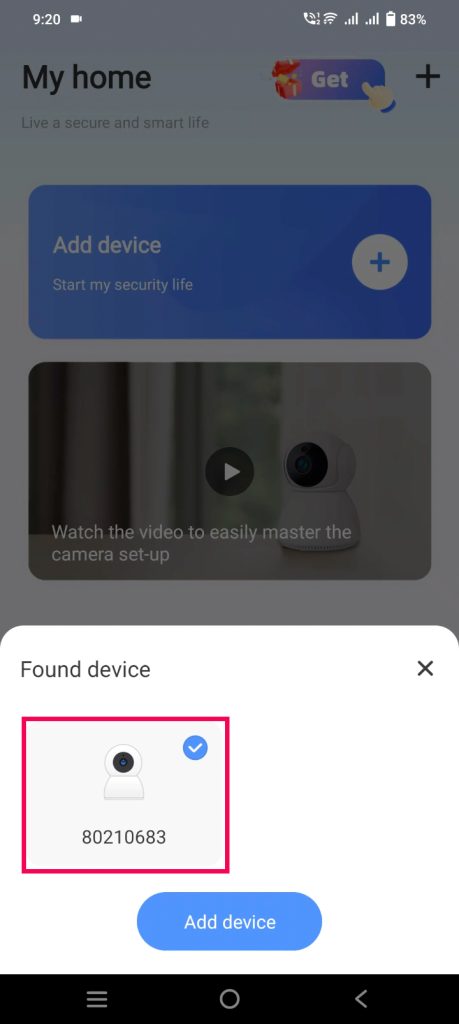
Simply pull down the screen to detect the camera, and it will appear on the screen.
Select the camera and click on ‘Add Device’ to add the camera to your app.
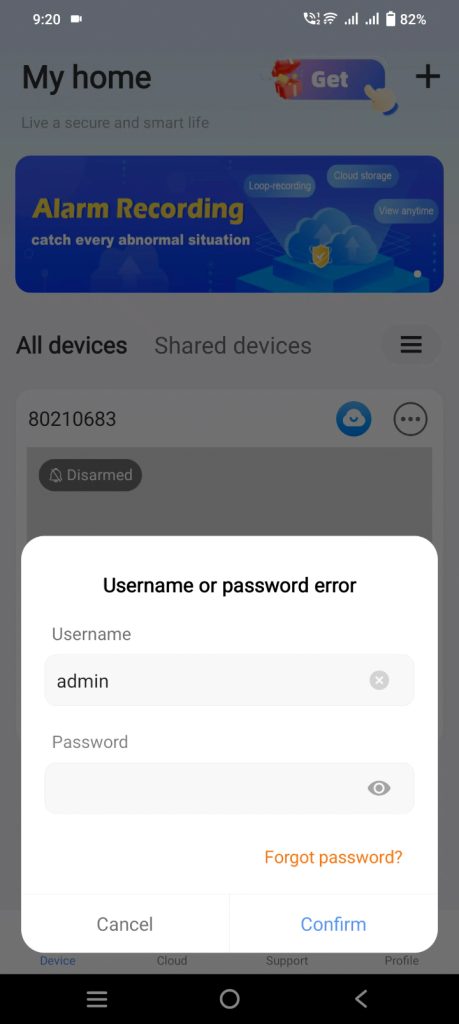
For the added camera, you must set a password for the first time. The password must contain uppercase letters, symbols, and numerals.
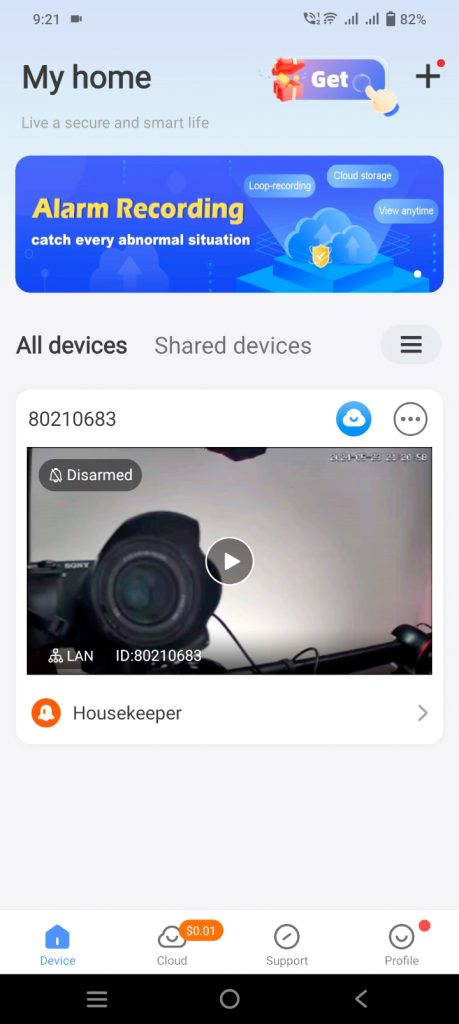
After successfully setting up and configuring the camera, it is now fully operational. It is ready to capture video footage, transmit data over the network, and perform any other functions as PTZ etc.
Also, the camera can be accessed from anywhere using mobile data or another Wi-Fi network.
Note: This method can be used to connect all other brands of cameras that support LAN connectors and DC input connectors.
By engaging with our content whether it’s leaving a like, dropping a comment, sharing it with your friends and family, or subscribing to our channel you help us reach more people and continue creating valuable content.
We appreciate your support and look forward to bringing you more great content in the future.
