Hello, everyone! We’re thrilled to bring you another exciting tech adventure. Today, we’re diving into the unboxing and setup of the Wipro Smart Indoor Wi-Fi Camera, a fantastic addition to any smart home. In this blog post, we’ll walk you through installing the memory card, connecting it to the internet, setting up the Wipro Next Smart Home app, and fine-tuning the recording settings for optimal performance. Let’s get started!
What’s Inside the Box?
The Wipro Smart Indoor Wi-Fi Camera is designed for 24/7 live monitoring, ensuring you stay connected with your loved ones or keep an eye on your property at all times. As we unbox it, here’s what you can expect:
- AI-powered motion detection: Get instant notifications on your phone whenever movement is detected.
- Voice assistant compatibility: Seamlessly control the camera with Alexa or Google Assistant.
- Two-way communication: A built-in microphone lets you talk to family or pets from anywhere.
- 360° panorama and infrared night vision: Enjoy comprehensive coverage with no blind spots, even in the dark.
- MicroSD card support: Store recordings locally on a card up to 128 GB, no cloud subscription required.

This camera blends advanced technology with user-friendly features, making it an excellent choice for home security. Let’s explore how to set it up!
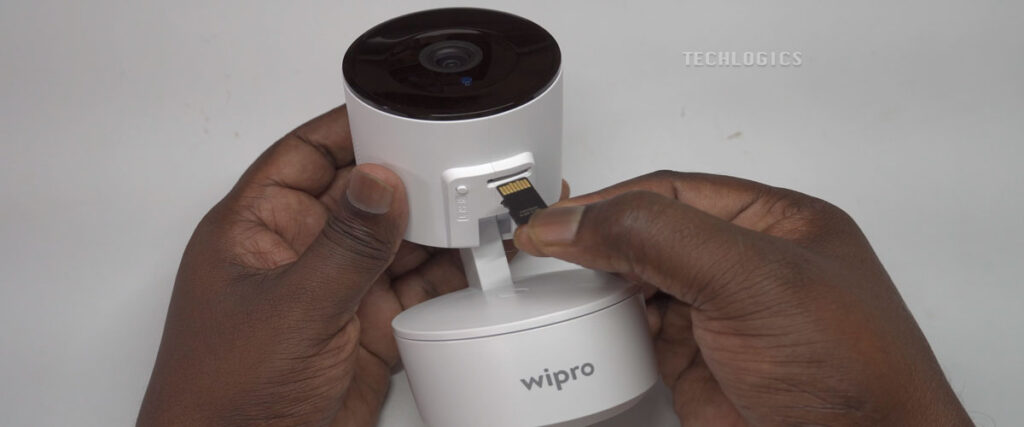
Step 1: Installing the Memory Card
Before powering on the camera, let’s install the microSD card for local storage. Follow these steps:
- Power off the camera: This prevents damage to the card or device during installation.
- Locate the slot: The microSD card slot is at the top of the rotating lens. Gently lift the lens upward to reveal it.
- Insert the card: Use a high-quality microSD card (up to 128 GB). Align it with the slot’s icons and push it in until you hear a click, ensuring it’s secure.
- Double-check: Verify the card is seated properly to avoid recording issues later.
- Remove (if needed): Press gently again, and it’ll pop out effortlessly.
With the card in place, you’ve got ample storage for all your surveillance needs—perfect for homes or small businesses.
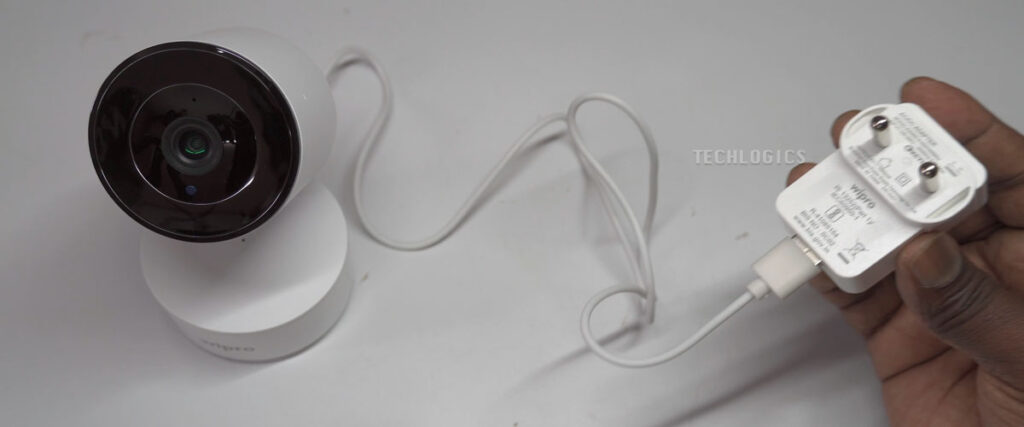
Step 2: Powering Up the Camera
Now, let’s bring the camera to life:
- Connect the USB cable to the provided DC power adapter and plug it into a wall outlet.
- Pro tip: You can also use a mobile power bank to keep it running during outages, ensuring uninterrupted monitoring.
Once powered on, the camera kicks off its startup sequence:
- The PT lens rotates once to signal it’s booting up.
- A blue light turns on, and a voice prompt welcomes you.
- The internal systems run a quick self-check to ensure everything’s ready.
As it finishes booting, the blue light blinks rapidly, and a voice prompt announces it’s ready to connect to Wi-Fi. Time to move to the app setup!

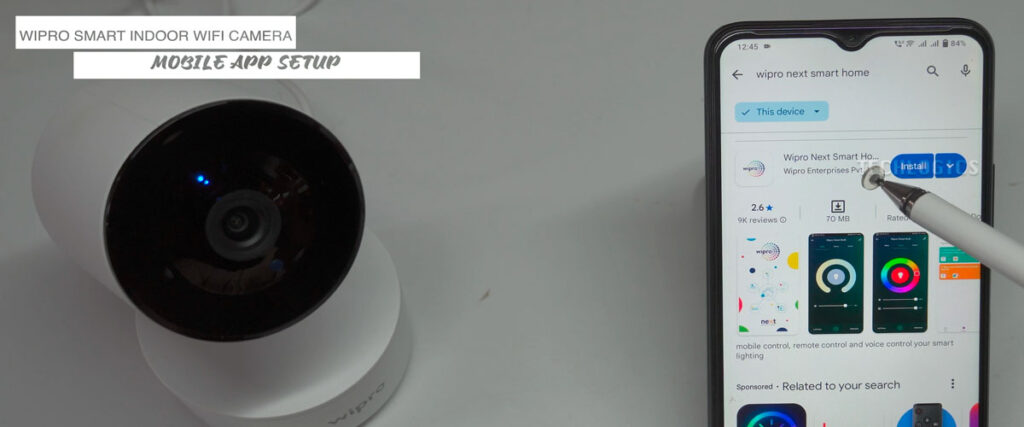
Step 3: Downloading the Wipro Next Smart Home App
To control your camera, you’ll need the Wipro Next Smart Home app. Here’s how to get it:
- Download options: Scan the QR code in the user manual or search for “Wipro Next Smart Home” in the Play Store (developed by Wipro Enterprise Pvt Ltd).
- Install: Tap “Install,” accept permissions, and wait a few minutes for it to download and set up.
- Open the app: Launch it from the app page or find the icon on your home screen.
- Select your region: Choose your country for optimal connectivity with local servers.
With the app ready, you’re one step closer to full control of your camera.
Step 4: Creating an Account
For security and convenience, set up an account in the app:
- Existing users: Log in with your email and password.
- New users:
- Enter your email and click “Sign Up.”
- Check your inbox for a verification code, then input it in the app.
- Create a strong password (mix of letters, numbers, and special characters).
Once logged in, enable notifications in your phone settings if you want real-time alerts for motion or human detection.


Step 5: Connecting the Camera to Wi-Fi
Now, let’s link the camera to your network:
- In the app, tap “Add Device” or the “+” symbol.
- Select “Add Manually” > “Smart Camera.”
- Confirm the blue LED is blinking (no reset needed for a new camera), then tap “Next.”
- Choose your 2.4 GHz Wi-Fi network (the camera doesn’t support 5 GHz), enter the password, and hit “Next.”
- A QR code appears—hold your phone 10-20 cm from the camera lens until it says, “Connecting to the Wi-Fi network.”
- Tap “I heard a prompt” in the app.
When the camera announces, “The setup was successful,” and the app confirms it’s added, name your device (e.g., “Living Room Cam”) and click “Next.” If a firmware update is available, install it for the best performance.


Step 6: Setting Up Recording
Your camera is online—now let’s configure the memory card for recording:
- Go to Camera Settings > “Storage Settings” > “Local Storage.”
- If the card shows “Uninitialized” or no space, tap “Format” to prep it. Once done, it’ll switch to “In Use,” displaying available storage.
- In Recording Settings, toggle “Local Recording” to “On” for continuous or event-based recording.
- Optional: Schedule weekly recordings for specific times.
With these settings, your footage will save directly to the microSD card, ready for playback anytime.


Step 7: Installing and Using the Camera
Mount the camera in your desired location for optimal coverage. Once installed, explore its features via the app:
- Live streaming: View real-time footage from anywhere.
- Playback: Review past recordings easily.
- PTZ control: Adjust the pan, tilt, and zoom remotely.
The app works over mobile data or Wi-Fi worldwide, so you’re always connected—whether at home, work, or on vacation.
Final Thoughts
The Wipro Smart Indoor Wi-Fi Camera combines robust security with ease of use, making it a top pick for anyone looking to enhance their home surveillance. From its 360° coverage to two-way audio and local storage, it’s packed with features to keep you in control.
For more tips and detailed guides, stay tuned to our blog series. If you found this helpful, please like, share, or follow us—your support keeps us creating content like this. Thanks for being part of our community!
Happy monitoring!


