Welcome to our blog! In this post, we will guide you through the unboxing and setup process for the 50-Meter USB Mouse Extender, a fantastic device designed to extend the range of your USB mouse using a standard Cat 6 Ethernet cable. This extender is perfect for accessing your DVR or NVR systems from a distance.
Step 1: Unboxing the USB Mouse Extender
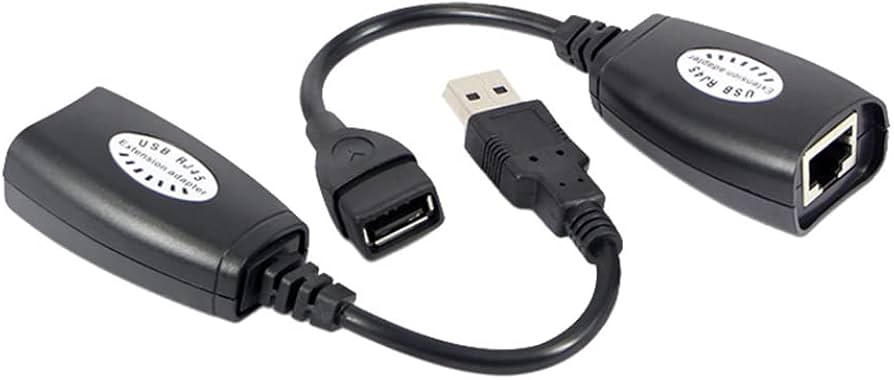
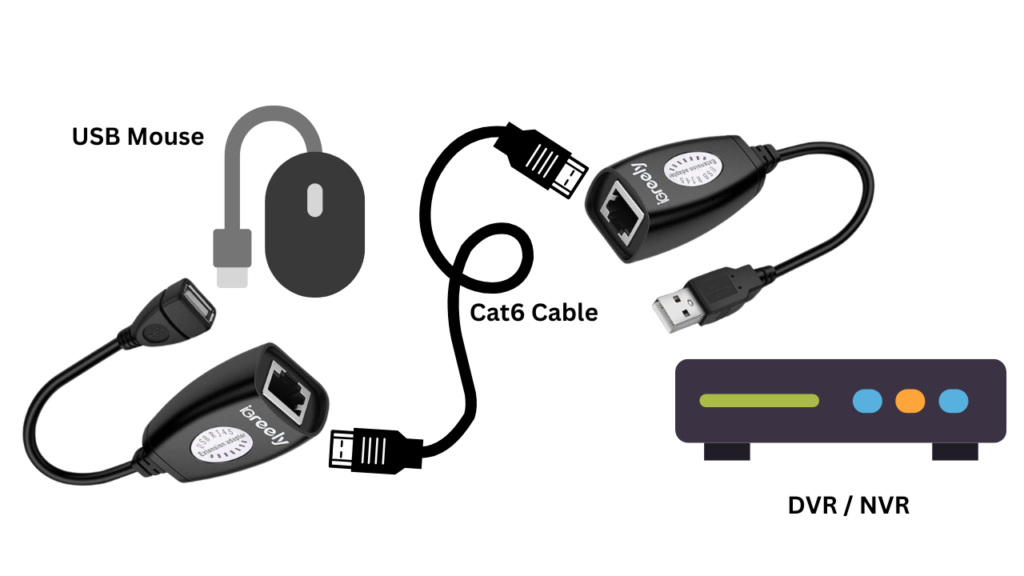
When you open the package, you will find:
- The USB Mouse Extender unit
- A male USB connector for DVR connectivity
- A female USB port for connecting your mouse
- RJ45 ports for connecting your Cat 6 cable
This basic model allows you to extend your USB mouse up to 50 meters. If you require more distance, several USB extenders in the market can reach up to 200 meters.
Step 2: Ensuring Compatibility
This USB Mouse Extender is compatible with all brands of DVRs, HVRs, and NVRs, including popular manufacturers like Hikvision, Dahua, and TP-Link. This compatibility ensures that you can operate your USB mouse from a distance, making it more convenient to manage your surveillance or recording devices.
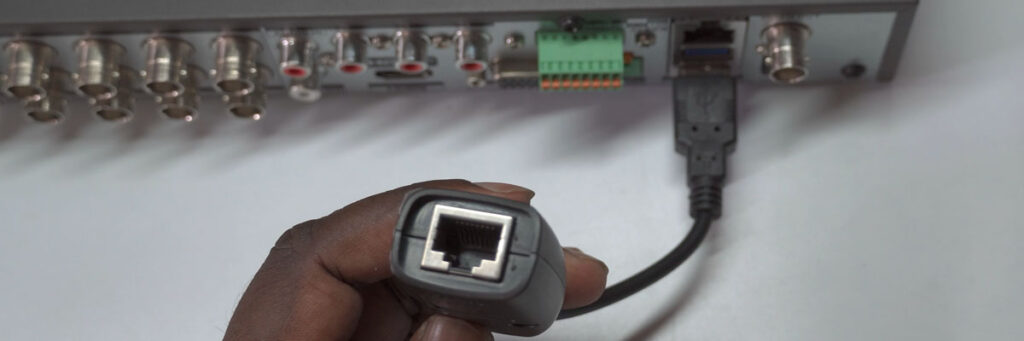
Step 3: Connecting the USB Extender to Your DVR
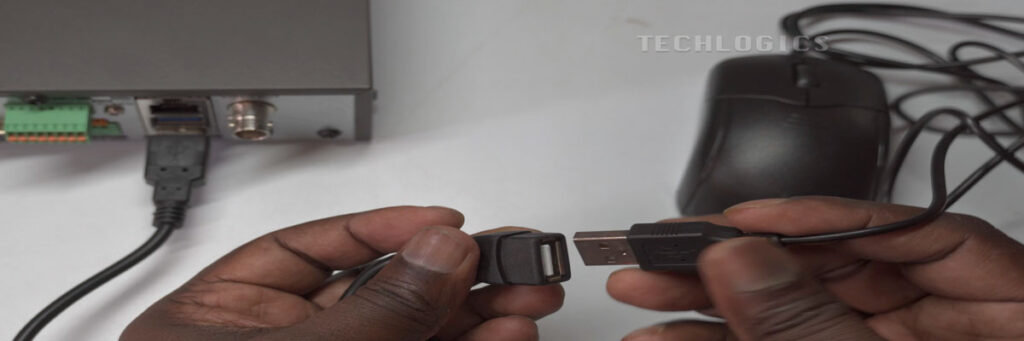
- Connect the Male USB End: Start by plugging the male end of the USB extender into the USB port on your DVR. This connection establishes communication between your extender and the recording device.
- Prepare Your Cat 6 Cable: For optimal performance, use a high-quality Cat 6 cable.
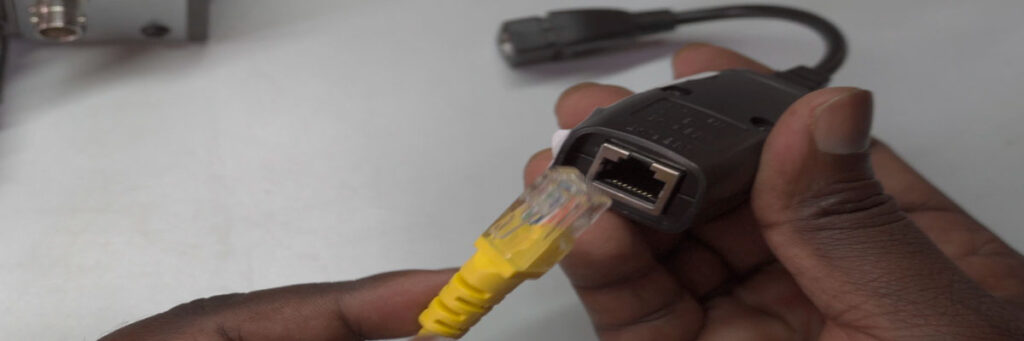
- Connect the Cat 6 Cable to the Extender: Take one end of the Cat 6 cable and connect it to the Ethernet port on the extender that is linked to your DVR.

Step 4: Connecting the Other End of the Cat 6 Cable
- Plug into the Receiving USB Extender: Now, take the other end of the Cat 6 cable and connect it to the Ethernet port on the receiving USB extender.
- Connect Your USB Mouse: Finally, plug your USB mouse into the female USB port on the extender.
Step 5: Testing Your Setup
Once all connections are secure, you should be ready to use your mouse remotely. Move the mouse around to ensure it functions properly over the extended distance. This model is designed for short distances, so no additional power is required. However, if you consider a model that extends further, remember to connect it to a power source as needed.

Optional Video Resource
For more assistance, check out our other video, where we demonstrate how to extend both HDMI display and USB mouse functionality over a single Cat 6 cable.
Conclusion
We hope this step-by-step guide helps you set up your 50-Meter USB Mouse Extender with ease. If you found this post helpful, please consider supporting us by liking, sharing, or subscribing to our channel. Your support helps us create more valuable content and resources for our audience. Thank you for reading!