In this blog post, we’ll walk you through the complete process of setting up your Hikvision 4G PT Network Camera using a LAN connection to an internet router or modem. From installing a memory card to configuring the Hikconnect mobile app, we’ve got you covered with detailed steps to get your camera up and running.
Memory Card Installation
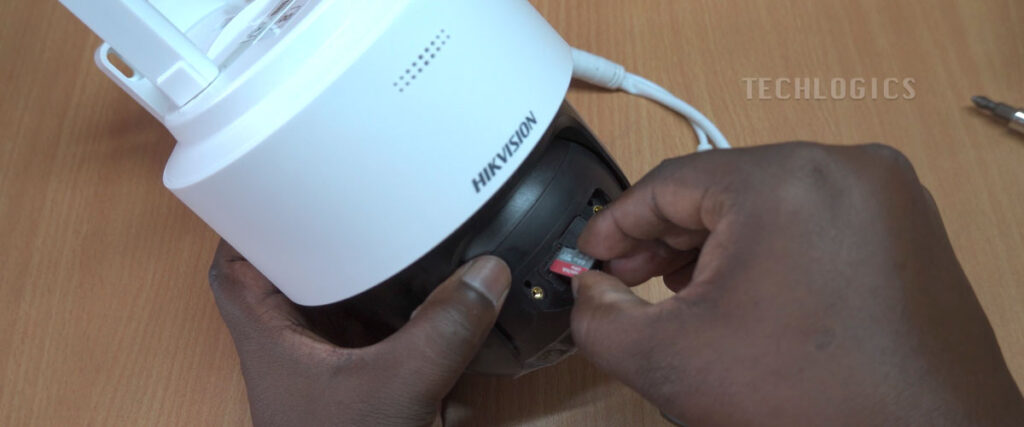
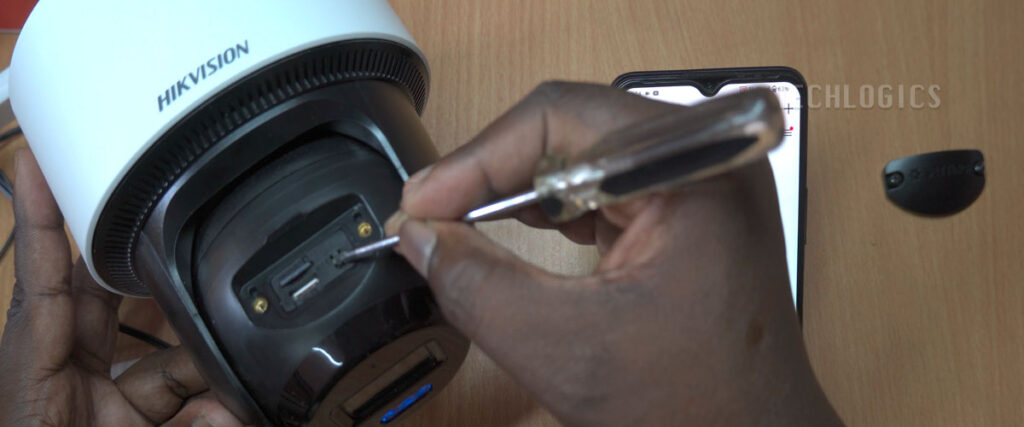
Before powering on your Hikvision camera, ensure it’s turned off to protect both the device and the memory card. The microSD card slot is conveniently located on top of the camera. To access it, gently tilt the camera lens downward. Insert the microSD card into the slot as shown in the accompanying video, making sure it’s securely in place.
Powering Up the Camera
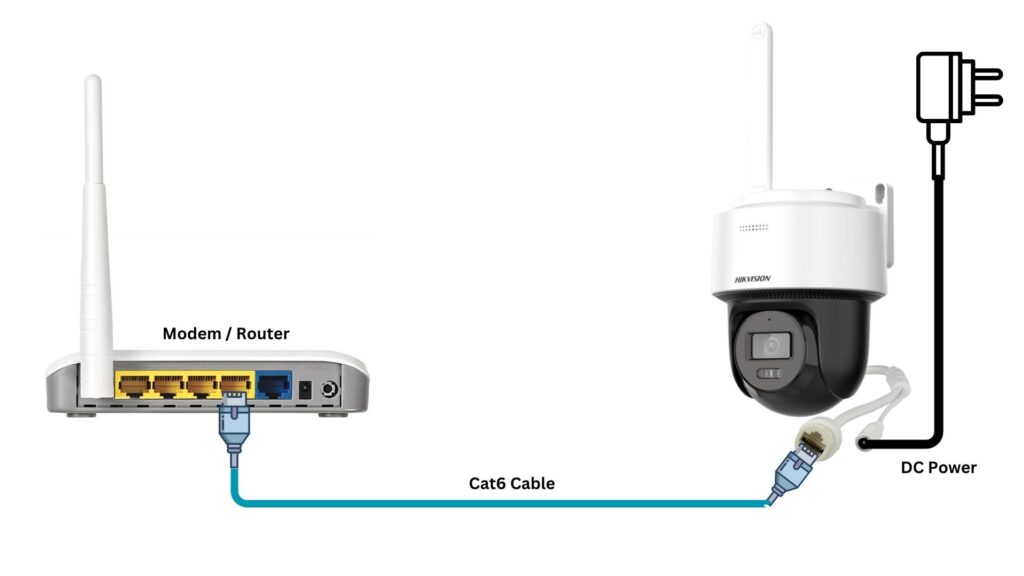
To get started, connect the camera to a power source using the provided DC power adapter. Next, use a Cat6 LAN cable to link the camera to your internet modem or router. Once powered on, the camera will initiate its startup sequence. You’ll notice the PT (pan-tilt) lens rotate once, signaling that the camera is booting up.
A red light will appear initially, indicating the boot process. As it completes, the light will switch to a flashing blue, letting you know the camera is ready for configuration. You’ll also hear a voice announcement confirming network connectivity.
Downloading and Installing the Hikconnect App
The Hikconnect app is essential for managing your camera remotely. Here’s how to get it set up:
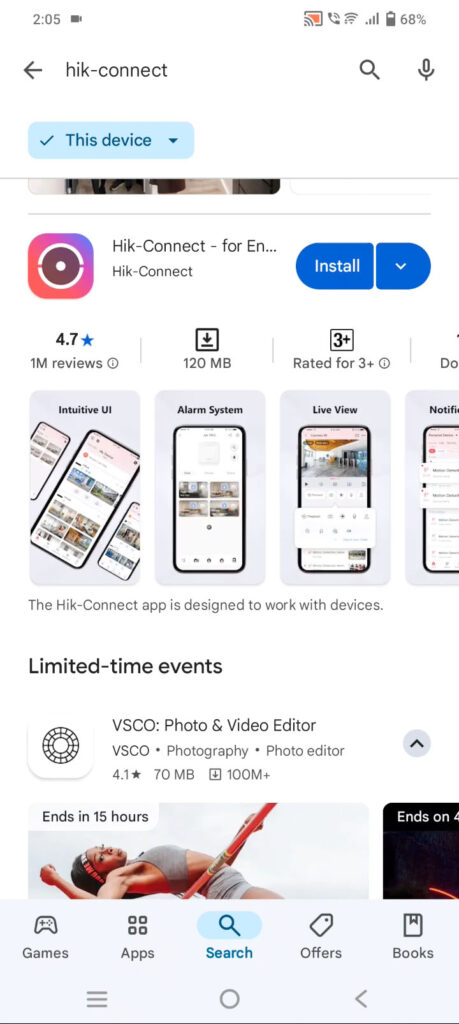
- Download the App: Open the Play Store on your smartphone or tablet. In the search bar, type “Hikconnect” and locate the app developed by Hikvision.
- Install: Tap the app, hit “Install,” and accept any permissions if prompted. The download and installation should take just a few minutes.
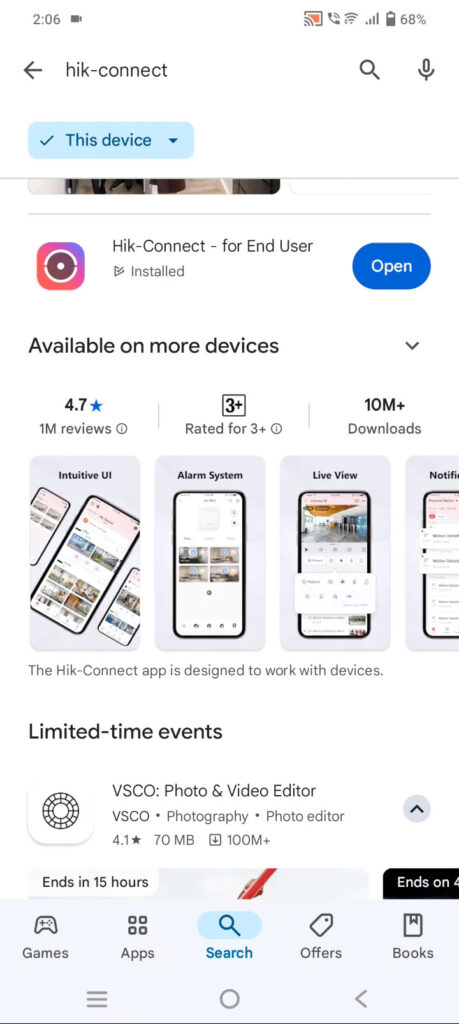
- Launch: Once installed, tap “Open” or find the app icon on your home screen or app drawer.
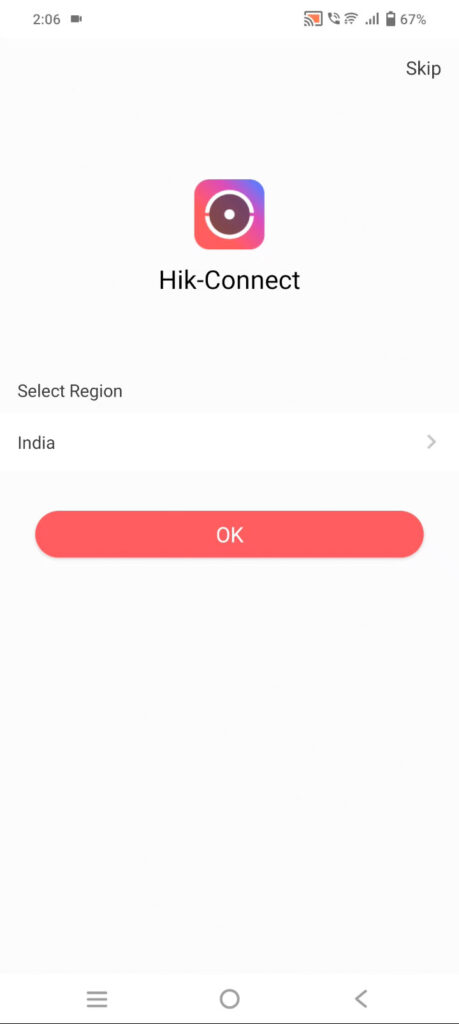
- Region Selection: On first launch, select your country to optimize performance with local servers.
Logging In or Registering
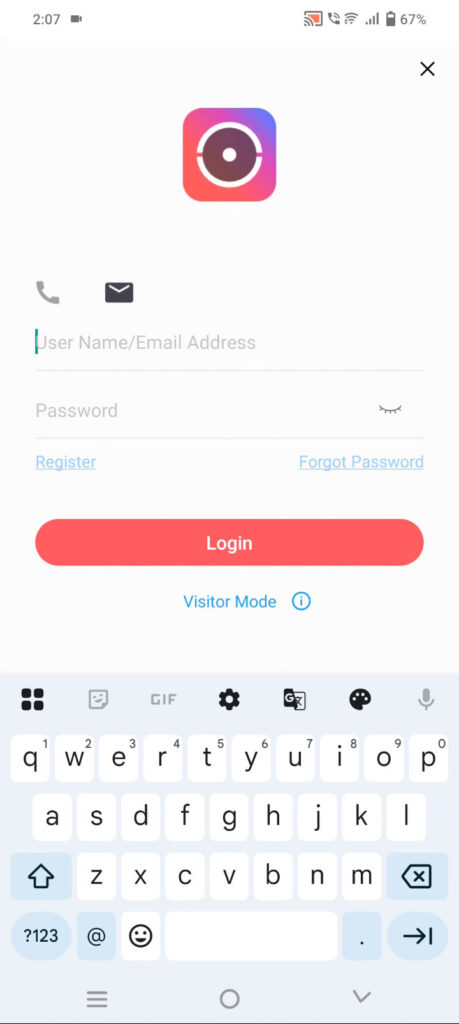
- Existing Users: If you have a Hikconnect account, log in using your phone number or email and password.
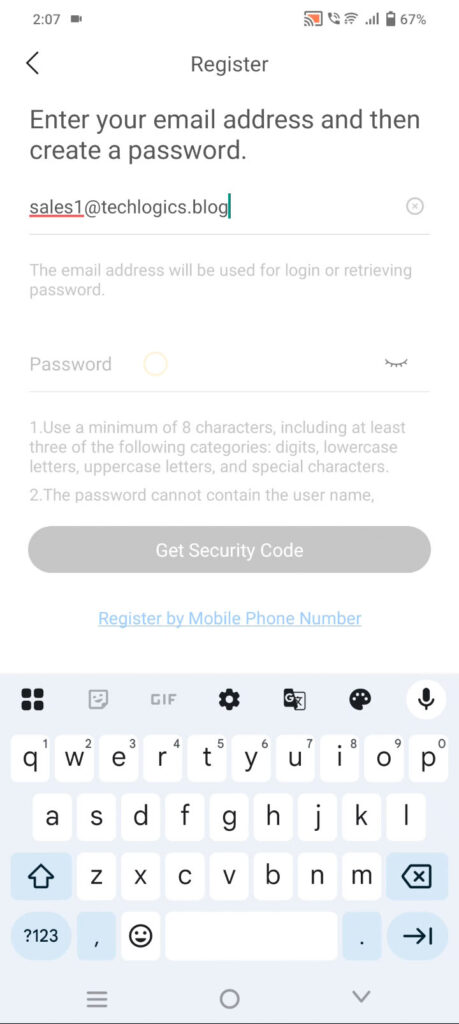
- New Users: Tap “Register” on the login screen. Choose to sign up with your email or phone number. For email registration:
- Enter your email and create a strong password (mix of letters, numbers, and special characters).
- Complete the captcha verification.
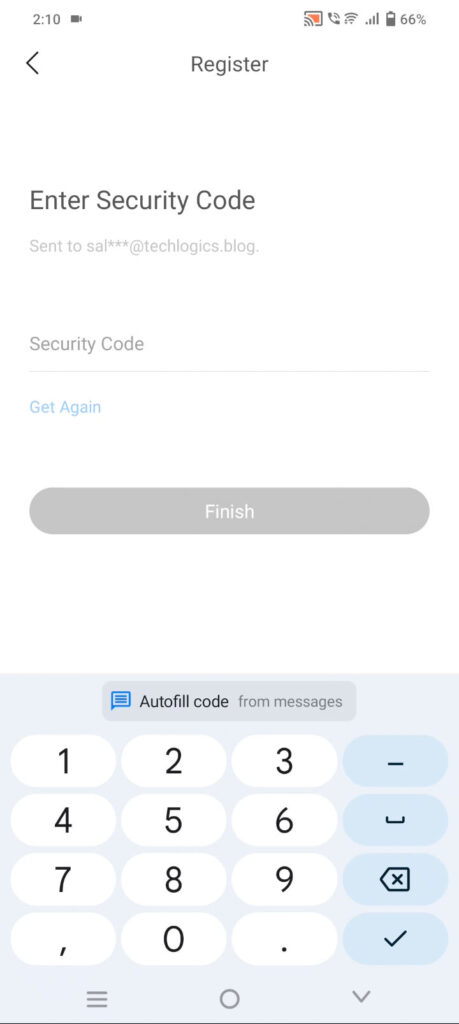
- Check your email for a verification code, then input it into the app.
- Optionally, link your phone number for easier logins.
- Enhanced Security: Enable face recognition or biometric authentication (like fingerprint scanning) if your device supports it for added security and convenience.
With the app installed and your account ready, you’re set to connect your camera.
Configuring the Camera with Hikconnect
For the initial setup, keep the camera near your phone and ensure it’s in network connection mode. If necessary, press the reset button to prepare it for linking.
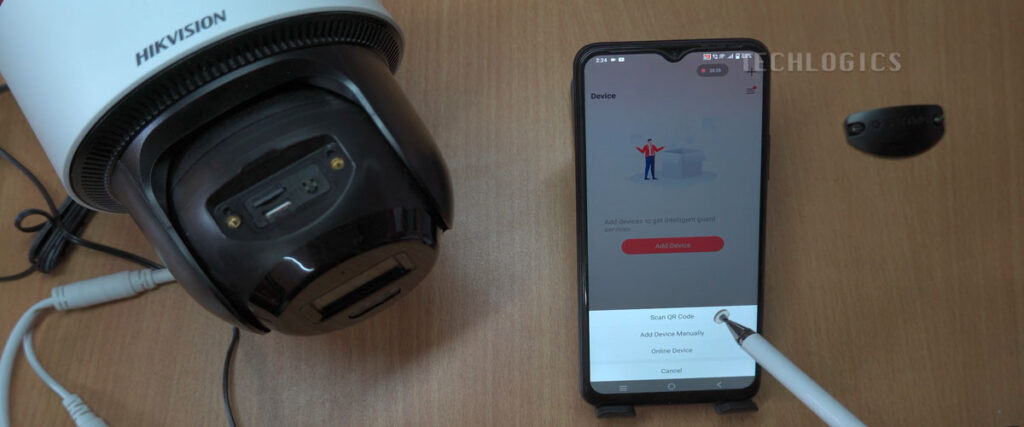
- Add the Camera: In the Hikconnect app, tap “Add Device” or the “+” symbol, then select “Scan QR Code.”
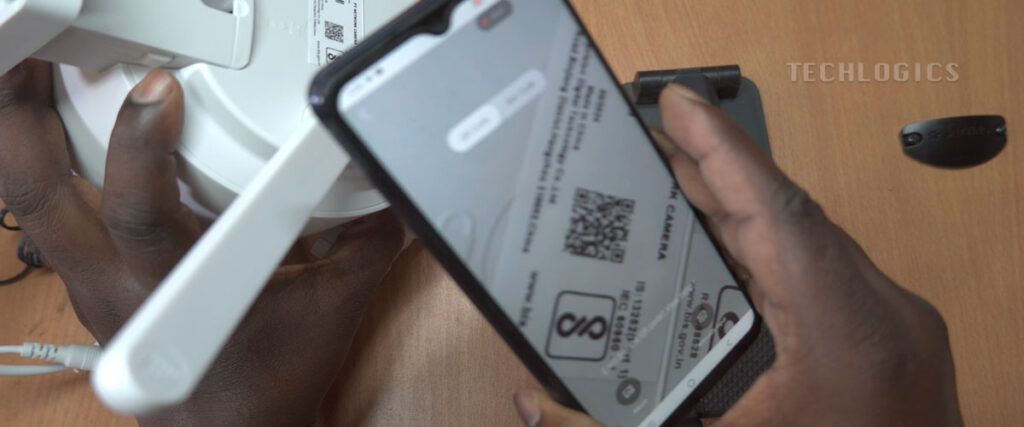
- Grant Permissions: Allow the app to access your phone’s camera for scanning.
- Scan the QR Code: Locate the QR code on the camera (usually on a sticker) and scan it with your phone. The app will process the code, which contains the camera’s identification and configuration details.
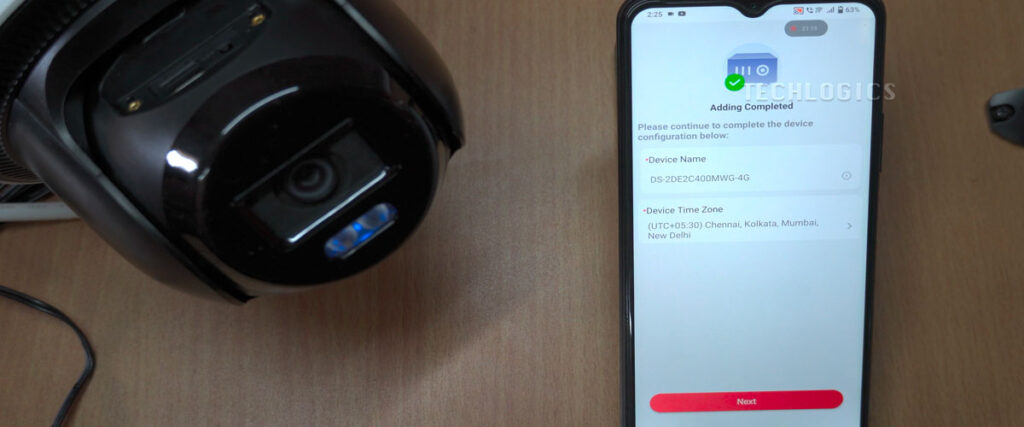
- Complete Setup: Follow the app’s prompts to add the camera to your account. Once connected, you’ll hear a voice prompt confirming the camera is online and ready.
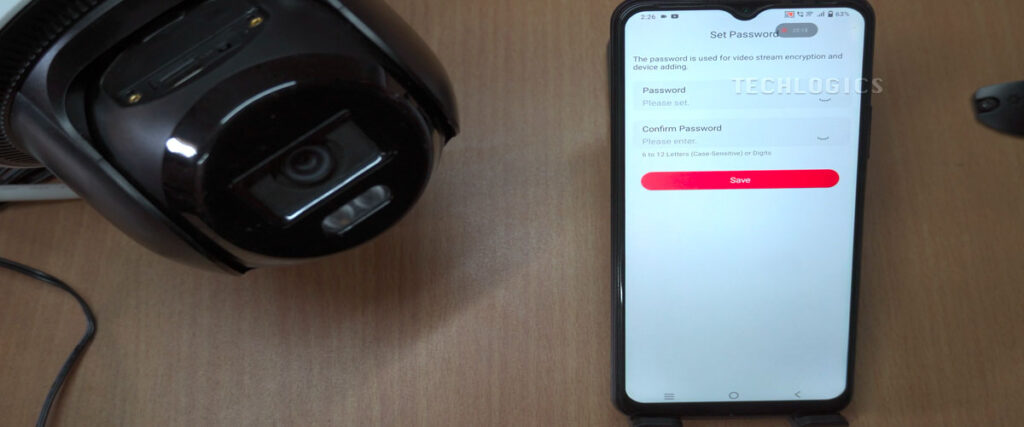
Customizing Settings
- Audio: Audio recording is disabled by default but can be enabled if needed.
- Date & Time: Adjust the date, time, and format settings.
- Device Name: Assign a name and location to your camera.
- Verification Code: Change the default code for the live feed to enhance security, especially if sharing access. Save the new code and share it with authorized users.
Installing the Camera
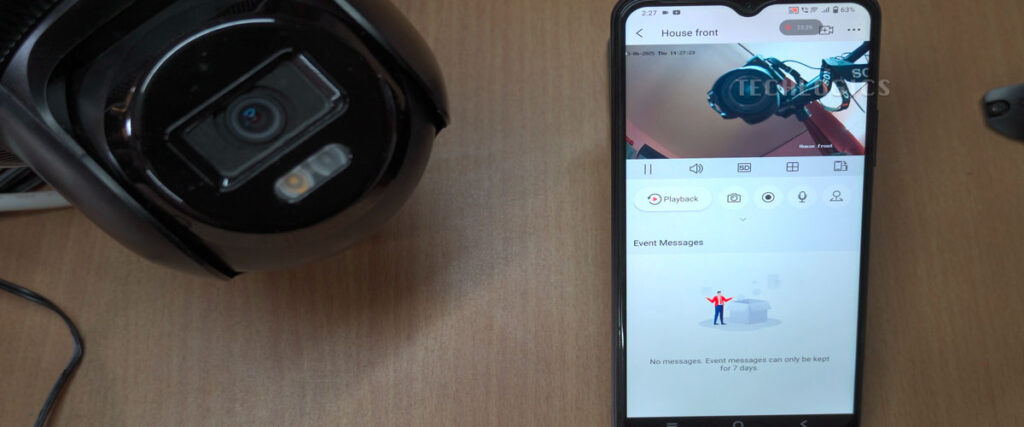
Once configured, move the camera to its final location. Position it to effectively monitor your desired area. With everything set, you can now enjoy features like:
- Live Streaming: View real-time footage from anywhere.
- Playback: Access recorded footage from the memory card.
- PTZ Control: Remotely pan, tilt, and zoom the camera.
Managing the Memory Card
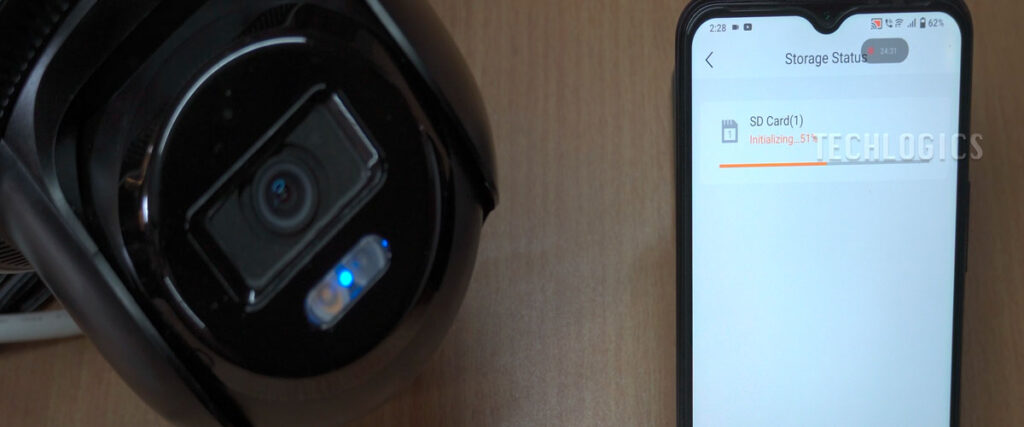
To ensure your memory card is ready for recording:
- Go to camera settings in the app, then select “Record List” > “Storage Medium.”
- If the card status is “Uninitialized,” click “Initialize” to format it.
- Once initialized, the status will update to “In Use,” and storage capacity will be displayed.
- Switch to SD card view to access recorded footage. By default, the camera records motion detection or event-based footage—adjust this in the settings as needed.
Why Hikconnect Shines
The Hikconnect app works seamlessly over mobile data or Wi-Fi, giving you global access to your camera. Whether you’re at home, work, or traveling, you can monitor your property in real time. For more in-depth guidance, explore additional resources in our video series.
Support Our Content
If you found this guide helpful, we’d love your support! Liking, sharing, or subscribing to our channel helps us create more valuable content for you. Thank you for being part of our community!


