Welcome to TECH LOGICS! In this comprehensive guide, we’ll walk you through the step-by-step process of setting up your Ezviz HB8 4G Battery-Powered Outdoor Camera, from installing the SIM and Micro SD cards to configuring the Ezviz app and placing the camera in its final location. Whether you’re a first-time user or a seasoned tech enthusiast, this tutorial will help you get your camera up and running smoothly with full connectivity and storage capabilities. Let’s dive in!
Step 1: Installing the SIM and Micro SD Cards
Proper installation of the SIM and Micro SD cards is essential for ensuring your camera has reliable connectivity and sufficient storage. Follow these steps to get started:
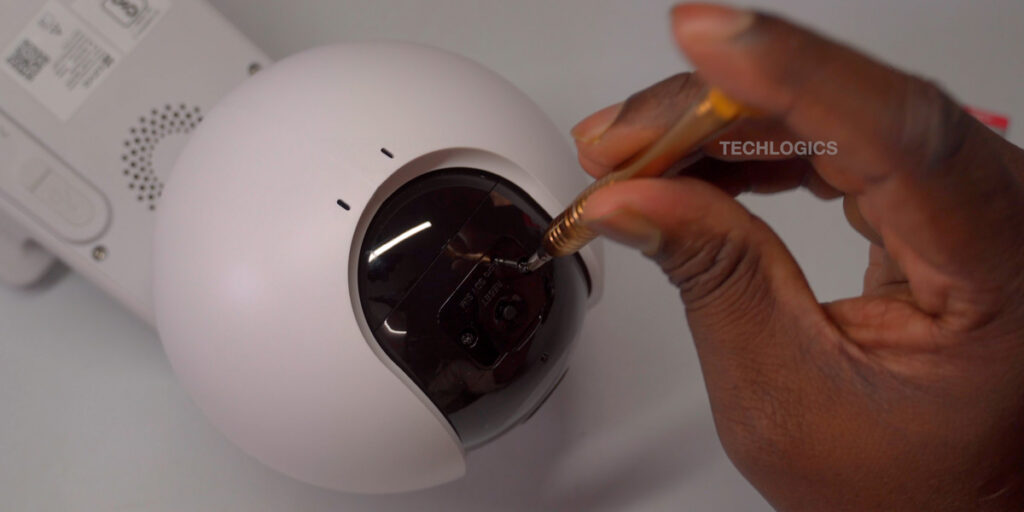
- Access the Card Compartments:
- Carefully open the camera’s casing using the appropriate tools (typically included in the packaging). Follow the manufacturer’s instructions to avoid damaging the device.
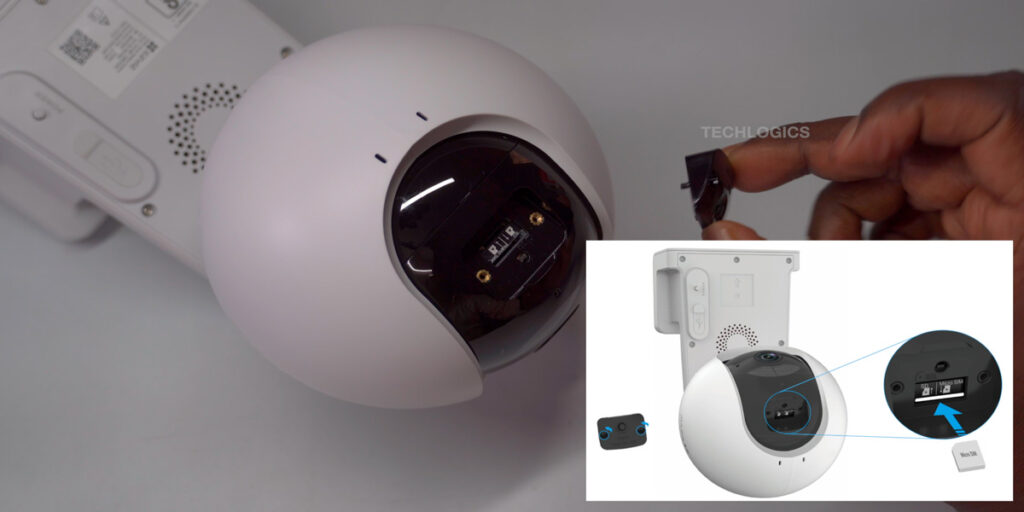
- Locate the SIM and Micro SD card slots inside the compartment.
- Insert the Cards:
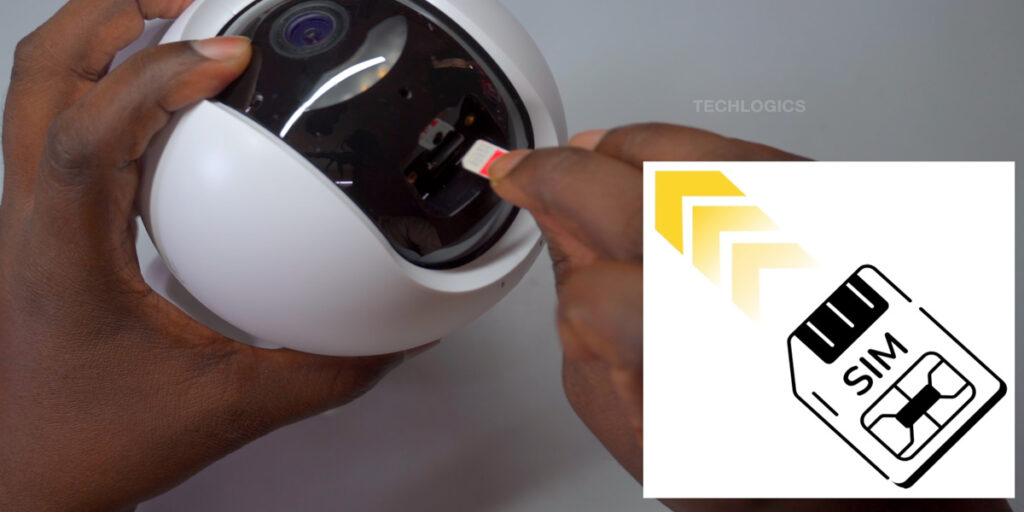
- SIM Card: Align the SIM card with the designated slot, ensuring the correct orientation (check for a notched corner). Gently insert it until it clicks into place.
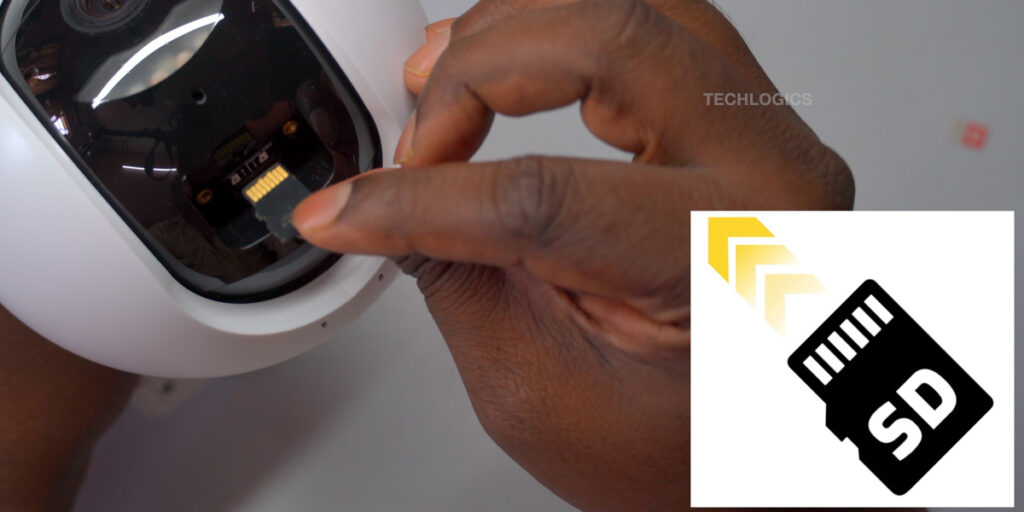
- Micro SD Card: Insert the Micro SD card into its slot, ensuring it is securely seated. Proper alignment is key to avoid connectivity issues.
- Close the Device:
- Securely close the camera’s casing, ensuring no gaps or loose parts.
- Power on the camera by pressing and holding the power button for 3–5 seconds until you hear a voice prompt or see the blue LED indicator.
- Verify Card Recognition:
- Once powered on, the camera will indicate whether the SIM and Micro SD cards are detected. If not, double-check the card orientation and reseat them if necessary.
Step 2: Downloading and Setting Up the Ezviz App
The Ezviz app is your gateway to managing and monitoring your camera. Here’s how to get it set up:
- Download the App:
- Open the Google Play Store (or App Store for iOS users) on your smartphone or tablet.
- Search for “Ezviz” and select the app developed by Ezviz Inc..
- Tap Install, accept any permissions, and wait for the app to download and install automatically.
- Launch and Configure the App:
- Open the app and select your region for optimal server connectivity.
- Existing Users: Log in with your email or phone number and password.
- New Users:
- Choose the registration option and select email or phone number.
- Enter your details, create a strong password, and complete the captcha verification.
- Check your email for a verification code, enter it in the app, and verify your account.
- Optionally, link a phone number or enable biometric authentication (e.g., fingerprint or face recognition) for added security.


Step 3: Adding the Camera to the Ezviz App
With the app installed, it’s time to connect your Ezviz HB8 camera:
- Power On the Camera:
- Keep the camera near your phone during setup for easier configuration.
- Press and hold the power button for 3–5 seconds until you hear a confirmation voice prompt or see the blue LED indicator.
- The camera will announce its network connection mode and status. If you hear “Platform registration fail,” proceed with the setup and troubleshoot if needed (see below).
- Add the Camera:
- In the Ezviz app, tap Add Device or the + symbol and select Camera.
- Grant camera access permissions to scan the QR code.
- Locate the QR code on the camera (usually on a sticker) and scan it with your phone. The app will process the code, which contains the camera’s identification details.
- Confirm the camera is powered on and the SIM PIN is unblocked.
- Troubleshooting Connection Issues:
- If the app displays “Configuring network failed” or the camera announces “Platform registration fail,” reset the camera:
- Locate the reset button near the storage slot.
- Press and hold for up to 5 seconds until you hear “Reset successfully.”
- Retry the setup process. Once the camera announces “Platform registration successful,” tap Retry in the app to complete the connection.
- If the app displays “Configuring network failed” or the camera announces “Platform registration fail,” reset the camera:
- Finalize Setup:
- When the app displays “Device is added successfully,” your camera is connected.
- Optionally, save the camera’s QR code to your device for future reference.
- Set a strong Encryption Password to secure your camera’s live feed.
- Configure audio recording, date/time settings, and date format as needed.


If the Ezviz app shows “Configuring network failed” or the camera says “Platform registration fail,” reset the camera by pressing and holding the reset button near the storage slot for 5 seconds until you hear “Reset successfully.” Retry the setup in the app, and when the camera says “Platform registration successful,” tap Retry to complete the connection.


Step 4: Configuring Camera Settings
Customize your camera’s settings to suit your needs:
- Select Working Mode:
- Choose a mode based on your power setup:
- Standard Mode: Ideal for battery-powered cameras or those connected to solar panels. The camera records only during motion detection events, conserving battery life.
- AOV Mode (Always On Video): Streams continuously for constant surveillance (best for USB-powered setups).
- Tap Next to save your selection.
- Choose a mode based on your power setup:
- Initialize the Micro SD Card:
- If prompted, tap Initialize to format the Micro SD card for video recording.
- To check the card’s status, go to Camera Settings > Record List > Storage Medium. If it shows “Uninitialized,” tap Initialize to format it.
- Once initialized, the status will update to “In Use,” and you can view recorded footage in the app.


Step 5: Installing the Camera
Now that your camera is configured, it’s time to install it in its final location:
- Choose the Location:
- Select a spot that provides optimal coverage of your target area.
- Ensure the camera is within 4G network range for reliable connectivity.
- Mount the Camera:
- Follow the manufacturer’s instructions to securely mount the camera.
- Adjust the angle to capture the desired view.
- Test Functionality:
- Use the Ezviz app to verify the live feed, PTZ (pan-tilt-zoom) controls, and playback features.
- Ensure motion detection and event-triggered recording are working as expected.
Key Features of the Ezviz HB8 4G Camera
Once set up, your Ezviz HB8 offers a range of powerful features:
- Live Streaming: View real-time footage from anywhere using the Ezviz app.
- Playback: Review recorded clips to revisit events.
- PTZ Controls: Remotely adjust the camera’s angle and zoom for enhanced surveillance.
- Global Accessibility: Monitor your property over mobile data or Wi-Fi, whether you’re at home or traveling.
Tips for Success
- Keep the QR Code Safe: Store the camera’s QR code in the app or take a photo, as it’s essential for future setups or troubleshooting.
- Regularly Check Storage: Monitor the Micro SD card’s capacity in the app to ensure you have enough space for recordings.
- Update the App: Keep the Ezviz app updated for the latest features and security patches.
- Explore Advanced Settings: Dive into the app’s settings to customize motion detection sensitivity, recording schedules, and more.
Conclusion
Congratulations! You’ve successfully set up your Ezviz HB8 4G Battery-Powered Outdoor Camera. With its robust features and easy-to-use app, you can now monitor your property with confidence, whether you’re at home or on the go. For more in-depth guidance on advanced settings or troubleshooting, check out our video series or visit the Ezviz support website.
If you found this guide helpful, please like, share, or subscribe to our channel for more tech tutorials. Your support helps us create valuable content for our community. Thank you for joining us, and happy monitoring!


