Welcome to TECH LOGICS! In this video tutorial, we’ll guide you through a detailed, step-by-step process to add the TP-Link Tapo C320WS Outdoor CCTV Security Wi-Fi Smart Camera to your Wi-Fi network. We’ll also cover setting up SD card storage and configuring the camera using the Tapo app, ensuring your outdoor security setup is both straightforward and effective. This process is designed to cater to everyone, from tech-savvy individuals to beginners, making it easy to secure your home.
Why Choose the Tapo C320WS?
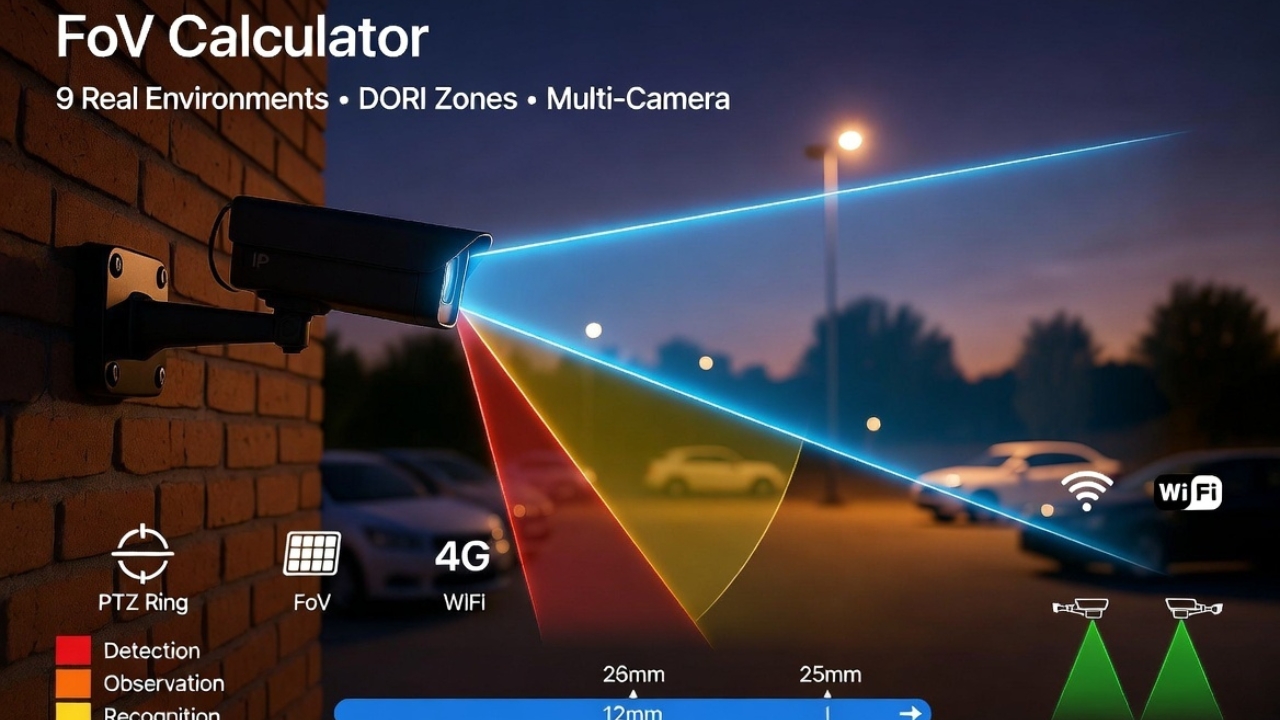
The Tapo C320WS stands out with its weatherproof IP66-rated design, delivering crystal-clear 2K QHD video in 2560×1440 resolution. This ultra-high-definition clarity allows you to effectively monitor every detail outdoors. Its fixed wide-angle lens provides broad coverage of your driveway, backyard, or perimeter, ensuring no area is left unchecked, making it ideal for both security and monitoring your property.

| Feature | Details | Benefit |
|---|---|---|
| 2K QHD Video | 2560×1440 resolution | Ultra-clear outdoor monitoring |
| Wide-Angle Lens | Fixed broad coverage | Full perimeter view without blind spots |
| Night Vision | Full-Color & Starlight technology | Vibrant footage in darkness or low light |
| Motion Detection | Instant smartphone alerts | Immediate response to activity |
| Sound & Light Alarm | Spotlights + siren | Deter intruders effectively |
| Two-Way Audio | Built-in mic & speaker | Remote communication or warnings |
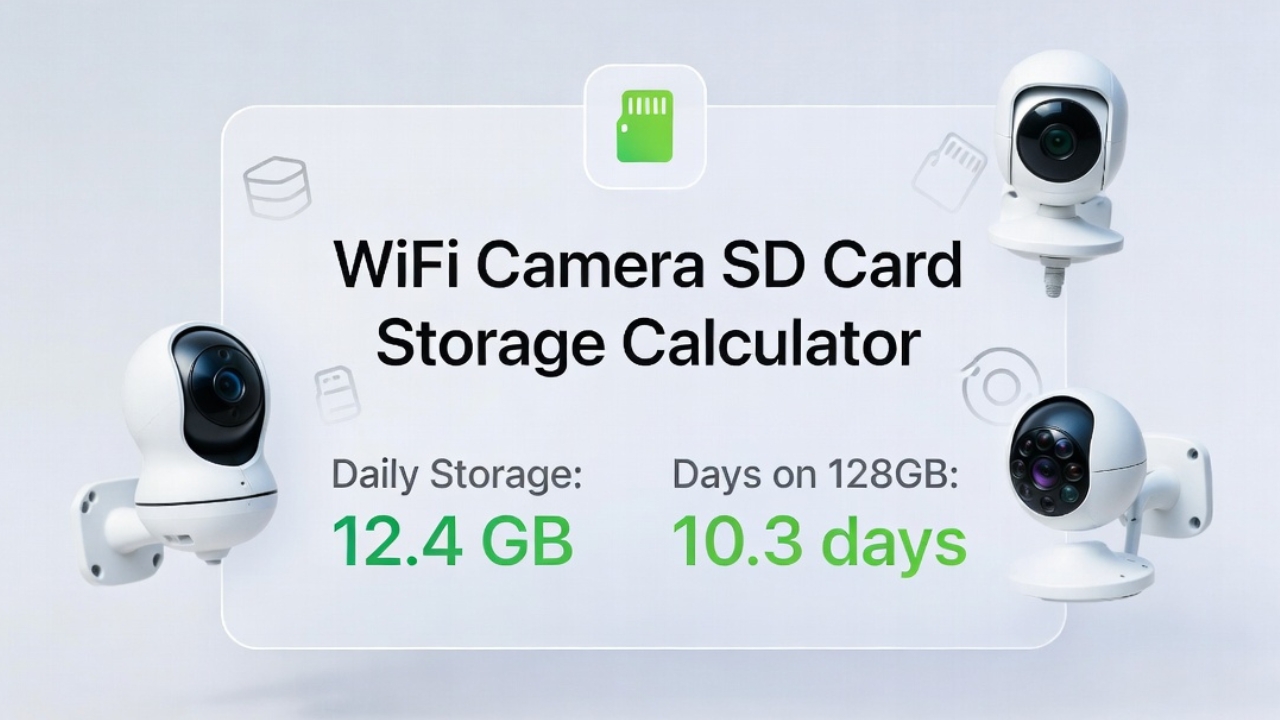
| Local Storage | microSD up to 512GB | Secure, cost-effective footage retention |
| Tapo App | Live streaming & remote control | Easy management anywhere |
| Privacy Mode | One-tap disable | Customizable operation |
| Smart Integration | Google Assistant & Amazon Alexa | Hands-free smart home control |
Package Includes: User manual, drill template, DC power adapter, mounting hardware with screws, weatherproof seals—everything necessary for easy installation!
Buy Tapo C320WS Outdoor WiFi Camera Online
Let’s dive into the setup process!
Step 1: Memory Card Installation
Before installing or removing the memory card, make sure the camera is completely powered off. This step is crucial to avoid damage to the camera or microSD card.
- Locate the Card Slot: Accessible via a weatherproof cover on the bottom near the base. Gently unscrew or openthe protective cover.
- Insert the Card: Align with gold contacts facing downward and notched edge properly oriented. Push gently until it clicks into place.
- Remove (if needed): Press gently until it pops out, then pull carefully.
- Power On: Once inserted, power on—camera auto-starts recording if configured.
- Secure Cover: Tighten the weatherproof cover to maintain IP66 protection.
Storage Capacity: The Tapo C320WS supports microSD cards up to 512GB, providing ample storage for continuous or motion-triggered recording.
Note: Always double-check the card is fully inserted before powering on to prevent data loss or recording errors.


Storage Tips: A 512GB card stores up to two weeks of footage, depending on video quality, frame rate, and recording mode. Regularly check storage and format via Tapo app for smooth performance in outdoor conditions.
Storage Capacity Table:
| Card Size | Continuous Recording | Motion-Triggered |
|---|---|---|
| 128GB | 3-5 days | 1-2 weeks |
| 256GB | 7-10 days | 2-3 weeks |
| 512GB | 14+ days | 4+ weeks |
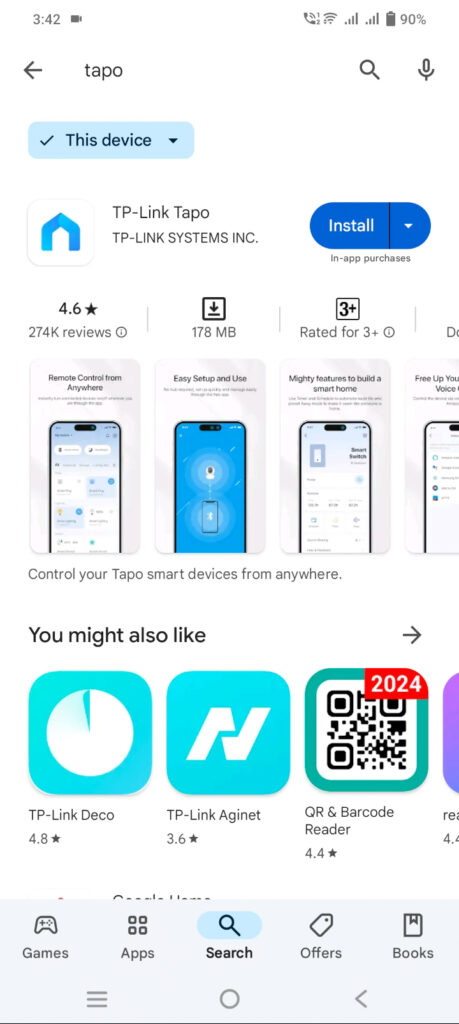
Step 2: Download and Install the Tapo App
To get started, download and install the Tapo app on your smartphone or tablet:
- Locate QR Code: Find in user manual and scan with smartphone camera.
- Download:
- Android: Google Play Store > Search “Tapo” (TP-Link) > Install.
- iOS: Apple App Store > Search “Tapo” > Install.
- Open App: Review Terms of Use & Privacy Policy > Tap Continue.
- Stable Connection: Use Wi-Fi or mobile data (takes 2-3 minutes).
Grant Permissions: Allow camera, location, notifications for full functionality.
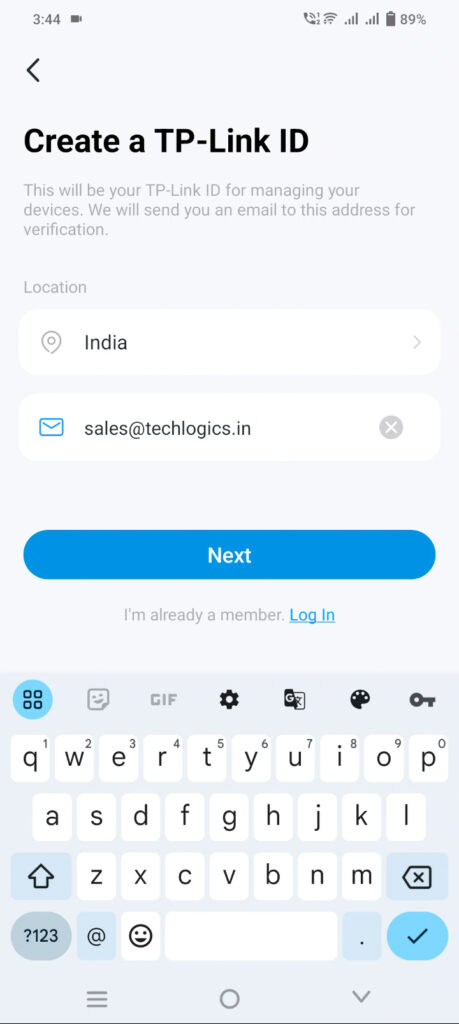
Step 3: Create a TP-Link Account
- Choose Option: Log in with existing ID or “Create a TP-Link ID”.
- Register Process:
- Select region.
- Enter valid email > Next.
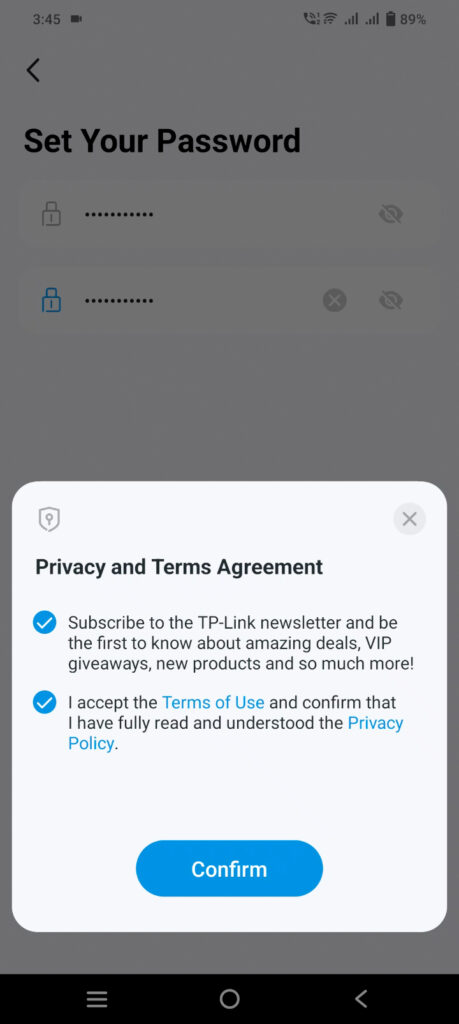
- Create strong password (letters, numbers, symbols) > Sign Up.
- Agree Privacy & Terms > Confirm.
- Verify Email: Check inbox/spam > Follow instructions.
- Login: Email + password > Grant permissions.
Pro Tip: Strong password = Better security!
Step 4: Powering Up the Camera
- Connect Power Adapter: Plug the included DC power adapter into the camera’s power port and a stable power outlet (use weatherproof extension for outdoors).
- Startup Sequence: Status light activates for self-tests. Solid red light shows booting process (lasts a few seconds).
- Ready for Setup: Red and green LEDs flash alternately, confirming successful power-on and self-calibration.
LED Status Guide:
| Light Pattern | Status |
|---|---|
| Solid Red | Booting |
| Red/Green Flash | Ready for Wi-Fi Setup |
| Solid Green | Connected! |
Pro Tip: Keep camera near your router indoors during Wi-Fi setup for stable connection.
Step 5: Reset and Add Camera to the Tapo App
Camera Reset:
- Press reset button (under weatherproof cover) 5-10 seconds.
- Blinking red & blue LEDs = Network connection mode ready.
Add Camera:
- Open Tapo app > “Add Device” > Tapo tab > Outdoor Camera > Tapo C320WS.
- Enable Bluetooth & Location in phone settings.
- Confirm red/green flashing > Next.
- Connect to Camera Wi-Fi:
- Phone Wi-Fi settings > Join TP-Link_C320WS_XXXX.
- Error? Tap “Try Again”.
- Home Wi-Fi Setup:
- Select 2.4GHz network > Enter password.
- Keep camera near router.
- Stable green LED = Connected! (2-3 minutes).
- Finalize:
- Name camera & select location.
- Choose icon.
- Tap Next > “Sounds Good”.
Wall/Eave Mount: Select “Mount on Wall” > Invert image 180° if needed.
Permissions: Allow location, photos, gallery for smooth setup.


Step 6: Initializing the MicroSD Card
- Access Live Stream: Tap camera icon on home screen.
- Initialize Prompt: Select “Initialize” to format (essential for recording).
- Manual Check: Settings > Storage if no prompt.
- Important: Formatting erases all data—back up first!
Recording Ready: Camera now saves footage properly.


Step 7: Final Setup and Advanced Features
- Date & Time: Settings icon > Device Info > Configure location.
- Recording Preferences: Recording Settings > Customize for Full-Color Night Vision & motion notifications.
- Skip Options: Cloud storage/firmware for now—revisit later.
Advanced Features Available:
| Feature | How to Access | Best For |
|---|---|---|
| Digital Zoom | Live view controls | Detailed inspection |
| Motion Detection | Settings > Detection | Activity alerts |
| Sound/Light Alarm | Alarm settings | Intruder deterrence |
| Two-Way Audio | Speaker icon | Remote communication |
| Playback | Storage tab | Event review |
Next Steps: Watch our Advanced Features Series!
Fully Operational: Live streaming, playback, remote controls—accessible worldwide via Wi-Fi/mobile data.
Step 8: Mounting the Camera
- Choose Location: Optimal outdoor coverage (driveway, backyard).
- Use Drill Template: Mark screw holes.
- Secure Mount: Use included hardware, screws & weatherproof seals.
- Adjust: Leverage wide-angle lens for perfect view.
Pro Tip: Ensure weatherproof seals are tight for IP66 protection!
Conclusion
The TP-Link Tapo C320WS Outdoor CCTV Security Wi-Fi Smart Camera makes elevating your outdoor security effortless. With 2K QHD video, Full-Color Night Vision, motion detection, sound/light alarms, two-way audio, and smart integration, it provides peace of mind around the clock.
By following this step-by-step guide, you’ve successfully set up your camera, configured storage, and unlocked full functionality—all in under 15 minutes!
If you found this video helpful, please support us by liking, sharing, or subscribing to our channel. Your support helps us create more content and provide valuable resources. Thank you for your support!