Welcome to Tech Logics! In this blog post, we’ll guide you through the process of connecting a TrueView WiFi Cube Camera directly to the TrueCloud app using a direct Wi-Fi connection, without the need for an internet router or modem. This method is ideal for those without internet access, allowing nearby access to the camera via its access point within a 5 to 10-meter radius. However, for optimal performance and reliability, we recommend connecting the camera through an internet router or modem.
Let’s dive into the step-by-step process to set up your TrueView WiFi Cube Camera for direct Wi-Fi access.
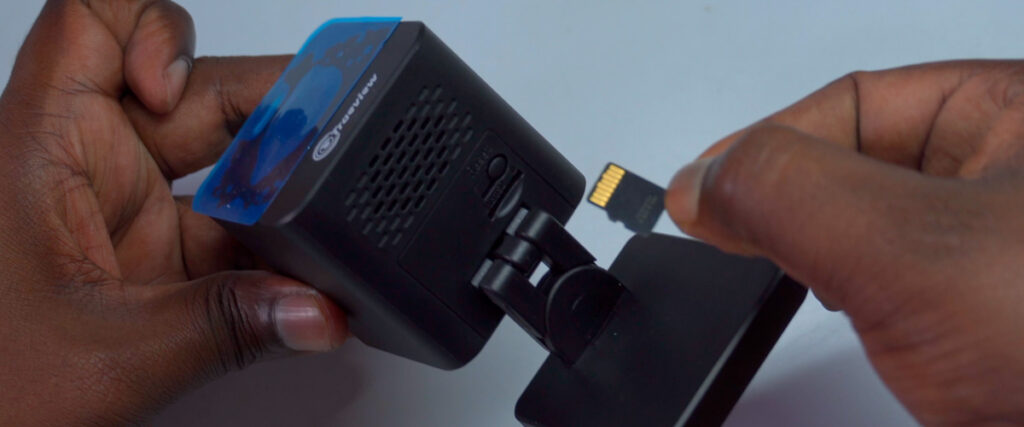
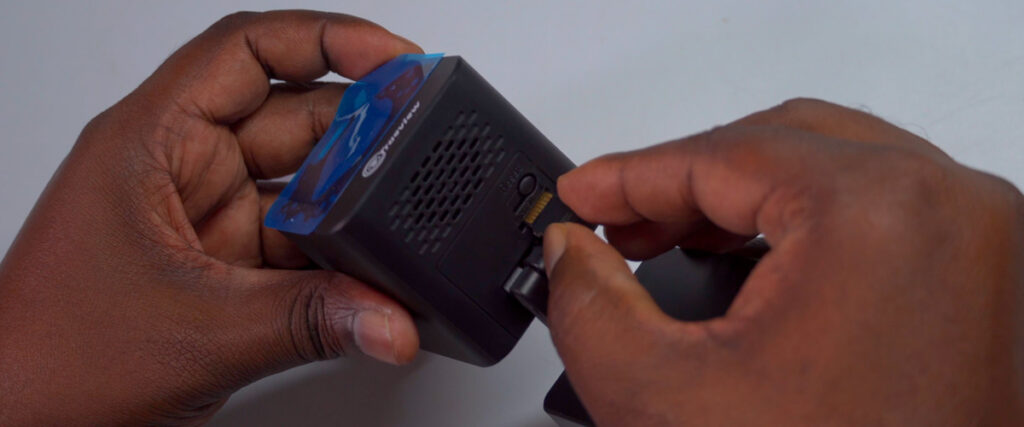
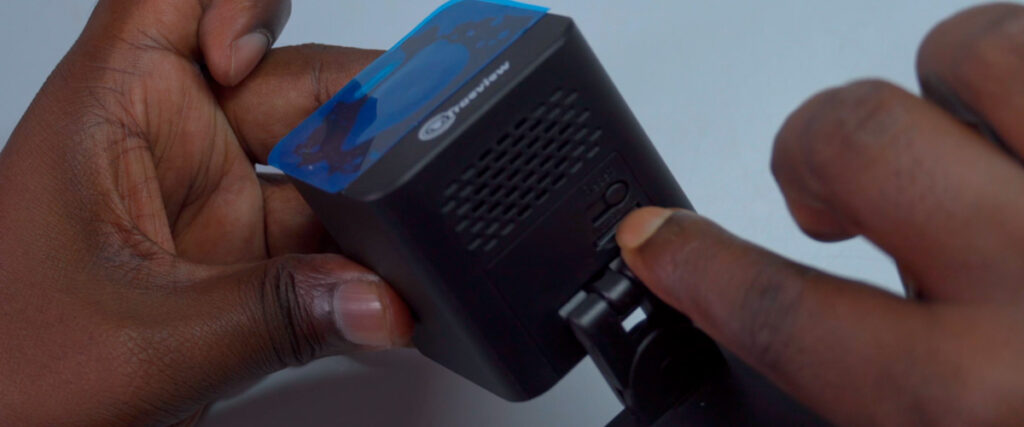
Step 1: Insert the MicroSD Card
Before setting up the Wi-Fi connection, ensure a microSD card is inserted into your TrueView WiFi Camera for storing footage.
- Power off the camera: This prevents potential damage to the camera or memory card during installation.
- Locate the microSD card slot: Typically found at the bottom of the camera.
- Insert the microSD card: Align it with the orientation indicated by nearby icons. For best results, use a microSD card with up to 256GB capacity, which can store 10 to 15 days of footage, depending on video quality and recording settings (continuous or motion-triggered).
- Ensure secure seating: A properly inserted card prevents data loss or recording issues.
- Removing the card: If needed later, gently press the card to release it and pull it out.
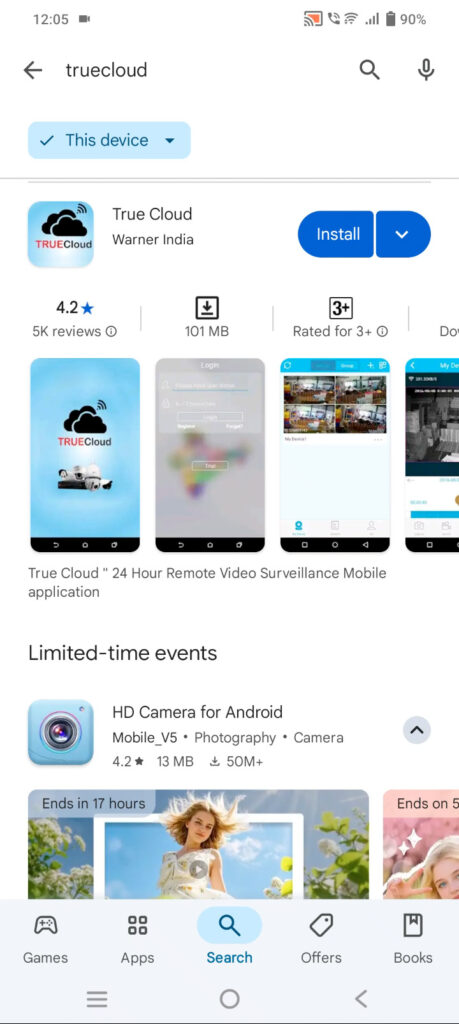
Step 2: Download and Install the TrueCloud App
To control and monitor your camera, you’ll need the TrueCloud app installed on your smartphone or tablet.
- Open the Play Store: On your device, navigate to the Play Store and search for “TrueCloud” in the search bar.
- Select the correct app: Look for the app developed by Warner India and tap “Install.” Accept any permissions requested.
- Wait for installation: The app will download and install within a few minutes.
- Open the app: Tap “Open” or find the app icon on your home screen or app drawer.
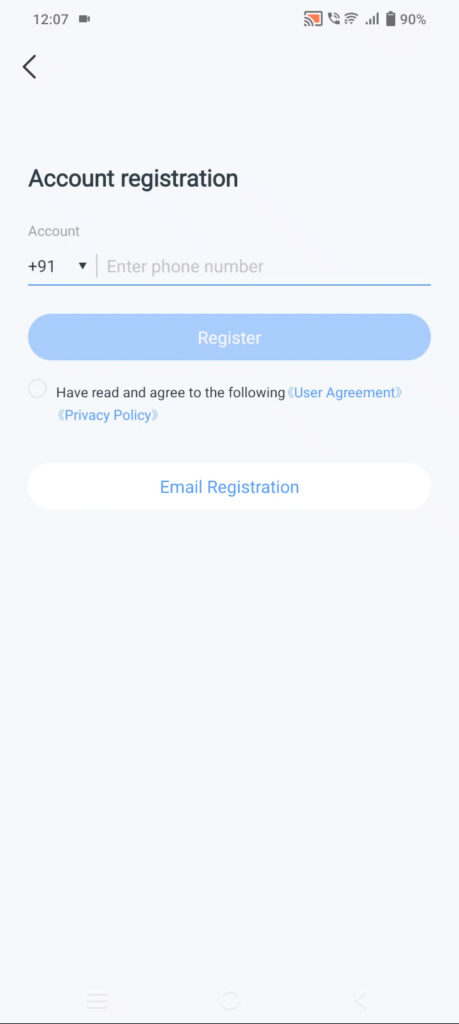
- Log in or register:
- Existing users: Enter your registered phone number or email and password to log in.
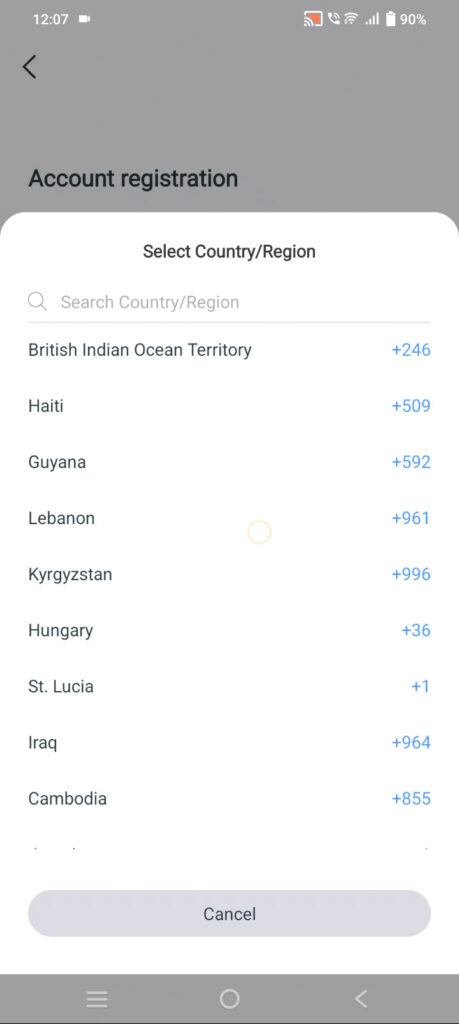
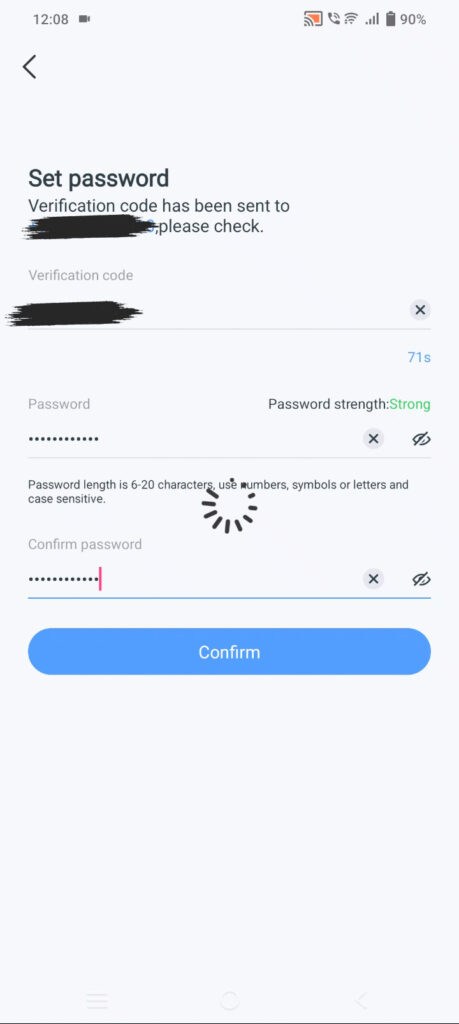
- New users: Select the registration option, choose email or mobile number registration, and follow the prompts. You’ll receive a verification code via SMS or email—enter it in the app and create a secure password.
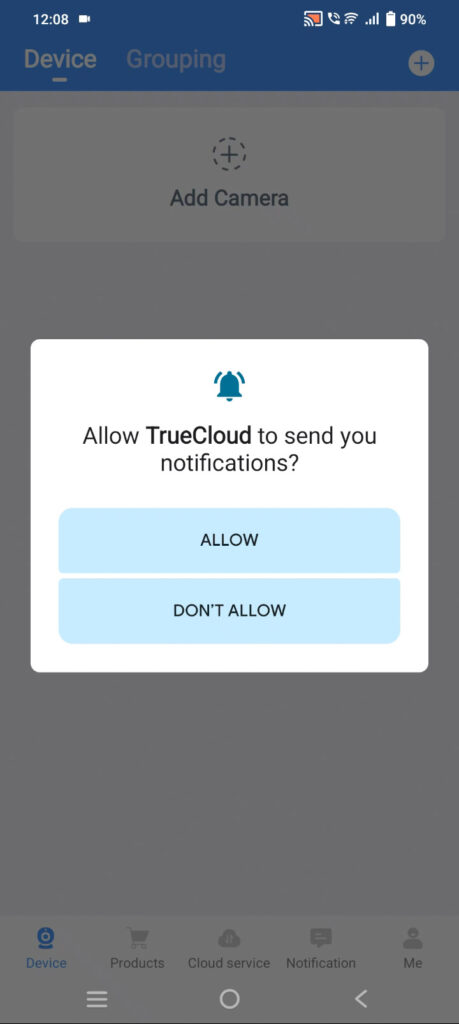
- Grant permissions: Allow location services and Bluetooth access for seamless camera connection.
Step 3: Power On and Prepare the Camera
A stable power supply and proper camera initialization are critical for a smooth setup.
- Power the camera: Use the supplied DC power adapter to power on the camera.
- Wait for boot-up: Allow a few moments for the camera to initialize.
- Listen for the audio prompt: You’ll hear a message like “Please configure the network,” indicating the camera is ready for setup.
- Enter network connection mode: If the prompt doesn’t play, press and hold the reset button for 3 seconds until you hear a notification sound and see the green LED flashing slowly. This signals the camera is ready for Wi-Fi connection and app pairing.

Step 4: Add the Camera to the TrueCloud App
Now, let’s connect the camera to the app using the direct Wi-Fi connection method.
- Open the TrueCloud app: Tap “Add Device” or the plus (+) symbol.
- Grant permissions: Allow access to location and Bluetooth when prompted.
- Select the camera: The app will detect nearby cameras via Bluetooth. Choose your TrueView WiFi Camera from the list and tap “Add.”
- Switch to direct connection mode:
- Tap the “WIFI connection” option in the top right corner of the app.
- Select “Direct Connection” to bypass the need for an internet router.
- Confirm the connection mode: Tap “Confirm” when prompted.
- Press the reset button: Press the camera’s reset button twice to switch it to direct Wi-Fi mode. Then, tap “I have double clicked” in the app to proceed.
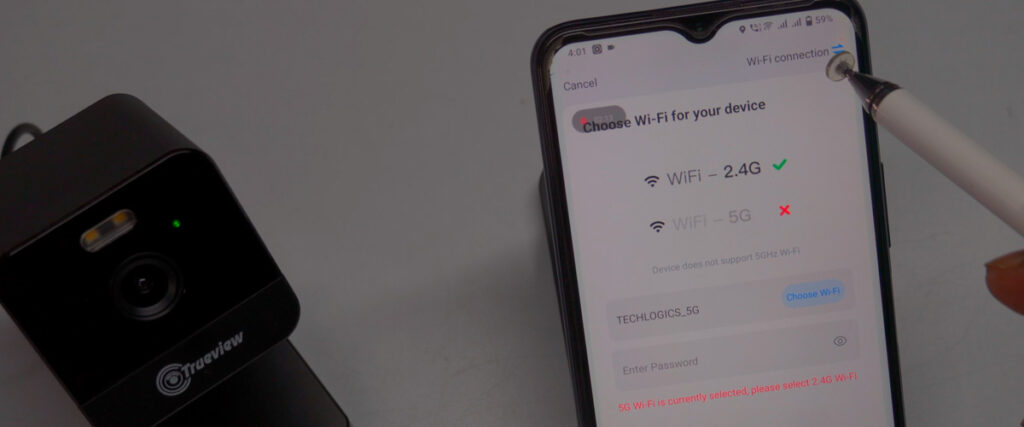
- Connect to the camera’s Wi-Fi:
- Go to your device’s Wi-Fi settings and select the camera’s AP Wi-Fi network, which typically starts with “IPCXX.”
- Enter the default Wi-Fi password: 11111111.
- Ensure you allow connection to the network, even if it lacks internet access.
- Return to the app: Continue the setup process. The app will finalize the connection, linking the camera to your device.


Step 5: Configure and Customize Settings
Once the camera is connected, you can customize its settings for optimal performance.
- Complete the setup: After a successful connection, the app will display a confirmation message.
- Initialize the microSD card:
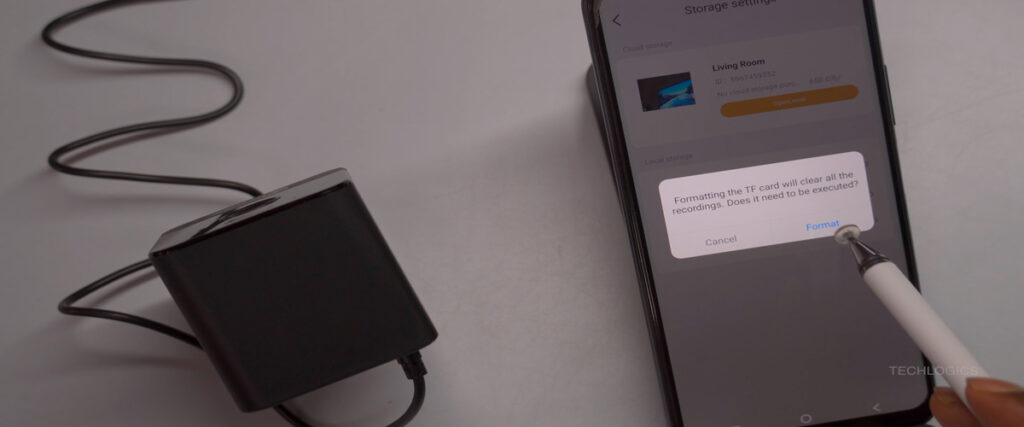
- If prompted, follow the on-screen instructions to format the card for recording.
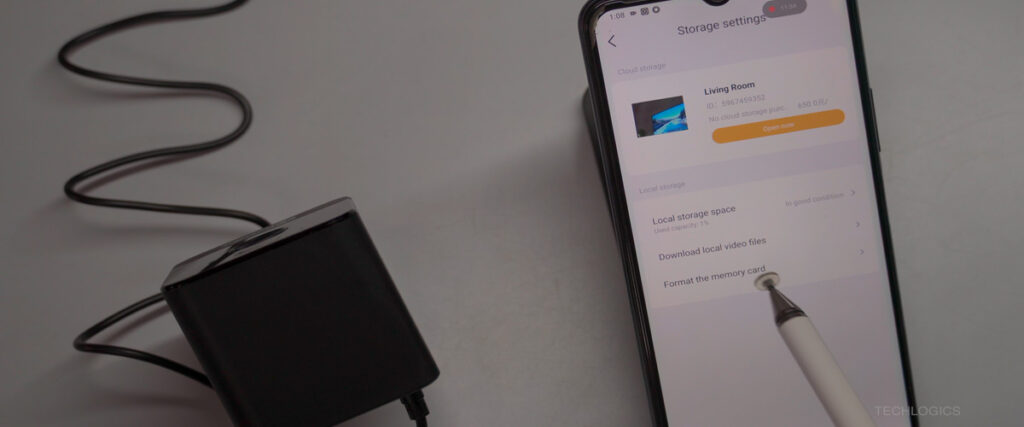
- Alternatively, go to “Storage Settings” > “Storage Medium” > “Initialize” to prepare the card. Once initialized, the status will show “In Use,” and the available storage capacity will be displayed.
- Customize settings:
- Adjust the date, time, and preferred date format.
- Assign a unique name to the camera for easy identification.
- Set the camera’s location for managing multiple devices.
- Enable live streaming: Access real-time footage to monitor your property.
Step 6: Verify Storage and Access Footage
To ensure your microSD card is ready and to review recorded footage:
- Check storage status: In the app, navigate to “Storage Settings” > “Record List.” If the card is “Uninitialized,” select “Storage Medium” and tap “Initialize.”
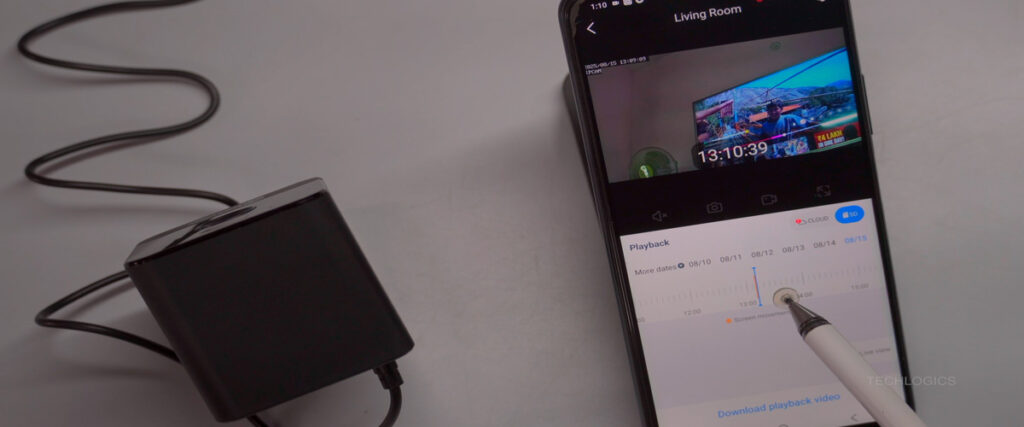
- Access recordings: Tap the “Playback” button and select “SD” as the storage location to view footage stored on the microSD card.
- Recording modes: By default, the camera records motion-triggered or event-based footage. Adjust the recording mode in the app to suit your needs.
Step 7: Choose an Optimal Camera Location
For effective monitoring, place the camera in a location that provides full coverage of the desired area. Proper placement ensures clear and secure footage capture.
Important Notes
- Range limitation: The direct Wi-Fi connection method works within a 5 to 10-meter radius of the camera. For broader access, consider connecting through an internet router.
- Performance recommendation: While this method is suitable for areas without internet, connecting via a router or modem offers a more reliable and efficient experience.
Conclusion
You’ve now successfully set up your TrueView WiFi Cube Camera with the TrueCloud app using a direct Wi-Fi connection! This setup allows you to monitor your property within a limited range, making it a great solution for areas without internet access. Follow these steps carefully to ensure smooth operation and maximize your camera’s potential.
If you found this guide helpful, please share it with others and stay tuned for more tutorials from Tech Logics! Let us know your thoughts or questions in the comments below.


