Welcome to TECH LOGICS! We’re thrilled to dive into a comprehensive unboxing and setup guide for the Imou Bullet 2E Outdoor Smart Security Camera. This reliable device is an excellent choice for protecting your home, shop, office, garage, or any outdoor area—whether you’re monitoring roadside entries, passages, or just keeping an eye on things in general.
In this blog post, we’ll guide you through the entire process step by step, just like in our video tutorial. We’ll cover unboxing the camera and its components, installing a memory card for local storage, downloading and setting up the mobile app, and connecting the camera to your Wi-Fi for remote access. By the end, you’ll be able to monitor your space from anywhere, anytime.

Top Features of the Imou Bullet 2E for Smart Surveillance
Before we jump into the setup, let’s highlight what makes the Imou Bullet 2E stand out:
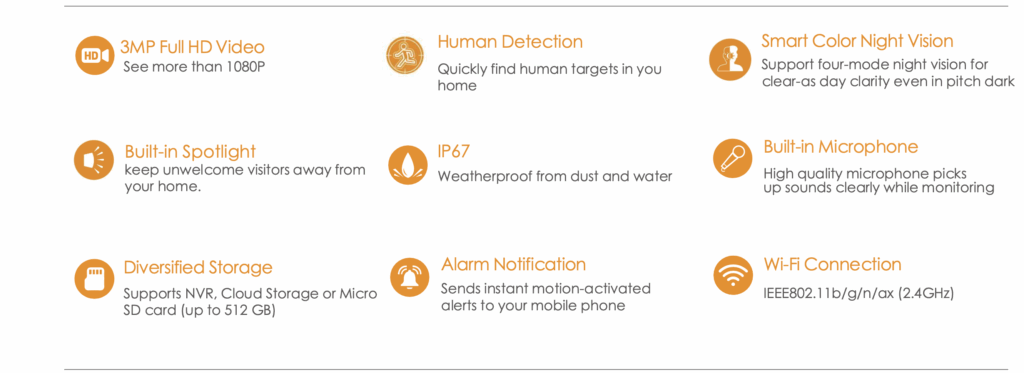
- Crystal-Clear Video Quality: Enjoy 3MP 1296P resolution for sharp, detailed footage. It captures full-color images even in total darkness, with night vision extending up to 30 meters (98 feet). Day or night, your property stays under watchful eyes.
- Intelligent Active Alarms: Advanced image processing detects human movement quickly, sending instant alerts with live video feeds. A built-in spotlight activates to deter intruders, boosting your security.
- Weatherproof Durability: With an IP67 rating, it handles extreme conditions from -30°C to +60°C. Rain, snow, or heat— this camera keeps performing year-round.
- Flexible Connectivity and Storage: Supports LAN and 2.4GHz Wi-Fi for easy setup. Store footage via NVR, cloud, or SD cards up to 512GB. Plus, it comes with warranty coverage for peace of mind.
What’s in the Box: Unboxing the Imou Bullet 2E
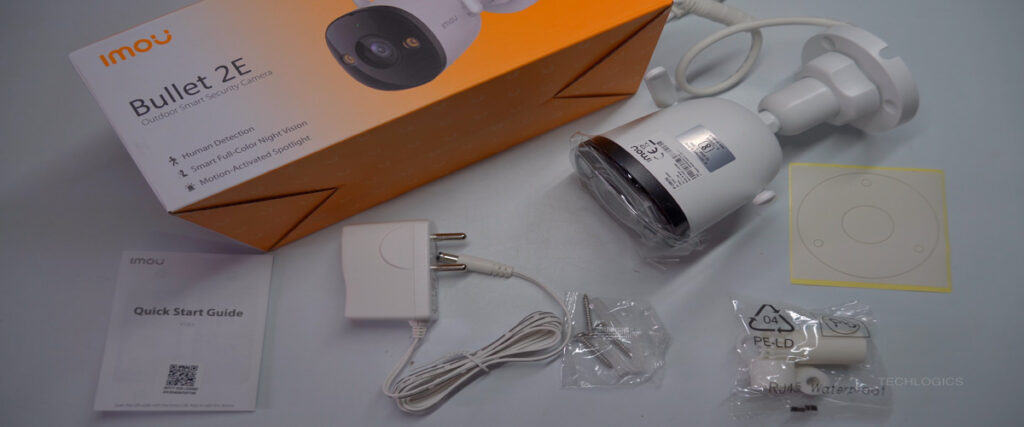
Opening the package is straightforward and user-friendly, with everything you need for a hassle-free installation. Here’s what you’ll find inside:
- The fixed-lens IR night vision weatherproof camera itself.
- A drill template with screws for mounting.
- A user manual for quick reference.
- A waterproof connector case to protect connections.
- A DC power adapter for reliable power.
These components are thoughtfully included to make setup simple, whether you’re a tech newbie or a pro. No need to hunt for extra tools—everything’s ready to go.
Step 1: Inserting the Memory Card
Adding local storage is easy, but follow these steps carefully for optimal performance.
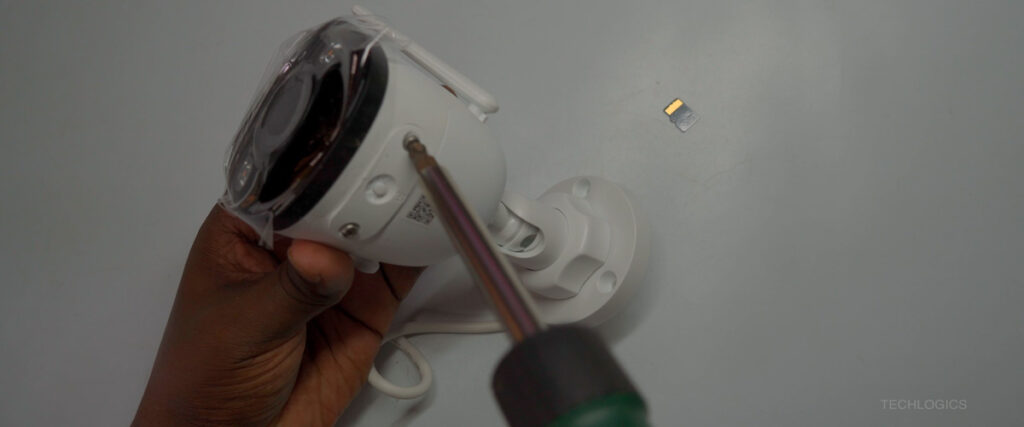
- Power Off the Camera: Always turn off the device first to avoid damaging the camera or card.
- Locate and Access the Slot: The microSD slot is typically on the bottom. Use a star-head screwdriver to remove the protective case.
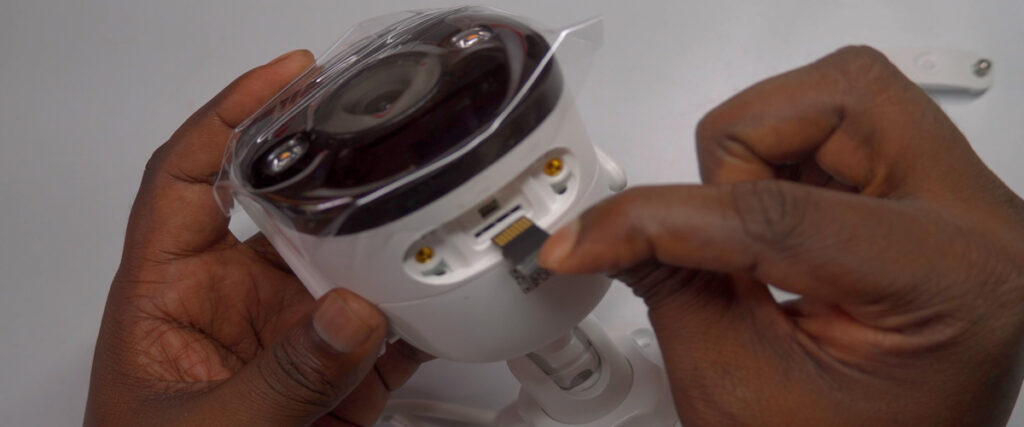
- Insert the Card: Align the card with the icons and gently push it in. We recommend up to 256GB for 7-10 days of footage (depending on settings like continuous or motion-triggered recording). To remove, press gently and pull out.
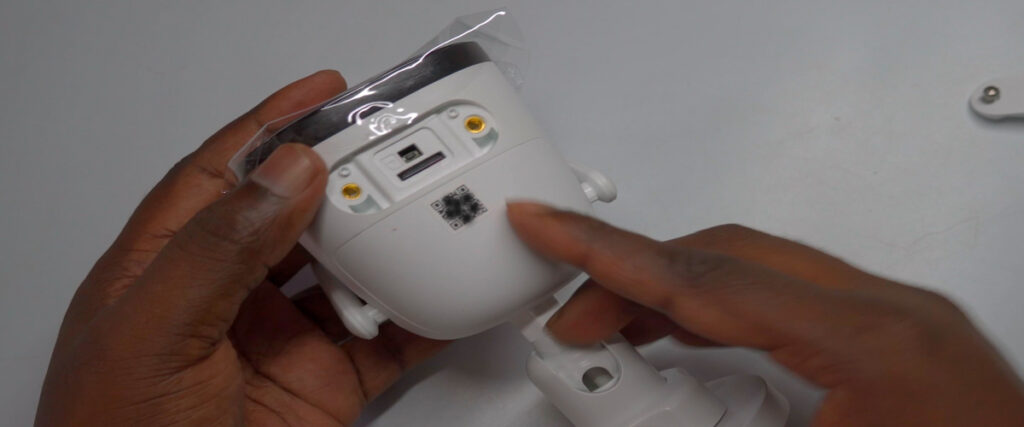
- Secure the Case: Reattach and tighten the screws to keep everything protected.
This ensures secure storage and prevents data loss.


Step 2: Downloading and Installing the Imou Lite App
To control your camera remotely, start with the app.
- Option 1: Scan the QR Code: Use the code in your user manual for a direct link.
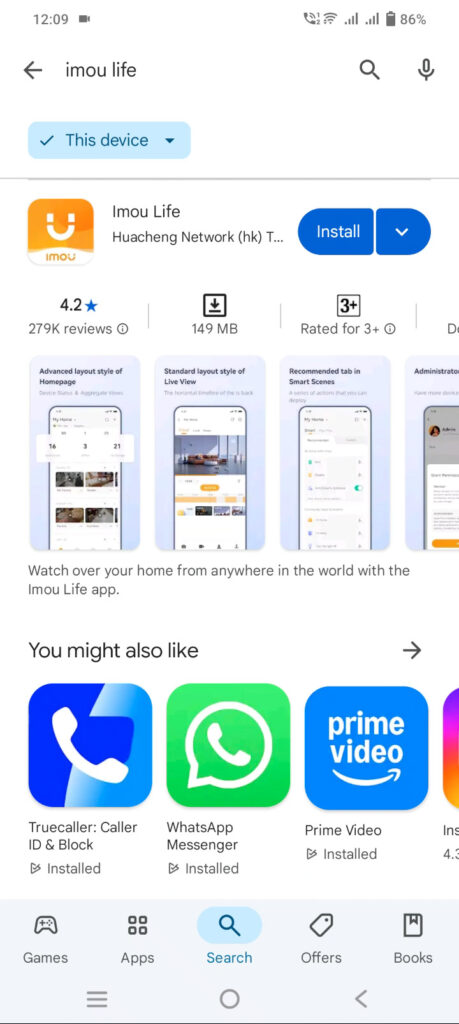
- Option 2: Manual Search: Open the Play Store, search for “Imou Lite” by Huacheng Network (check the logo to confirm). Tap “Install” and grant permissions for location, storage, and camera access.
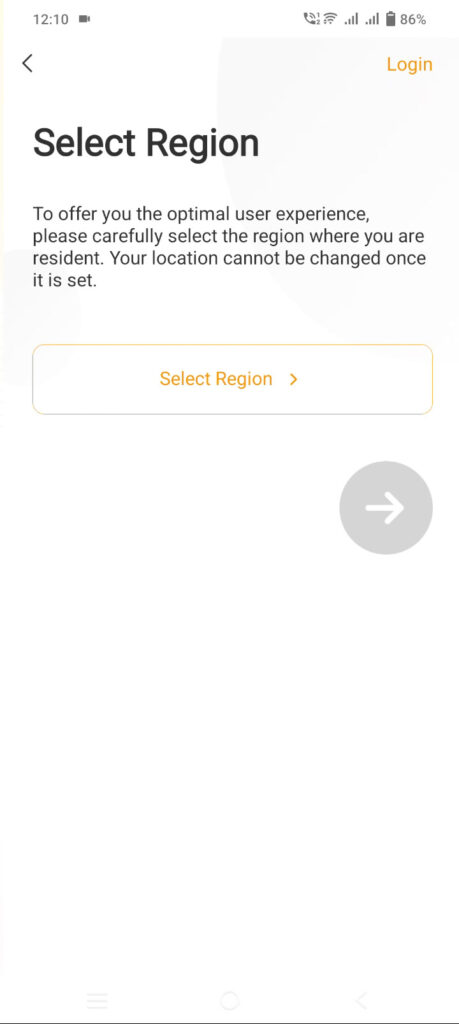
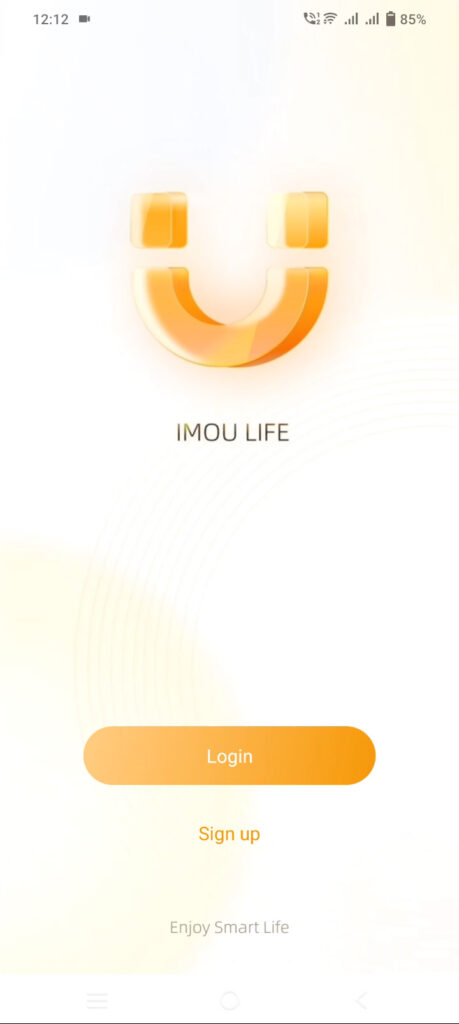
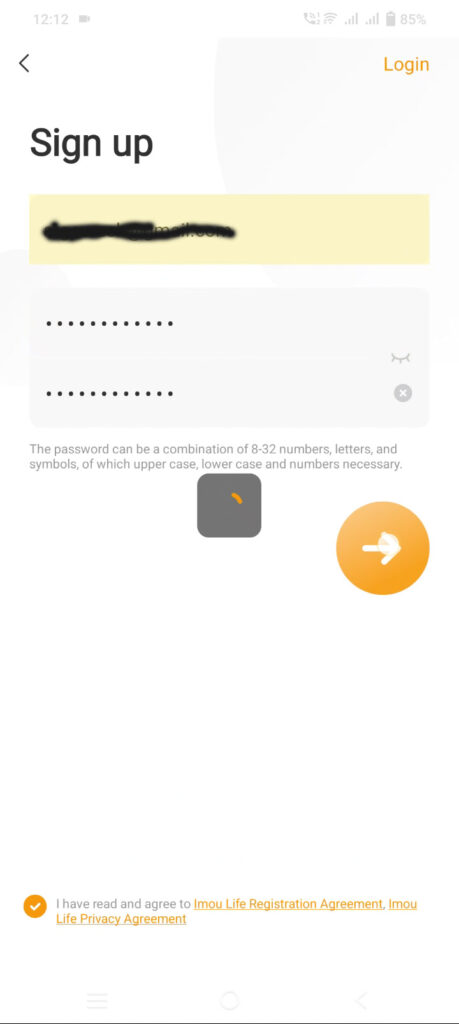
Once installed, open the app. If you have an account, log in with your phone/email and password. New users: Register via email or mobile, select your country, enter the verification code, and create a strong password.
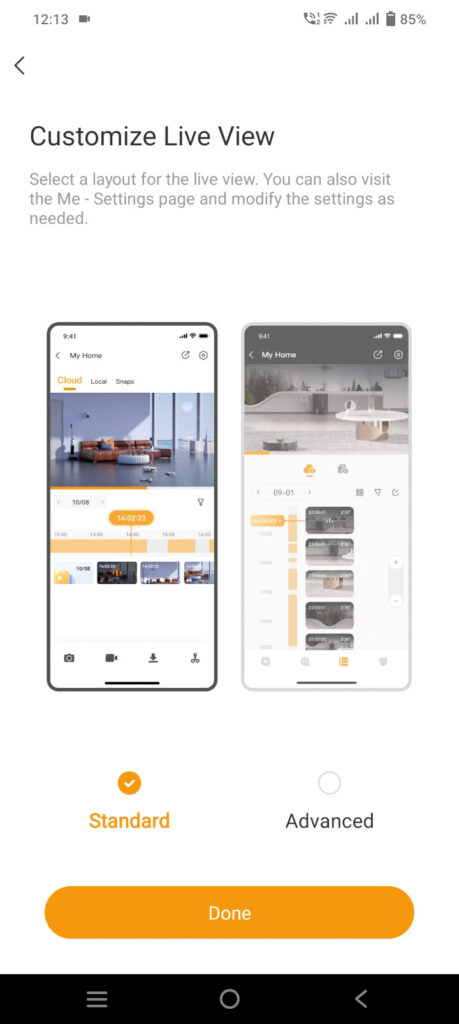
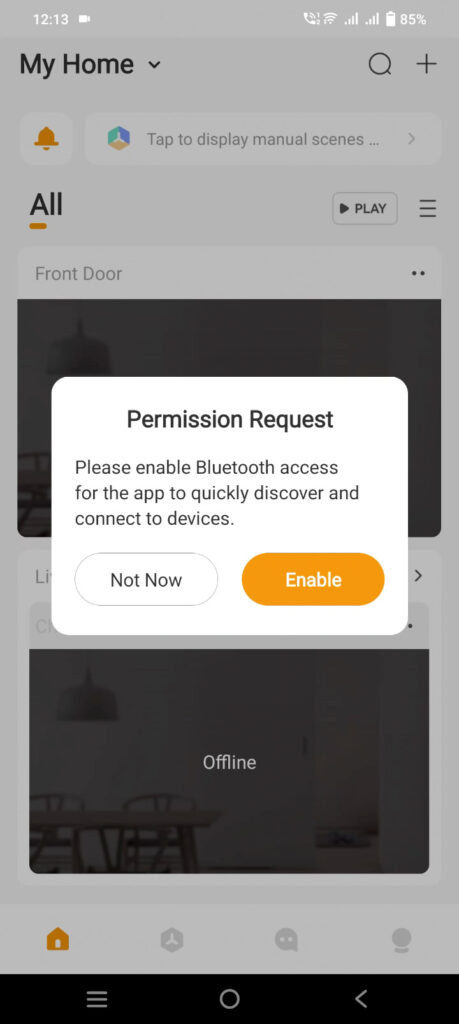
Enable location services and Bluetooth for smoother pairing. Customize your homepage, select live view options, and opt into newsletters if you want updates.
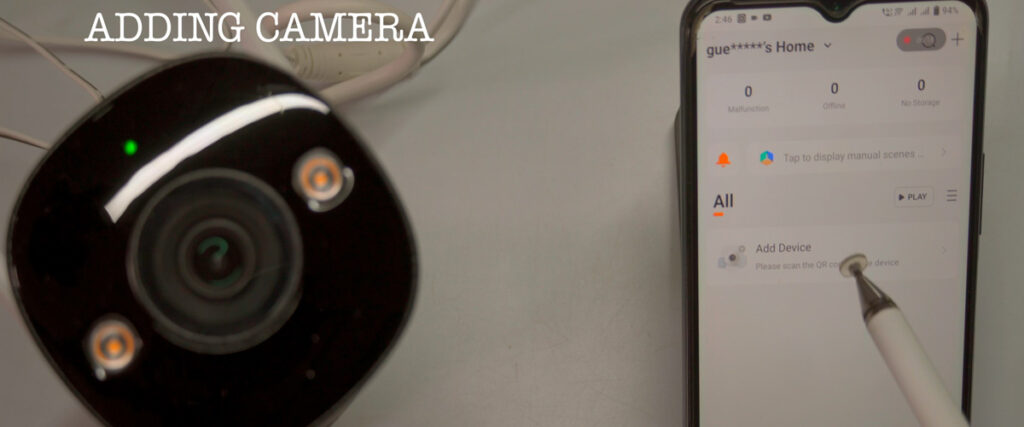
Step 3: Adding the Camera to the App and Connecting to Wi-Fi
Now, let’s get the camera online.
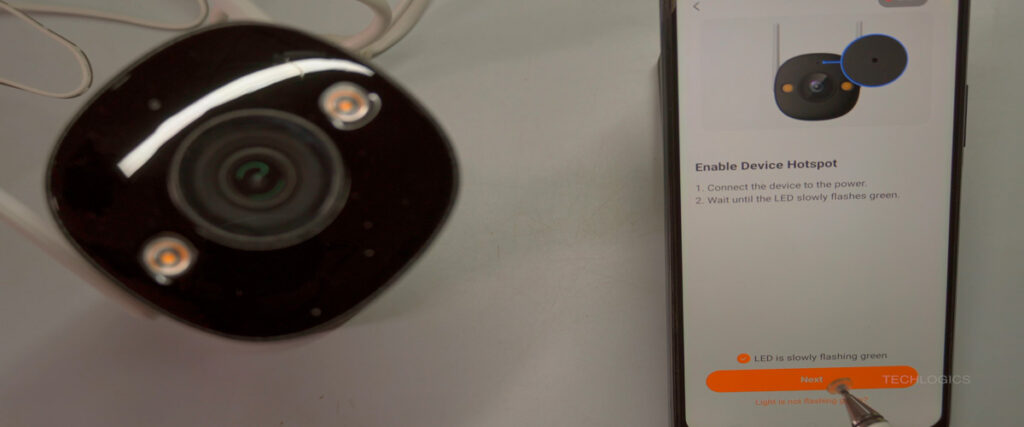
- Power Up the Camera: Plug in the DC adapter and wait for the LED to flash green (indicating network mode). If not, hold the reset button for 5 seconds to reboot.
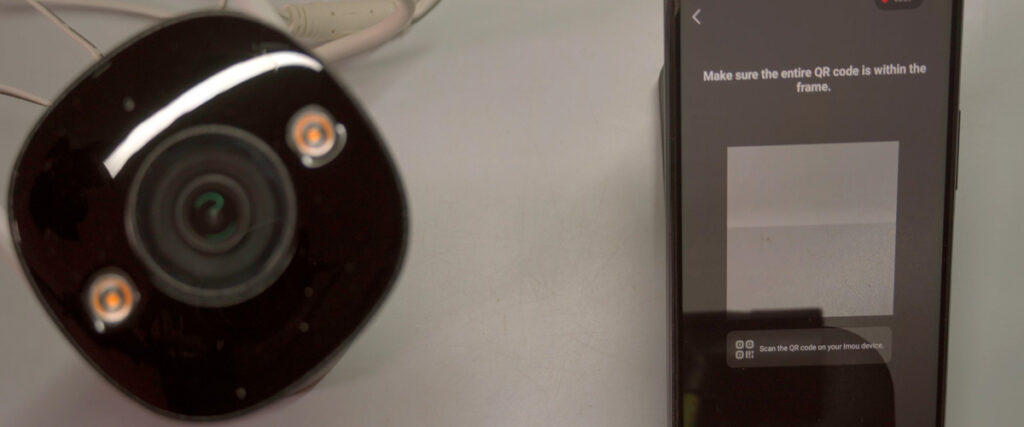
- Add Device in the App: Tap “Add Device” or the plus icon. Grant camera and location permissions, then scan the QR code on the camera body.
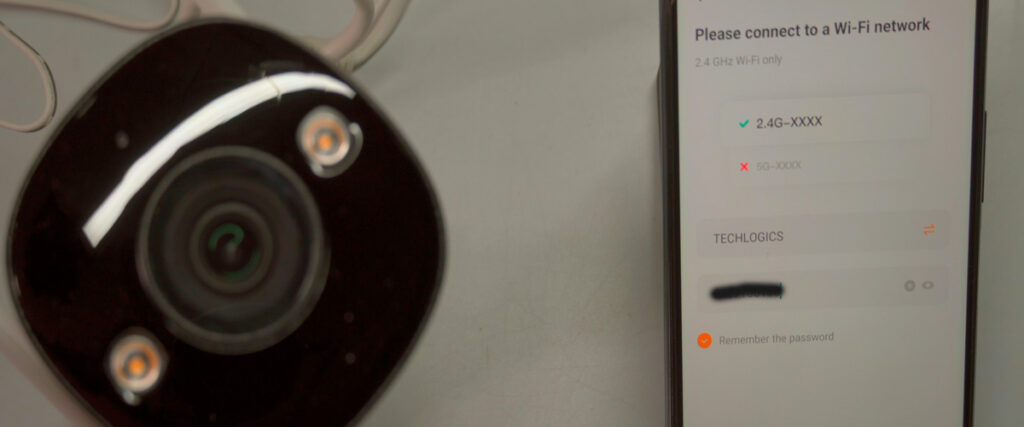
- Select Wi-Fi Network: Choose your 2.4GHz network (not 5GHz), enter the password, and confirm.
- Connect to Temporary Hotspot: The app may connect to the camera’s hotspot (like “DAP-XXX”) for direct communication.
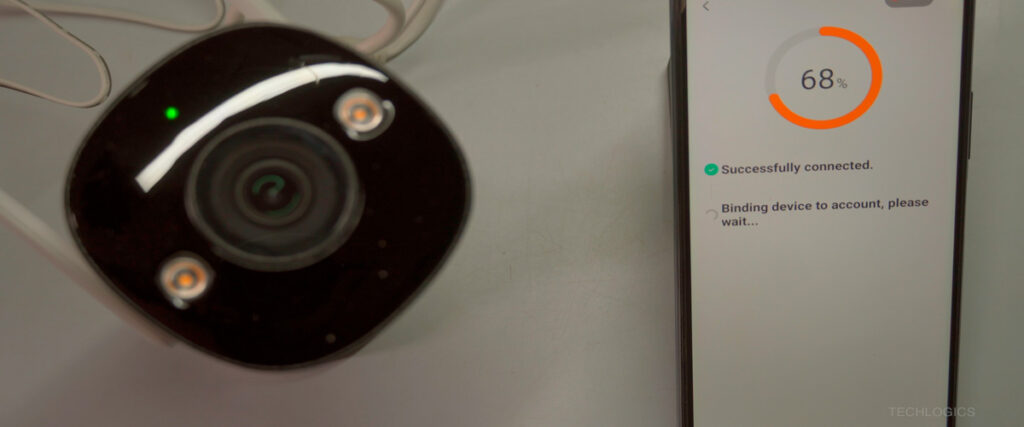
- Finalize Connection: Wait for the steady green LED and “Device added successfully” message. Name your camera (e.g., “Front Door”) for easy organization.
Save the QR code as a backup, skip cloud storage if using local SD (free trial available), and set a camera password later if needed. Grant notification permissions for real-time alerts.


Step 4: Configuring Storage and Playback
Ensure your footage is ready to go.
- Check SD Card Status: In settings, go to “Local Storage.” If uninitialized, format it to show “Normal” status.
- Set Recording Preferences: Schedule times and adjust for motion alerts to optimize space.
For playback: Select “Local” in the Playback section, use the timeline or calendar to navigate dates/times, and review footage easily.


Customizing Your Camera Settings
Tailor everything via the app’s settings menu:
- Adjust date/time, recording schedules, image quality, motion alerts, Wi-Fi, and rotation.
- Fine-tune night vision and other advanced features for your environment.
With these options, your setup is fully personalized.
Enjoy Remote Monitoring and Stay Secure
That’s it! Now you can live stream, playback recordings, and control your camera from anywhere with an internet connection—home, work, or on vacation.
If this guide helped, we’d love your support: like, share, and subscribe to TECH LOGICS for more tutorials, tips, and updates. Thanks for reading, and stay safe!