Welcome to TECH LOGICS! In this comprehensive guide, we’ll walk you through the process of accessing your Hikvision DVR using the iVMS-4200 PC client software. This tutorial covers everything from downloading and installing the software to configuring your DVR for live viewing, playback, and other features. Whether you’re on a local LAN network or experiencing an internet outage, you’ll be able to monitor your Hikvision system seamlessly. Let’s get started!
Step 1: Downloading iVMS-4200 Software
To begin, you need to download the iVMS-4200 software, which is Hikvision’s official PC client for managing DVR features.
- Visit the Hikvision Website: Head to the official Hikvision website or use the download link provided in our video description.
- Navigate to the Download Section: On the Hikvision website, go to the Support page, then select Download > Software.
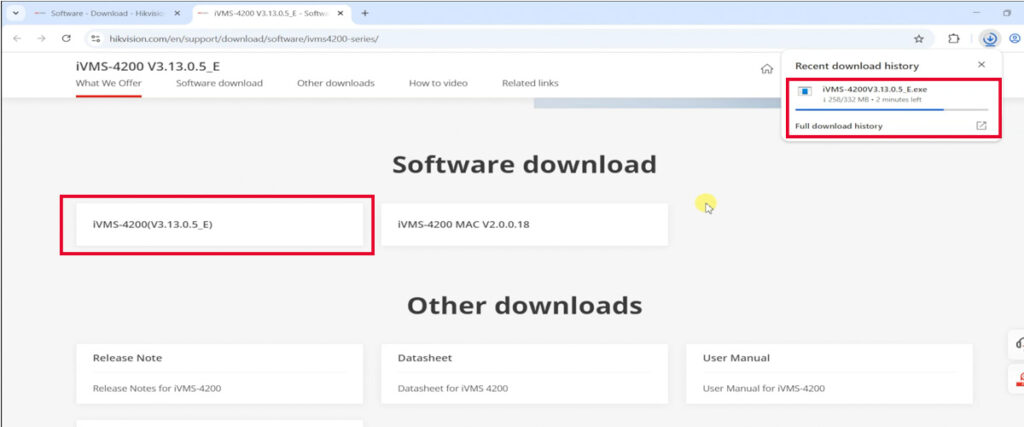
- Select iVMS-4200: Under the iVMS-4200 tab, choose the first file listed for Windows.
- Accept the License Agreement: Review and accept the Materials License Agreement to start downloading the setup file.
- Download the File: Click the download button, and your browser will begin downloading the file. The download time depends on your internet speed and the file size.
🔗 Download iVMS-4200: https://www.hikvision.com/en/support/download/software/ivms4200-series/
Note: This guide focuses on using iVMS-4200 for local LAN live view and playback. For remote access from anywhere, check out the dedicated video in our series. Don’t forget to subscribe and enable notifications to stay updated with our latest tutorials!
Step 2: Installing iVMS-4200
Once the download is complete, follow these steps to install the software:
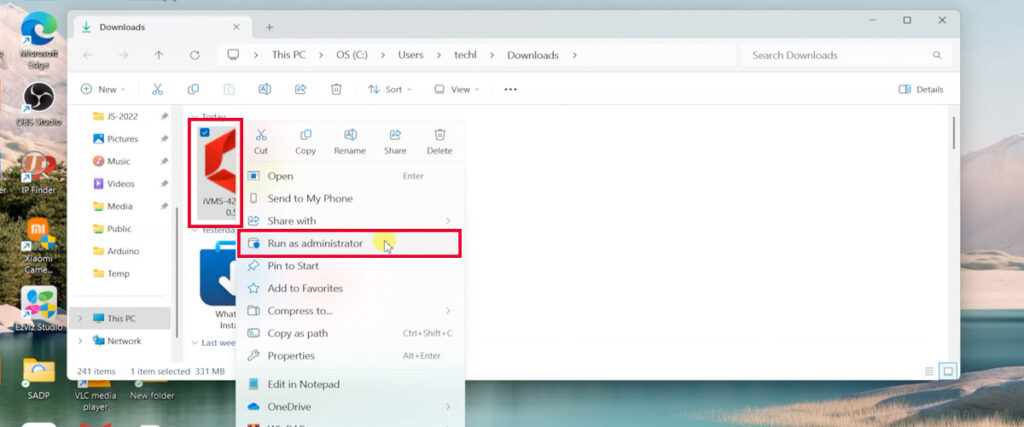
- Locate the Setup File: Find the downloaded iVMS-4200 setup file, typically in your Downloads folder.
- Run as Administrator: Right-click the file and select Run as administrator to avoid permission issues during installation.
- Accept the License Agreement: Agree to the terms and choose your installation location (the default folder is recommended).
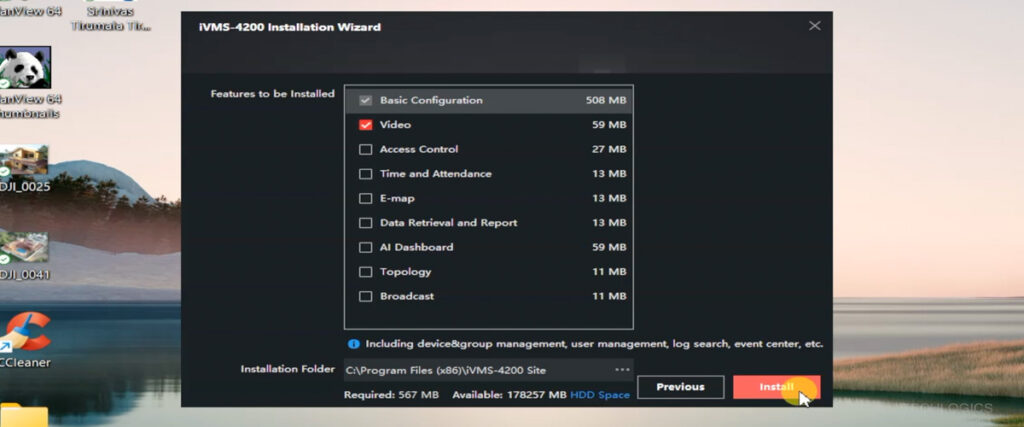
- Customize Installation: Deselect any unnecessary features, enabling only the Basic configuration and video features for a streamlined setup.
- Install the Software: Click Install to begin the installation process.
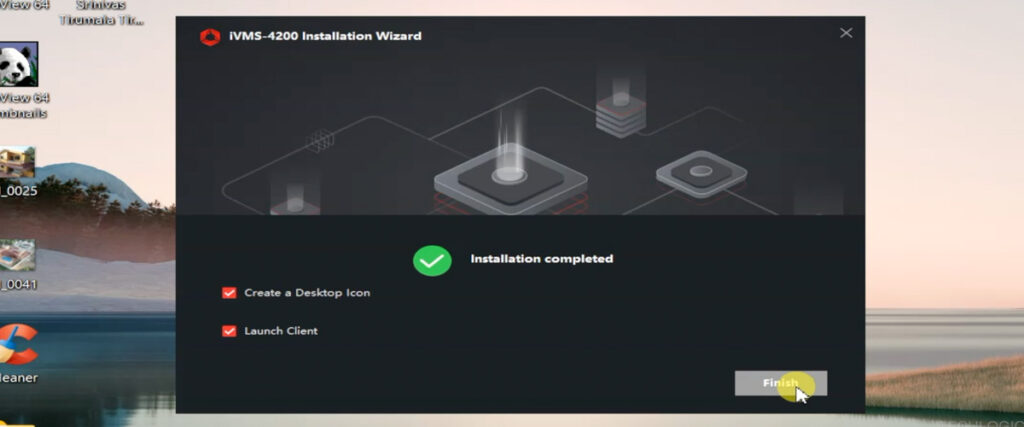
- Launch Options: After installation, check the Launch client box to open iVMS-4200 immediately. You can also select Create a desktop icon for quick access later.
Step 3: Initial Setup and Super User Account
When you launch iVMS-4200 for the first time, you’ll need to configure a few settings:
- Upgrade Detection Popup: A small Upgrade Detection popup may appear. Enable it for automatic updates or disable it for manual control.
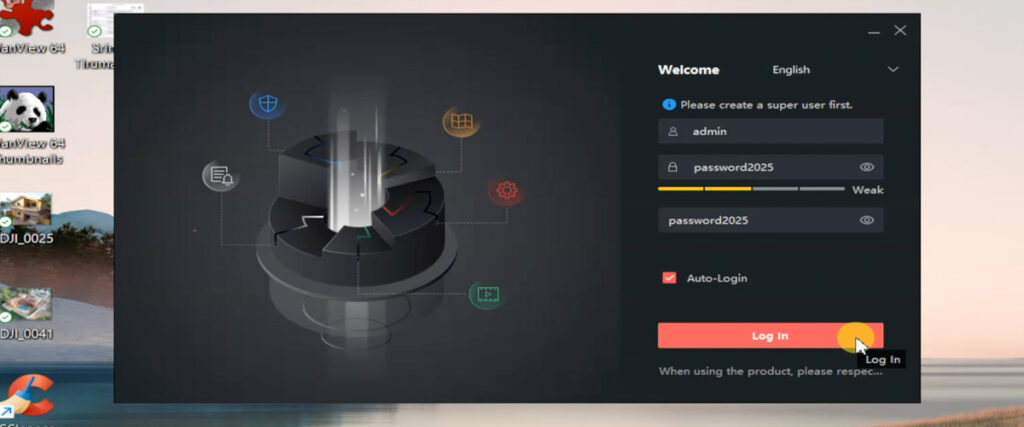
- Create a Super User Account: Set up a secure username and password for the Super User account. This is critical for software security.
- Auto Login Option: Check the Auto login box if you want to skip entering credentials each time you open the software.
- Security Questions: Answer the provided security questions to enable account recovery in case you forget your password.
Step 4: Connecting Your Hikvision DVR
To add your Hikvision DVR to iVMS-4200, ensure it’s connected to the same network as your PC or laptop. An internet connection is not required for local LAN access.
- Connect the DVR: Use a LAN cable to connect your DVR to your router or modem. Plug one end into the DVR and the other into a LAN port on your router or modem.
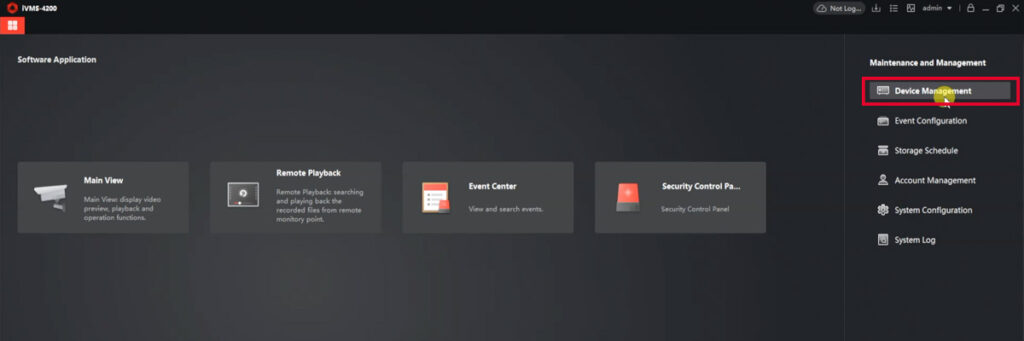
- Open iVMS-4200: Launch the software and navigate to Maintenance and Management > Device Management> Online Device.
- Detect the DVR: If connected correctly, your Hikvision DVR will appear in the device list, confirming a successful LAN connection.
- Add the DVR: Select your DVR and click Add to Client. In the popup window:
- Assign a recognizable nickname for the device.
- Enter the default username (usually “admin”) and the DVR’s password.
- Confirm Connection: Click Add. If successful, the DVR will display a green Online status in the Device Management table.


Step 5: Accessing Live View
With your DVR added, accessing live feeds is simple:
- Go to Main View: In the iVMS-4200 interface, navigate to the Main View panel.
- Select Your DVR: Locate the folder with your DVR’s nickname. Double-click it or drag the camera icon to the right window to display the live feed.
- Device Verification Code: If prompted, enter the Device Verification Code:
- Access your DVR’s settings via a connected monitor or TV.
- Go to Configuration > Network > Platform Access to find the code.
- Enter it into iVMS-4200 to authorize live streaming.
- View Options:
- View a single camera by clicking its window.
- Monitor multiple cameras by selecting the group name to display all feeds simultaneously.


Step 6: Playback and Reviewing Footage
To access recorded footage:
- Navigate to Remote Playback: Go to the Remote Playback menu and select the desired camera.
- Use the Timeline: A timeline bar appears at the bottom of the camera window. Drag it to adjust the playback time.
- Search by Date: Click the calendar icon to select a specific date and review footage from that day.
- Efficient Navigation: The timeline and date picker make it easy to locate specific recordings quickly.

Step 7: Reopening and Troubleshooting
To reopen iVMS-4200 later:
- Use the Desktop Shortcut: Click the iVMS-4200 icon on your desktop.
- Verify Connection: Ensure your PC and DVR are connected to the same router or modem and that the DVR is marked as Online in the Device Management section.
- Access Features: Once confirmed, you can resume live viewing and playback without issues.
Conclusion
You’re now equipped to use iVMS-4200 to access your Hikvision DVR’s live feeds and recorded footage on your PC. Whether you’re monitoring a single camera or multiple feeds, this software makes it easy to manage your surveillance system efficiently. For more tips or advanced features, explore other tutorials in our series.
If this guide was helpful, please consider liking, sharing, or subscribing to our channel to support more educational content. Have questions? Drop them in the comments below, and we’ll be happy to assist. Thank you for reading!