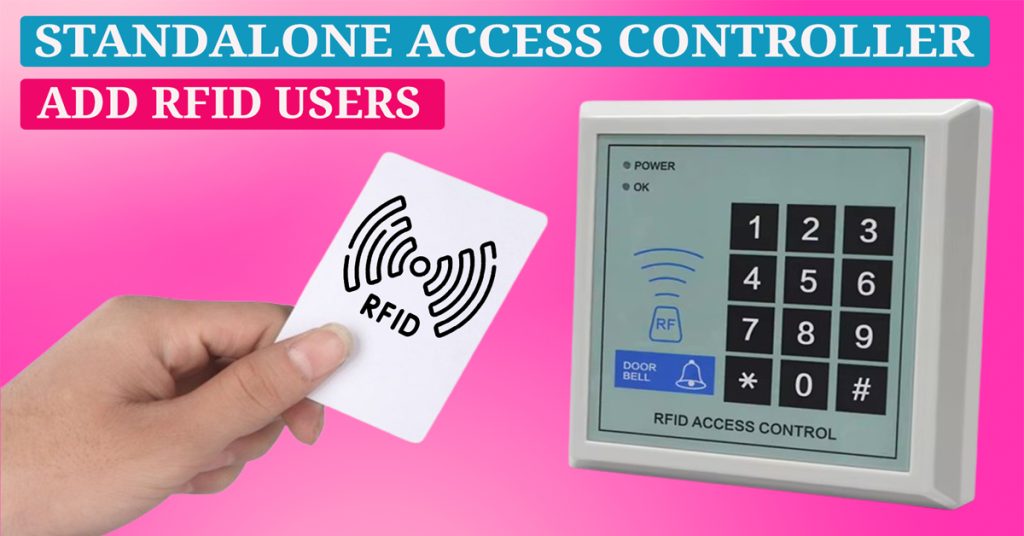
In this blog post, we’ll walk you through how to add and delete RFID card users using a standalone access controller, continuing from our previous series on connecting an electromagnetic lock with this controller and an exit switch.
Understanding Programming Mode
Before you begin adding users, it’s crucial to understand the programming mode of the controller. Press the ‘*’ button, and the RED ‘LED’ will blink faster, indicating that you are entering programming mode. Press the ‘*’ button again, and the ‘LED’ will flash slowly, signifying the access control mode.
Adding RFID Card Users
- Enter Programming Mode: Press the ‘*’ button to enter programming mode (the RED LED will flash faster). Then, enter ‘9999’ as the default controller password, followed by the ‘#’ button to access the controller’s MENU.
- Access the MENU: The ‘Green’ LED will flash when you enter the MENU.
- Add Users: In the MENU, press ‘2’ followed by the ‘Hash’ button to begin adding users’ RFID cards one by one.
- Add a Card: Show the RFID card to the controller (you will hear 2 short beep sounds), then input the user ID for that card, followed by the ‘Hash’ button. For example, entering ‘0002’ and then pressing ‘Hash’ will result in 2 short beep sounds, indicating that the card has been added successfully. A long beep sound means the card is already enrolled or the user ID exists.
- Continue Adding Users: Repeat this process for additional users. The user ID must be a four-digit number ranging from 0001 to 9999.
Access Control
Once added, the RFID card will have access to open the door. Presenting this card to the controller will allow it to recognize and unlock the door. RFID cards that have not been added or enrolled will not have access. A long beep sound will indicate that the card is not authorized.
Deleting Users
Method 1: Deleting with RFID Card
- Enter Programming Menu: Press the ‘*’ button, input the password, and press the ‘#’ button.
- Access Delete Function: Press ‘4’ followed by the ‘#’ button.
- Delete Cards: Show the RFID cards you wish to delete one by one. You will hear 2 short beep sounds confirming the deletion. Press the ‘*’ button to exit programming mode.
Method 2: Deleting Without RFID Card
- Enter Programming Menu: Press the ‘*’ button, input the password, and press the ‘#’ button.
- Access User Deletion Function: Press ‘5’ followed by the ‘#’ button.
- Delete by User ID: Enter the user ID you wish to delete and press the ‘# button. You will hear 2 short beep sounds confirming the deletion. Press the ‘*’ button to exit programming mode.
The deleted RFID cards will no longer have permission to unlock the door or be authorized for access.
Thanks for reading our guide! If you found this information useful and want to see more, please like and share this post. Don’t forget to subscribe to our blog for the latest updates and tutorials. Thank you!


