Welcome to TECH LOGICS! In this guide, we’ll walk you through the unboxing and setup process for the Trueview 2MP Smart Indoor Pan & Tilt Wi-Fi Home Security Camera—a versatile solution for securing your home, shop, or office. From memory card installation to Wi-Fi configuration and mobile app setup, we’ve got you covered to ensure you maximize your security system’s potential.
What’s in the Box?
When you unbox your Trueview camera, you’ll find everything needed for a seamless setup:
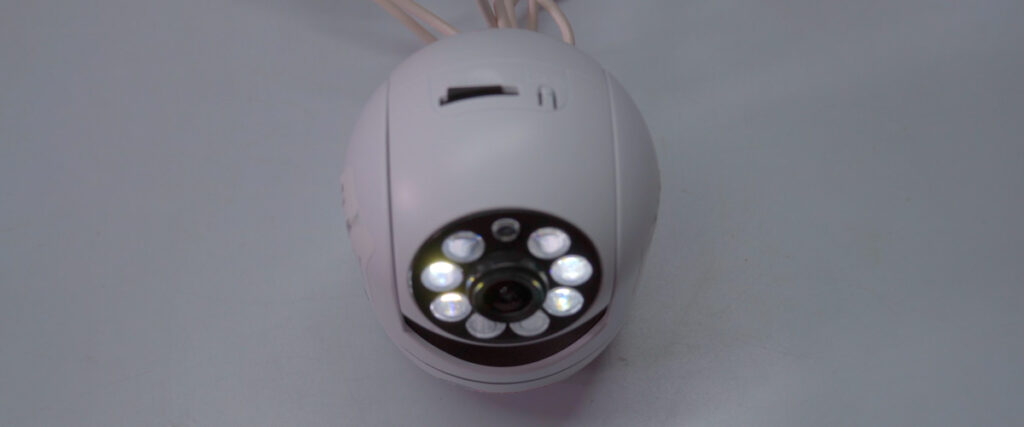
- Indoor Pan & Tilt Camera: The core of your surveillance system.
- Mounting Plate with Screws: For easy installation.
- User Manual: A detailed guide to get you started.
- DC Power Adapter: Ensures reliable power for your camera.

These components are designed for ease of use, making installation straightforward for both beginners and professionals.
Key Features of the Trueview Camera
The Trueview 2MP Smart Indoor Camera is packed with features to enhance your security:
- Impressive Night Vision: Clear visibility even in low-light conditions.
- Pan & Tilt Functionality: 352° horizontal and 58° vertical rotation for wide coverage.
- Two-Way Audio: Built-in high-sensitivity microphone and speaker for half-duplex communication.
- Intelligent Motion Tracking: Automatically follows movement to keep everything in view.
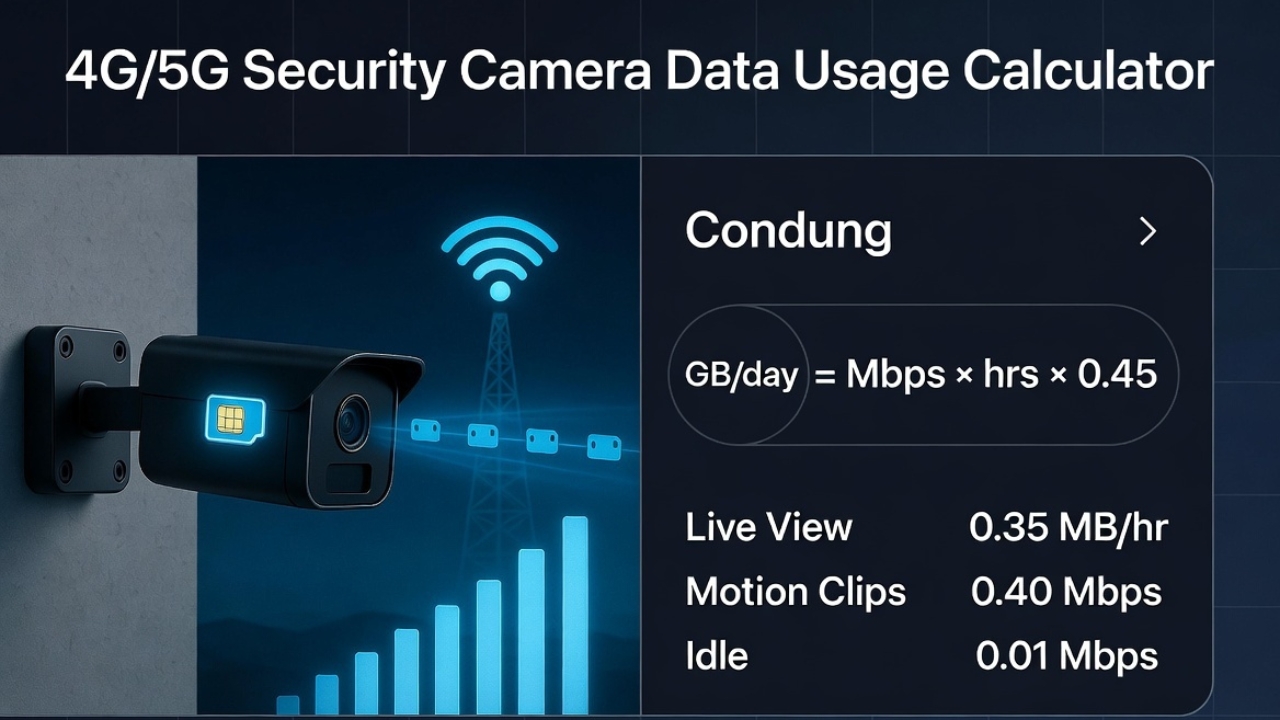
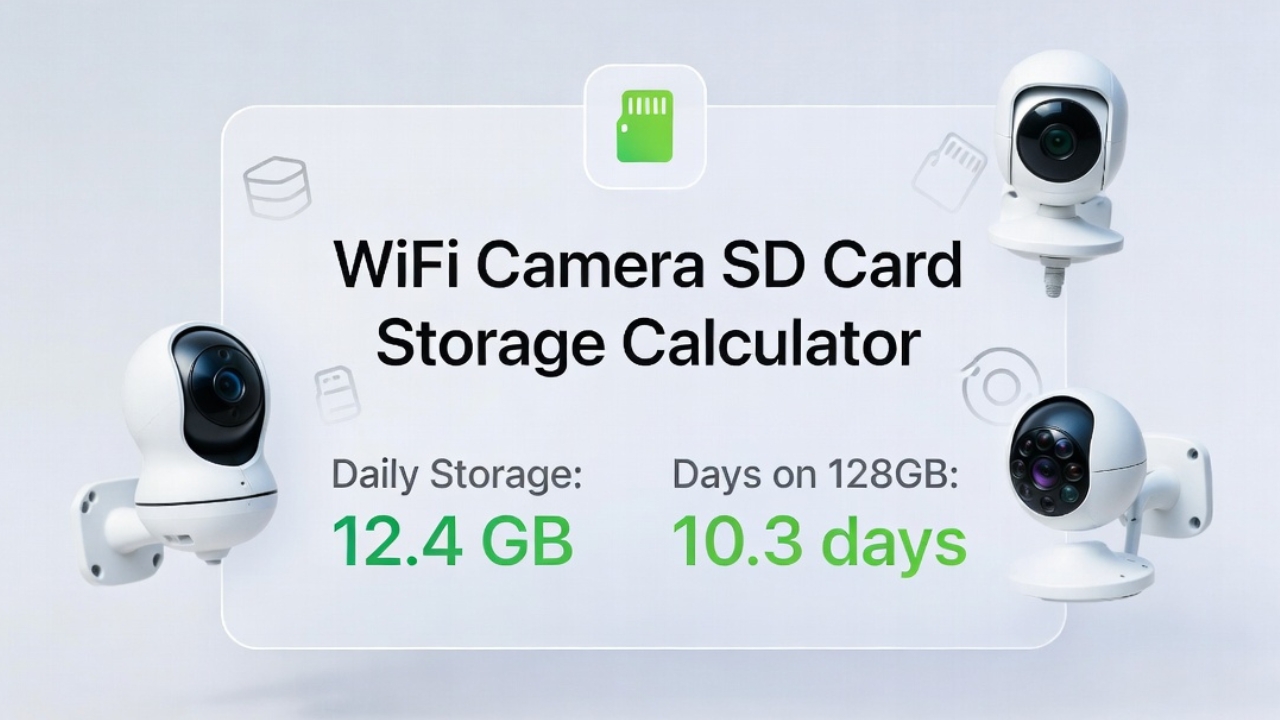
- Storage Options: Supports Micro SD cards up to 256GB and optional cloud storage.
- Wi-Fi Connectivity: Simplifies setup with QR code scanning and Bluetooth technology.
- Advanced Detection: Features area motion detection, humanoid detection, and push alarm notifications for tailored security.
Step-by-Step Setup Guide
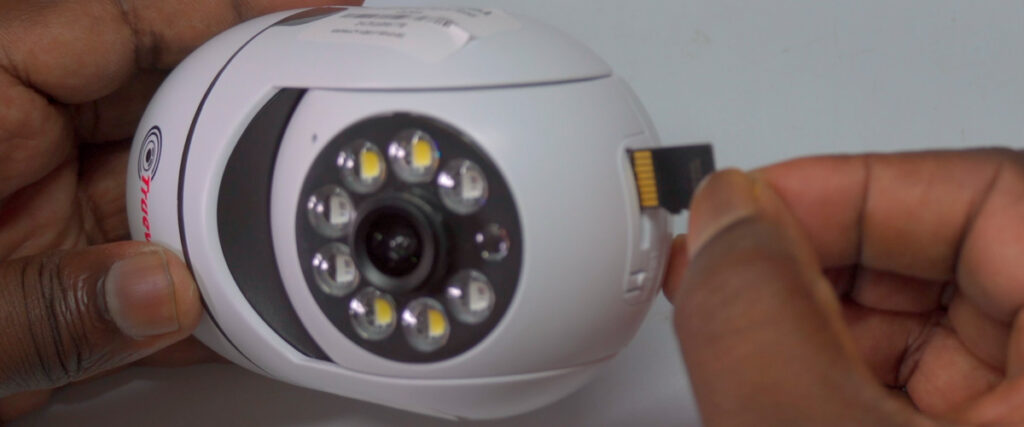
1. Installing the Memory Card
To enable local recording, insert a Micro SD card (up to 256GB) into the camera. Follow these steps:
- Power Off the Camera: Always turn off the camera before inserting or removing the card to prevent damage.
- Locate the Micro SD Slot: Typically found at the top of the camera.
- Insert the Card: Align the card with the orientation indicated by nearby icons and insert it securely.
- Verify Installation: Ensure the card is firmly seated to avoid data loss.
- Remove (if needed): Press the card to release it and gently pull it out.
A 256GB card can store approximately 7–10 days of footage, depending on video quality and recording settings (continuous or motion-triggered).

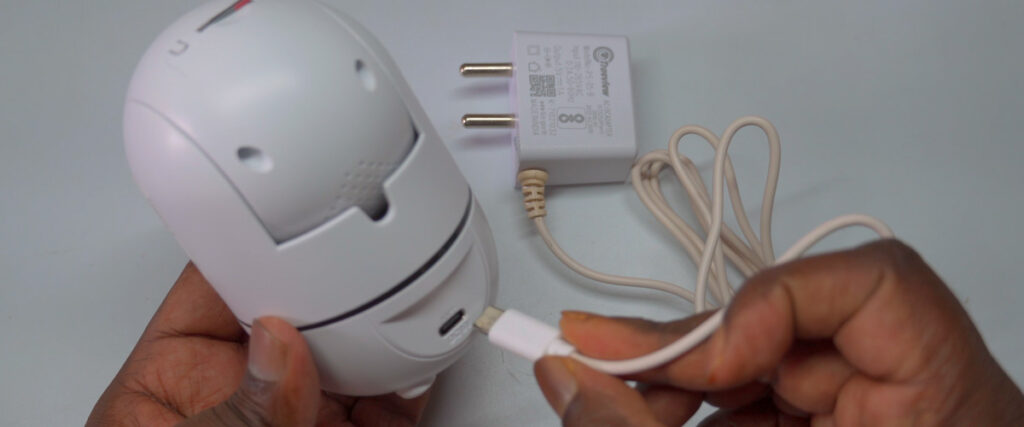
2. Powering Up the Camera
- Connect the camera to the provided DC power adapter.
- Allow a few moments for the camera to boot up.
- Listen for an audio prompt like, “Please configure the network,” indicating the camera is ready for Wi-Fi setup.
3. Setting Up the Truecloud App
The Truecloud app is your gateway to controlling and monitoring the camera. Here’s how to get started:
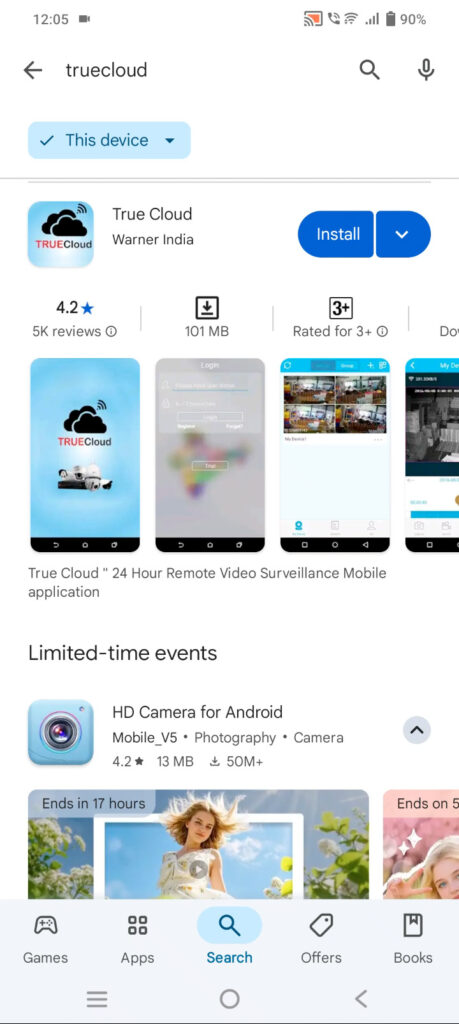
Downloading the App
- Open the Play Store (or App Store) on your smartphone or tablet.
- Search for Truecloud by Warner India and select the correct app.
- Tap Install and accept any permissions requested.
- Once installed, open the app from the store or find it on your home screen.
Registering or Logging In
- Existing Users: Log in with your registered phone number or email and password.
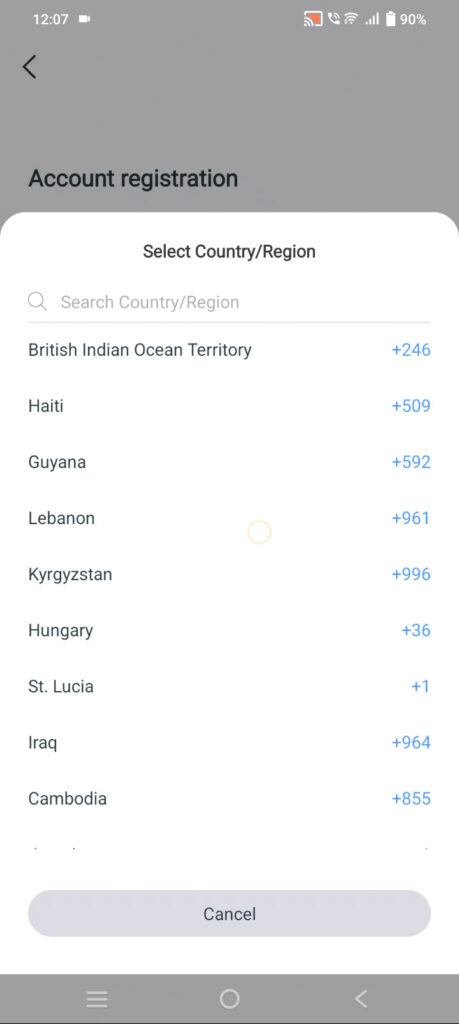
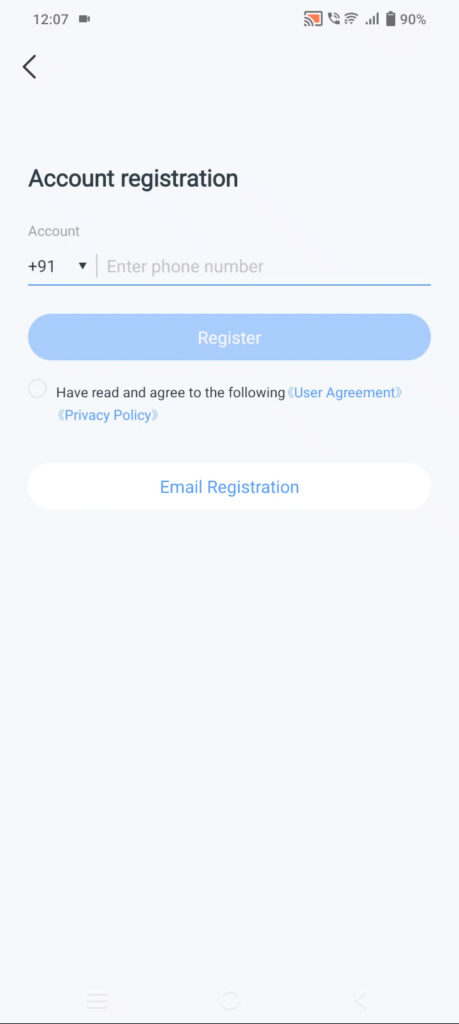
- New Users:
- Select the registration option (email or mobile number).
- Enter your details and follow the prompts.
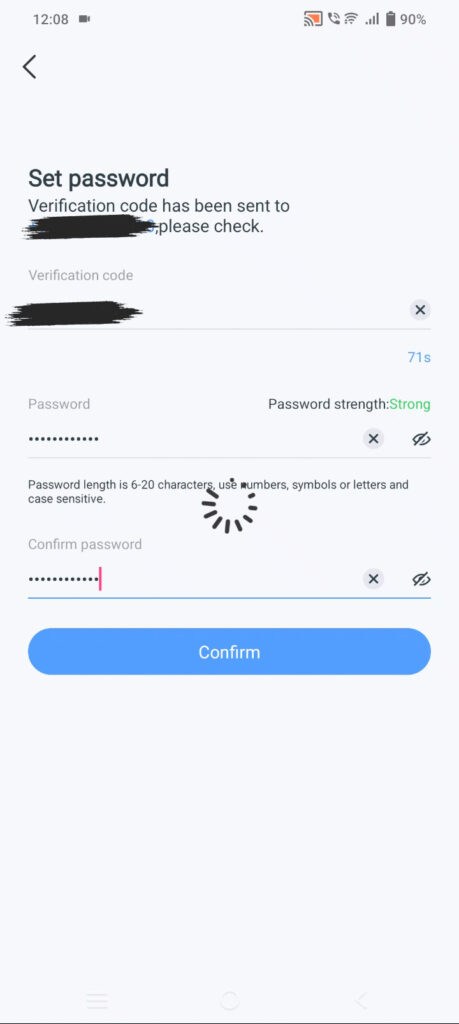
- Receive a verification code via SMS or email and input it into the app.
- Create a secure password and link your email or phone for future logins.
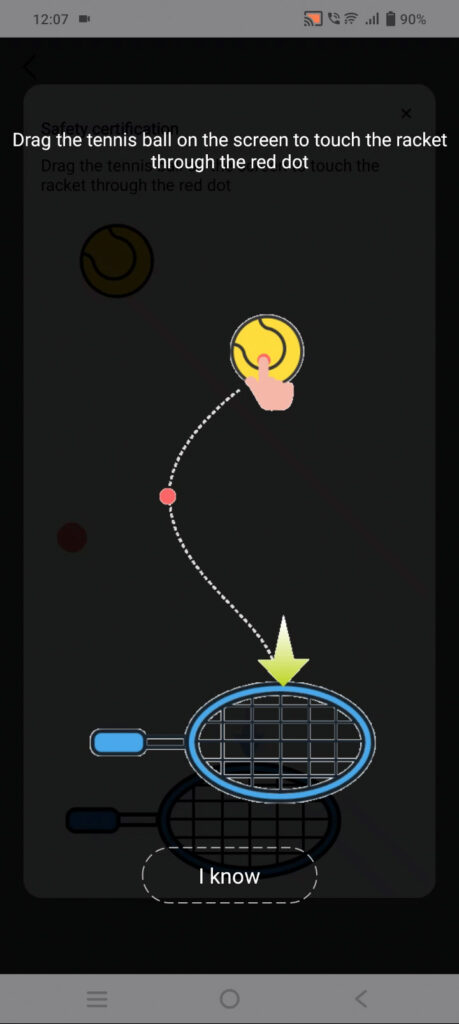
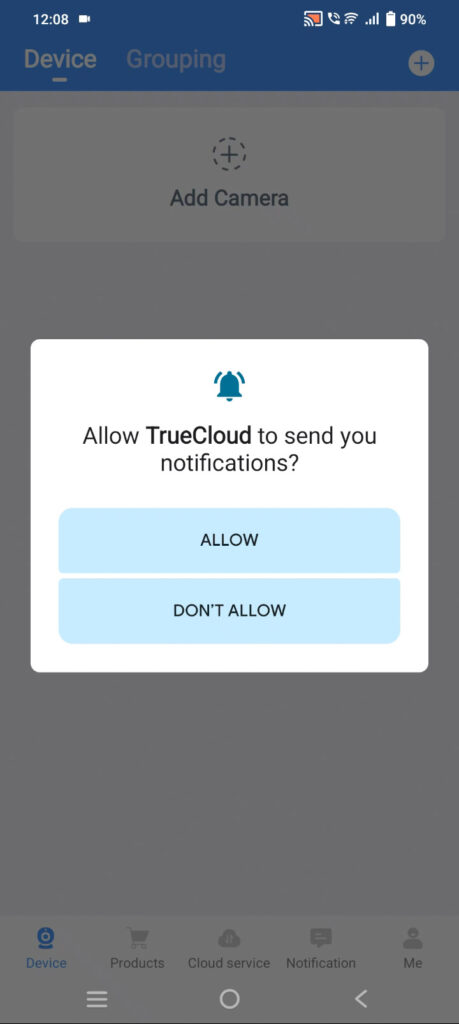
- Enable location services and Bluetooth when prompted for seamless setup.
4. Adding the Camera to the App
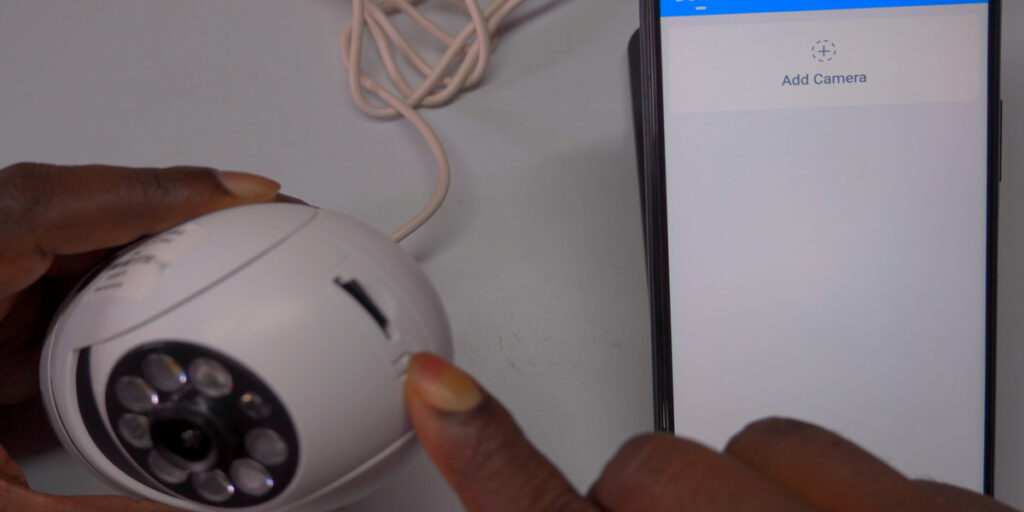
- Prepare the Camera:
- Ensure the camera is powered on and in network connection mode.
- If not, press and hold the reset button for 5 seconds until you hear a notification sound and the prompt, “Please configure the network.”
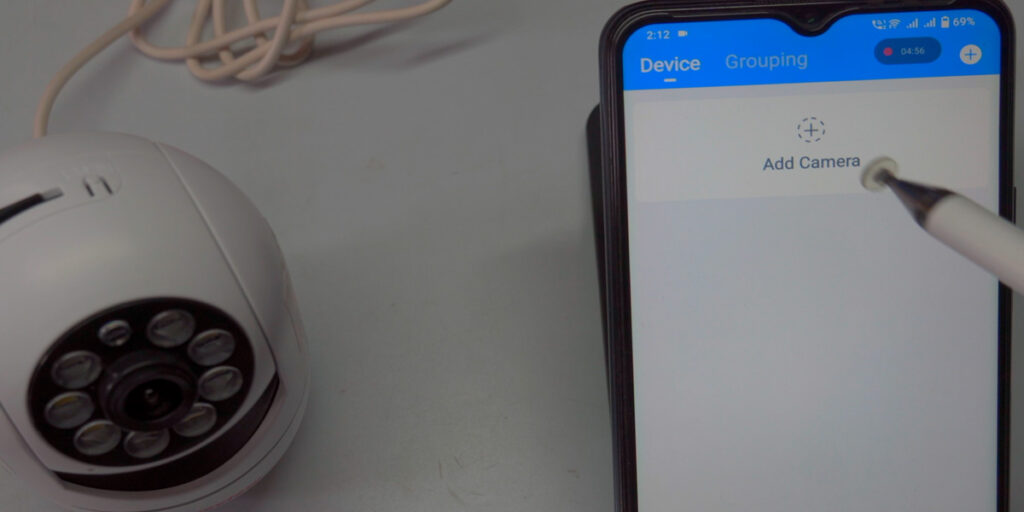
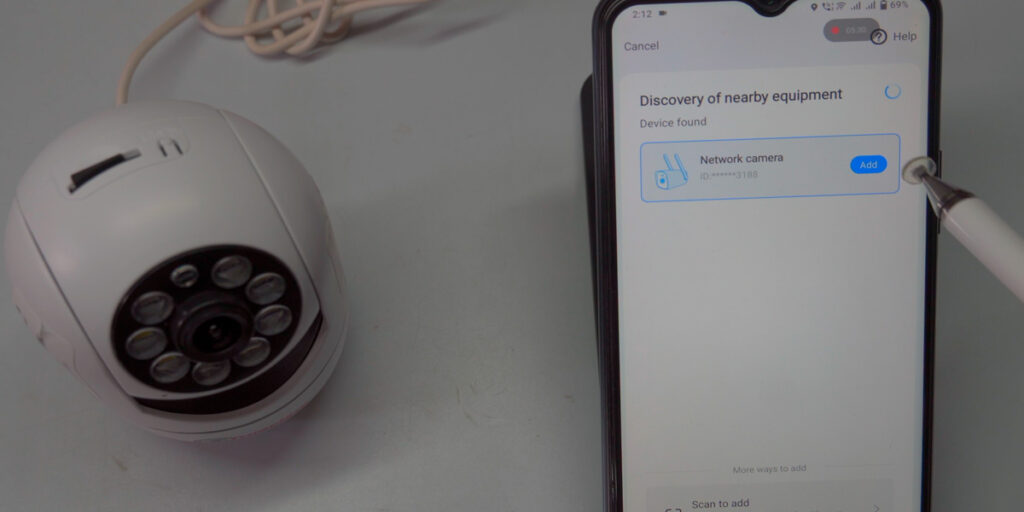
- Add the Device:
- In the Truecloud app, tap Add Device or the + symbol.
- Select Scan QR Code or Bluetooth Pairing.
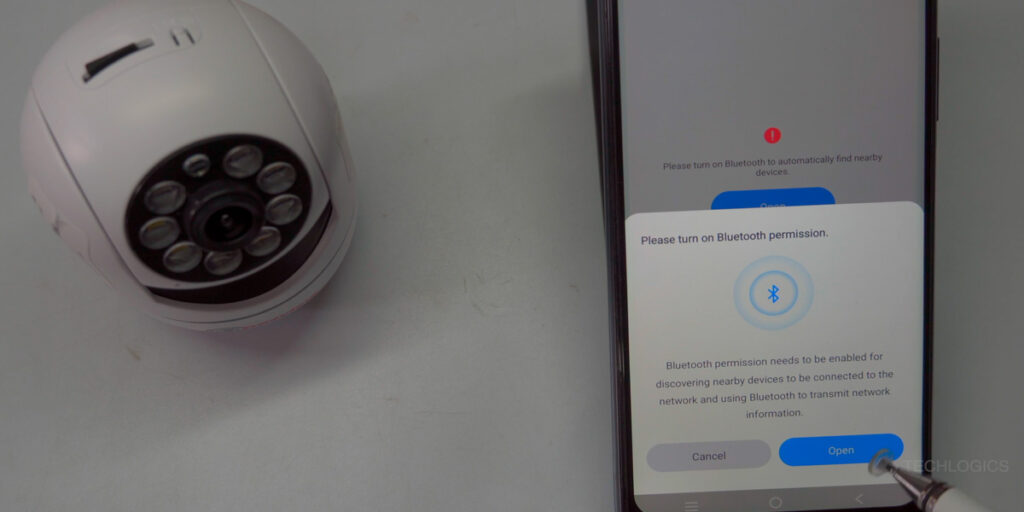
- Grant permissions for location and Bluetooth access.
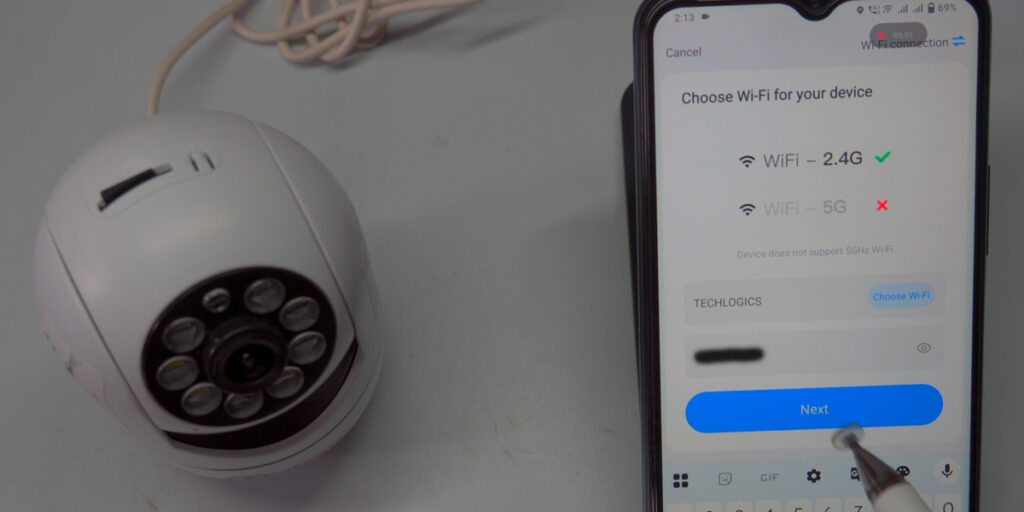
- Connect to Wi-Fi:
- Choose your 2.4GHz Wi-Fi network (the camera does not support 5GHz).
- Enter your Wi-Fi password and tap Next.
- Confirm the credentials and tap Confirm.
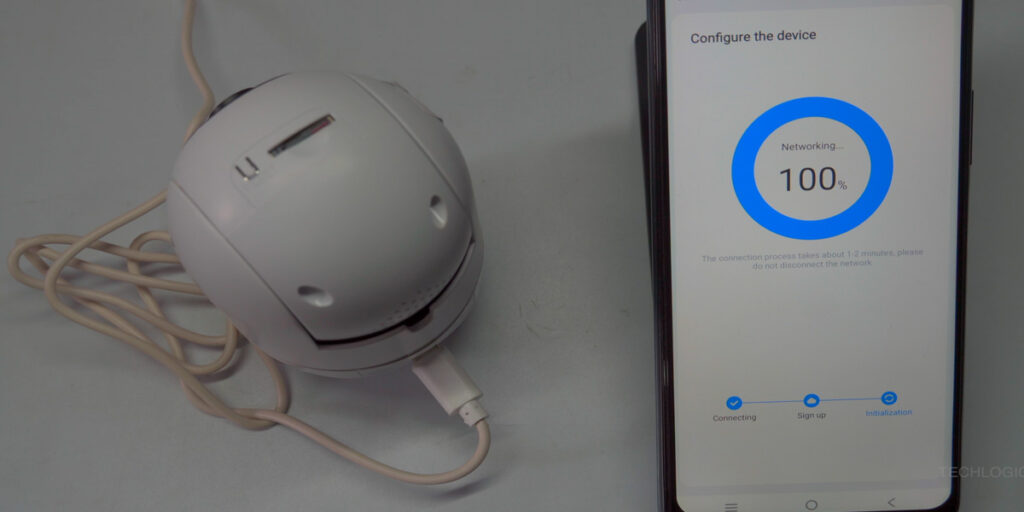
- Complete the Setup:
- The app will configure the camera’s Wi-Fi settings, which takes a few minutes.
- A voice prompt, “The wireless connection is successful,” confirms the camera is connected.
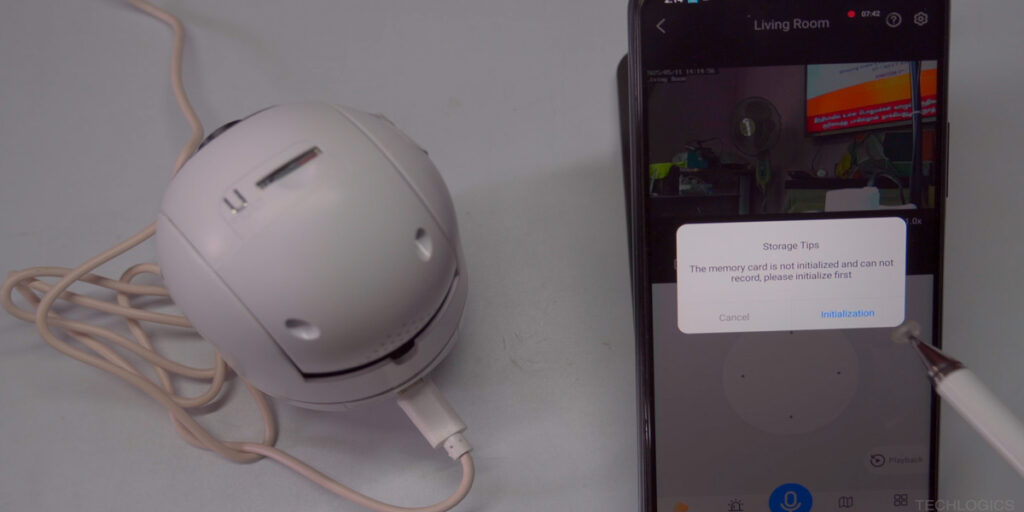
5. Configuring the Memory Card
After adding the camera, initialize the memory card for recording:
- Open the Truecloud app and navigate to Camera Settings > Record List > Storage Settings.
- If the card status is Uninitialized, tap Storage Medium and select Initialize.
- Once formatted, the status will change to In Use, displaying the available storage capacity.
6. Customizing Settings
The Truecloud app offers extensive customization options:
- Enable Two-Way Audio: Disabled by default for privacy but can be activated.
- Set Date and Time: Choose your preferred format.
- Name the Camera: Assign a unique name and location for easy identification.
- Live Streaming: Monitor your property in real-time.
- Playback Footage: Review recorded videos by selecting SD as the storage location.
- Recording Modes: Switch between motion detection (default) or continuous recording.
7. Installing the Camera
Choose an optimal location for the camera to ensure maximum coverage. Use the mounting plate and screws for secure installation. Proper placement enhances the camera’s ability to monitor the desired area effectively.
Reviewing Footage
To access recorded videos:
- Open the Truecloud app and tap Playback.
- Select SD as the storage location.
- Browse and watch videos stored on the Micro SD card.
The app works over mobile data and Wi-Fi, allowing you to monitor your property from anywhere in the world.

Tips for Success
- Stable Power Supply: Always use the provided DC adapter for reliable performance.
- 2.4GHz Wi-Fi: Ensure your network is compatible, as the camera does not support 5GHz.
- Proximity During Setup: Keep your phone close to the camera for a smooth connection.
- Regular Maintenance: Check the memory card status periodically to ensure it’s functioning correctly.
- Explore Tutorials: Refer to additional video segments or the user manual for advanced features and settings.
Conclusion
The Trueview 2MP Smart Indoor Pan & Tilt Wi-Fi Camera is a powerful and user-friendly solution for modern surveillance needs. With its robust features, easy setup process, and flexible app controls, you can secure your property with confidence. Whether you’re a first-time user or a seasoned pro, this camera delivers reliable performance tailored to your needs.
If you found this guide helpful, please like, share, and subscribe for more tech tutorials and updates. Your support fuels our passion for creating valuable content. Thank you for reading, and stay tuned for more!