Hello everyone, and welcome to the full deep-dive setup for the brand-new Bambu Lab A1 3D printer!
Today is a BIG day—we’re going from box to a perfectly printed 3DBenchy. Whether you’re a total beginner or upgrading from a classic like the Ender series, this guide covers every single step: unboxing, assembly, calibration, and the very first print. Grab your coffee and your H2.0 Allen key—let’s turn this box into a fully operational 3D printing powerhouse!
📦 What’s in the Bambu Lab A1 Box?
The Bambu Lab A1 is renowned for its near-complete pre-assembly, but we still need to join the main components and install the accessories. Here’s a look at the star components and the essential tool kit:
The Star Components
- Printer Frame: The 95% pre-assembled gantry, hotend, extruder, and CoreXY motion system.
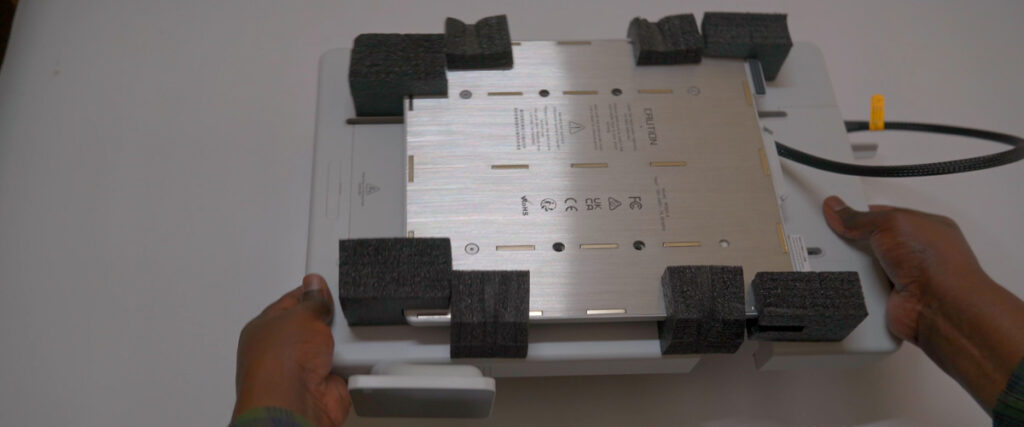
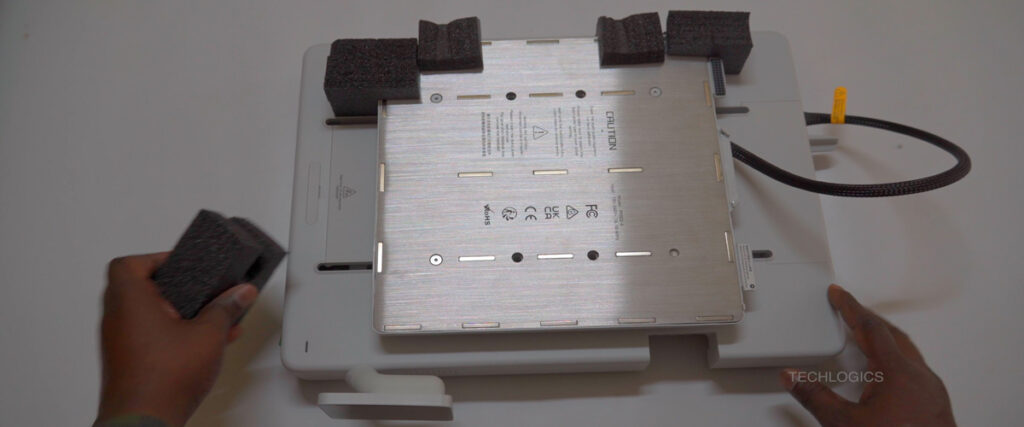
- A1 Base Housing: The sleek, pre-wired aluminum chassis housing the mainboard and heated bed platform.
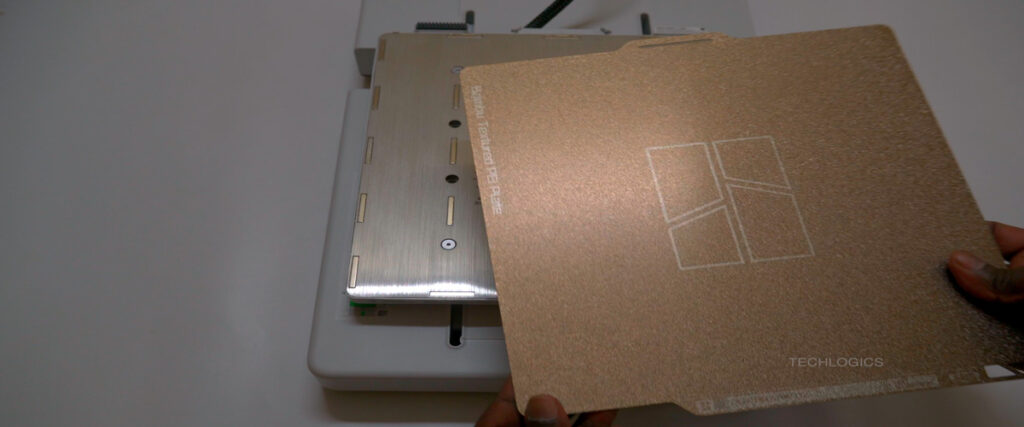
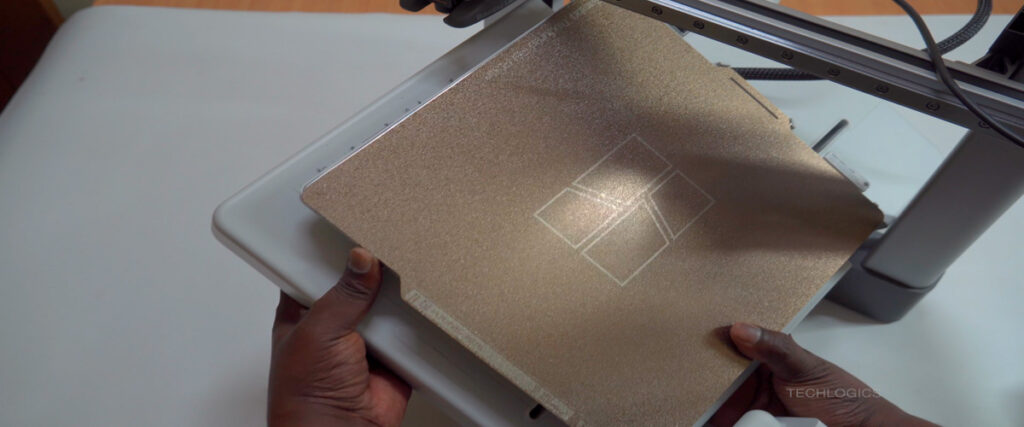
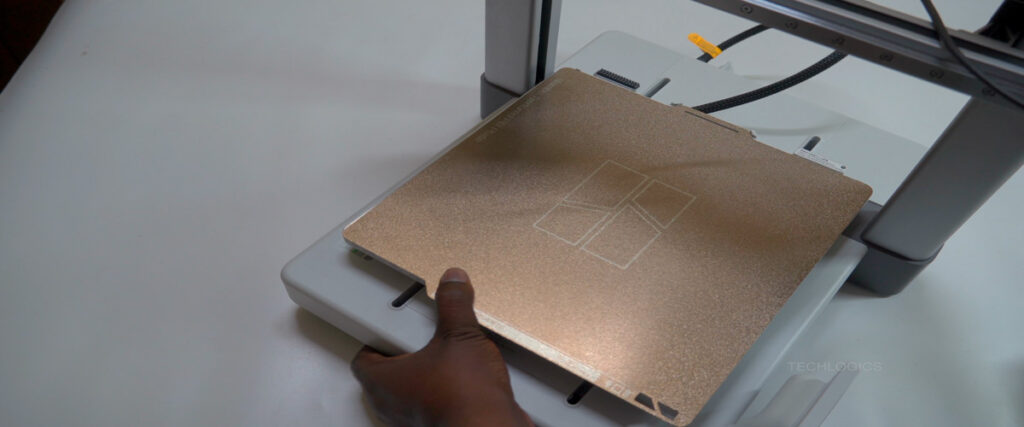
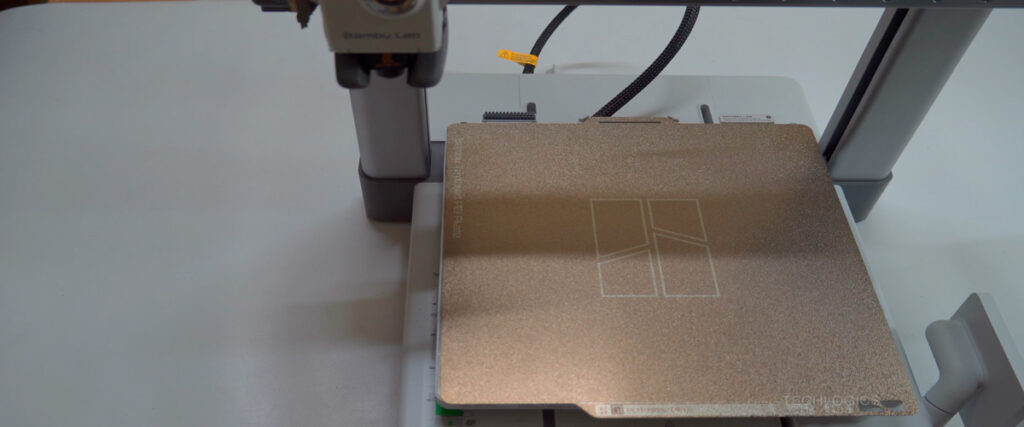
- Magnetic Heat Bed: A 256 x 256 mm magnetic heat bed with a textured PEI-coated spring steel build plate. This delivers rock-solid adhesion for PLA, PETG, TPU, and more, heating up to 60°C in under 2 minutes.
- Spool Holder: A lightweight, top-mounted system designed for smooth unwinding of standard 1kg spools.

Accessory Tray (Keep This Handy!)
The neatly organized tray contains everything you need for setup and maintenance:
- Power cable, quick start guide, and logo stickers.
- Tools: H2.0 and H1.5 Allen keys, Bambu scraper blade, and an unclogging pin tool.
- Assemblies: Purge wiper assembly and heatbed nozzle wiper.
- Maintenance: Lubricant grease, filament oil, and supportive footpads.
- Hardware: BT2.6×8, M3×12, and ST3×23 screws.
- Other: 600 mm PTFE tube and a sample roll of Bambu PLA Basic filament.
💡 Pro-Tip: The printer’s build plate uses a nozzle probe and lidar for 25-point auto bed leveling and real-time flow calibration, ensuring a low-maintenance, beginner-friendly experience right out of the box.

🛠️ Step-by-Step Assembly
The assembly is quick, focusing on joining the pre-assembled frame and base.
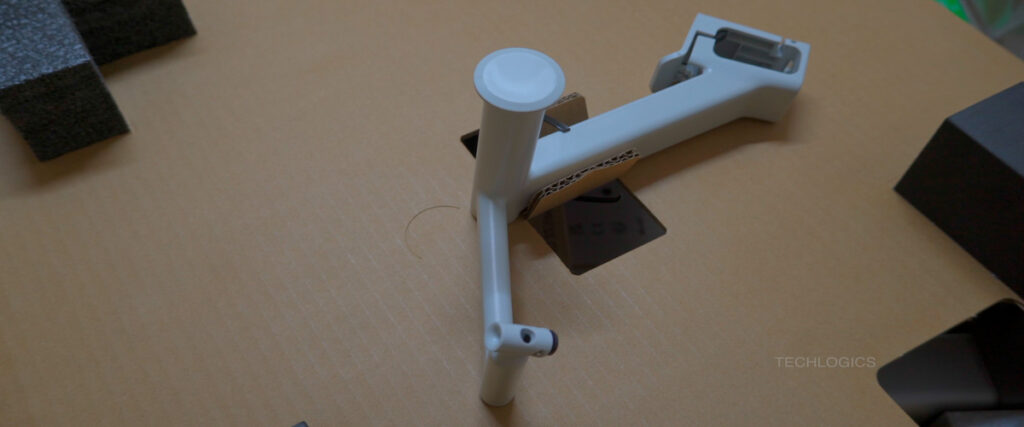
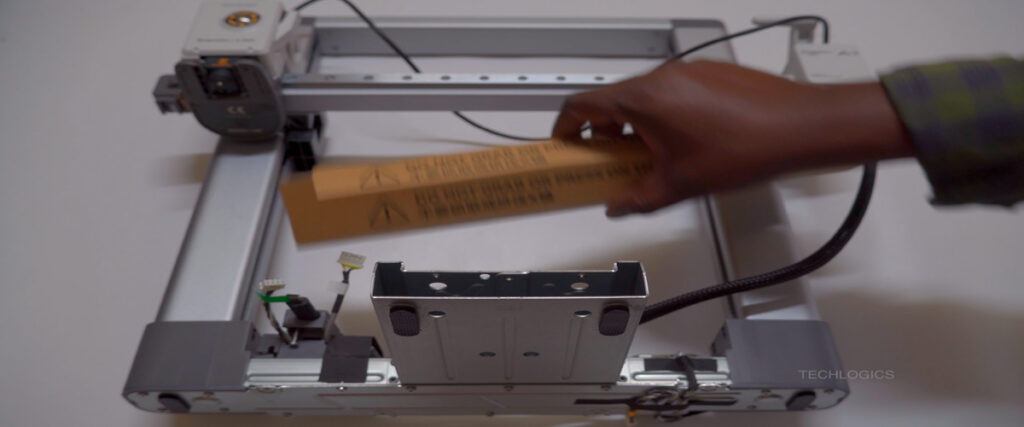
1. Freeing the Components
- Remove Spool Holder: Carefully snip the zip tie holding the spool holder to the cardboard and set it aside.
- Lift the Frame: Gently lift the printer frame straight up and out of the protective foam.
- Access the Base: Carefully lift the entire foam insert to access the A1 base housing beneath it.
- Remove Shipping Protection: Now or later, snip the zip ties securing the frame and heat bed assembly.
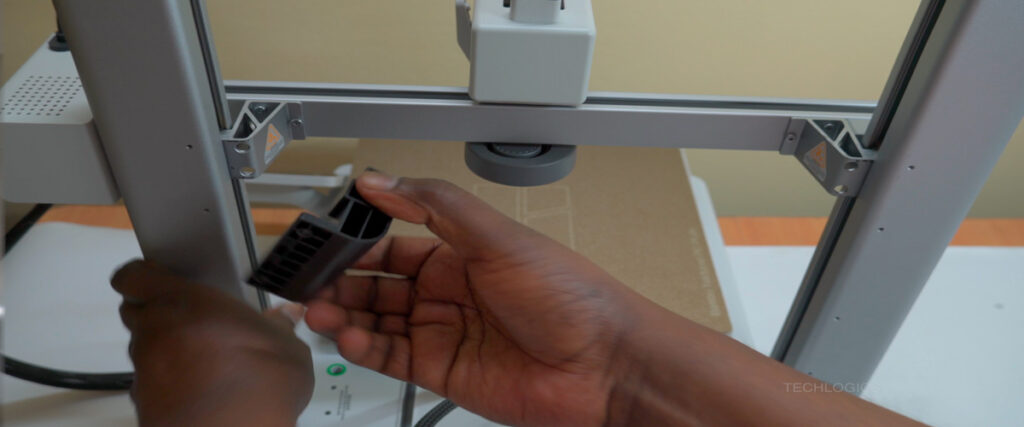
2. Removing the Z-Axis Limiters (Critical for Assembly)
The A1 frame is shipped with two small Z-axis limiter brackets (one on each vertical rail) to prevent movement. These must be removed before seating the frame into the base.
- Use the H1.5 Allen key to unscrew and gently remove the limiter switch and bracket from both the left and right vertical rails.
- Note: These are for packaging only. You can safely discard them.

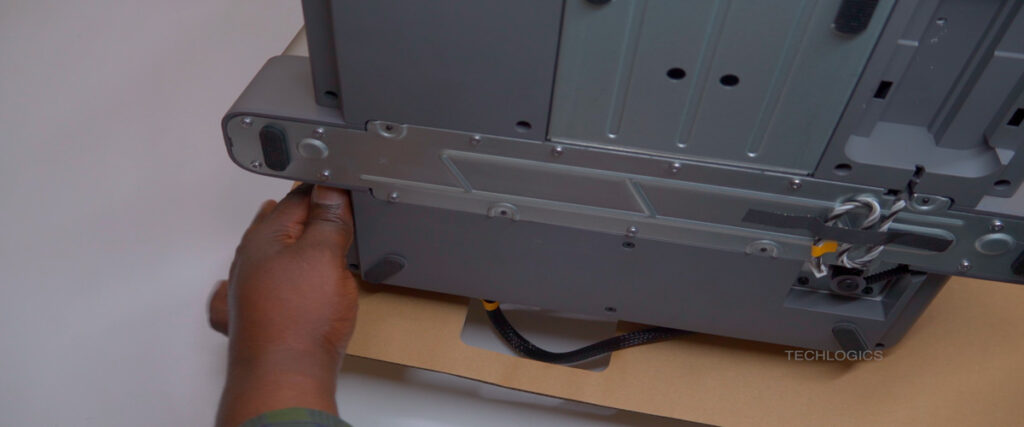
3. Joining the Frame and Base
- Position: Place the printer frame flat on a stable surface with the gantry facing up.
- Angle the Base: Tilt the base housing to about 45 degrees and carefully slide it under the gantry from the front. Avoid forcing it!
- Align and Seat: Align the side slots on the base with the vertical Z-rails of the frame. Lower it slowly until it drops completely in, locking into a perfect, level fit.

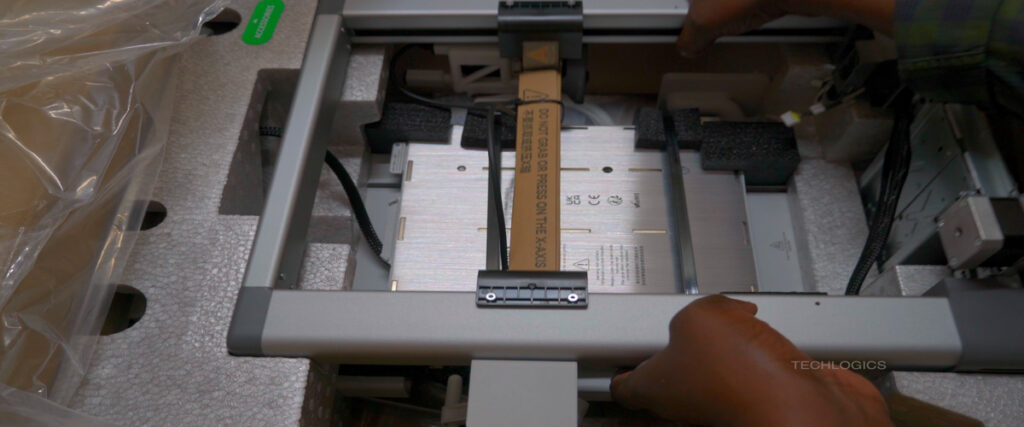
4. Securing the Frame (12 Screws)
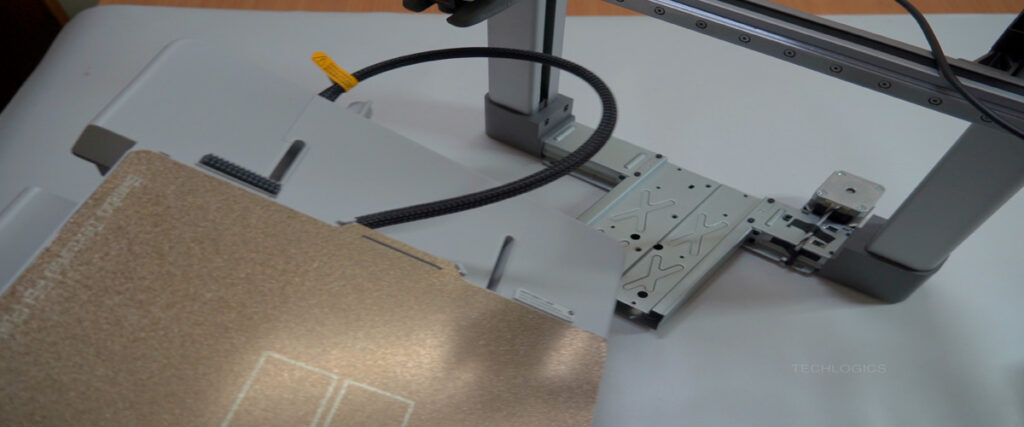
- Push the Bed: Push the heatbed fully forward (to the front) for access.
- Remove Y-Axis Cover: Gently pry open the long plastic Y-axis cover at the back of the base and set it aside.
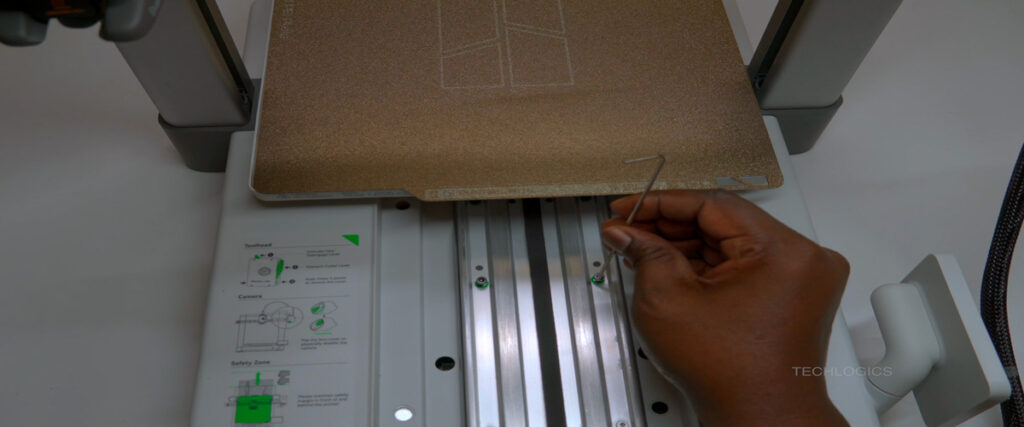
- Install Rear Screws (10x): Use the H2.0 Allen key and the ST3×23 screws to secure the frame. Insert the first 10 screws into the holes (Green labled) along the exposed top edge of the base. Tighten them snugly, alternating sides.
- Install Front Screws (2x): Push the heatbed fully back to reveal the final two screw holes near the front (Green labled). Insert and tighten the last two ST3×23 screws.
- Reinstall Cover: Snap the Y-axis cover back into place. The frame should now be completely rigid.
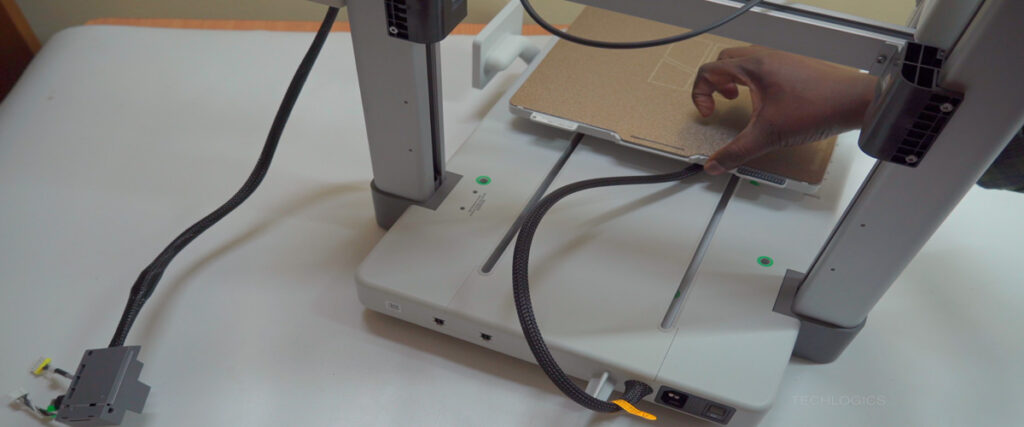


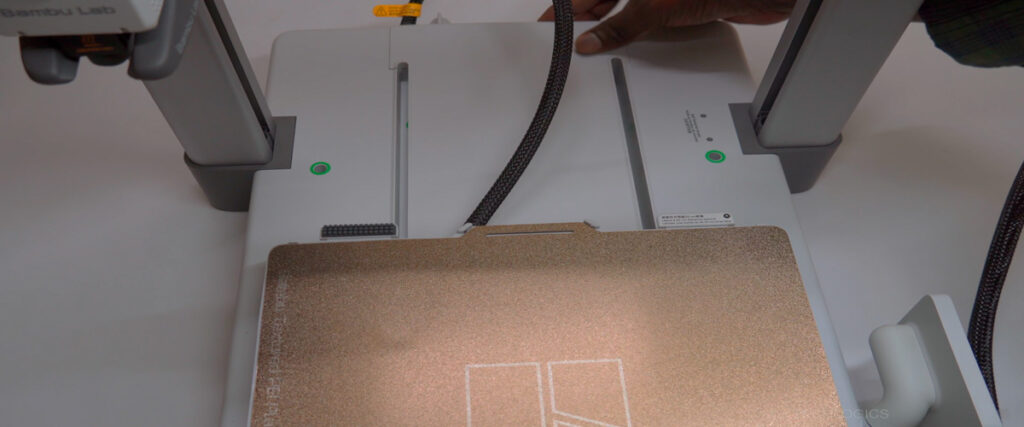
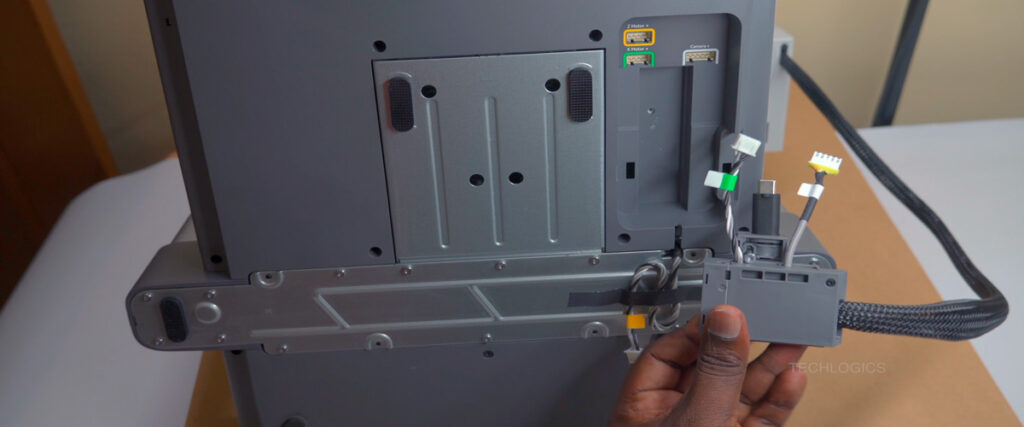
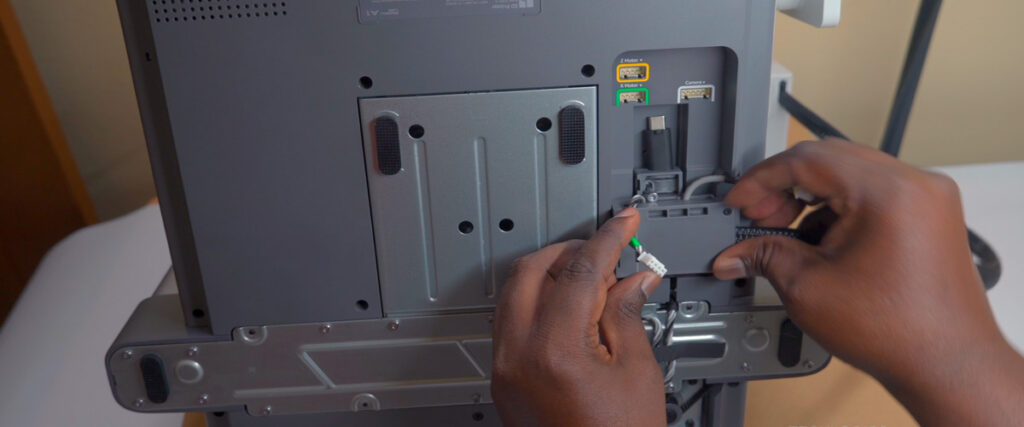
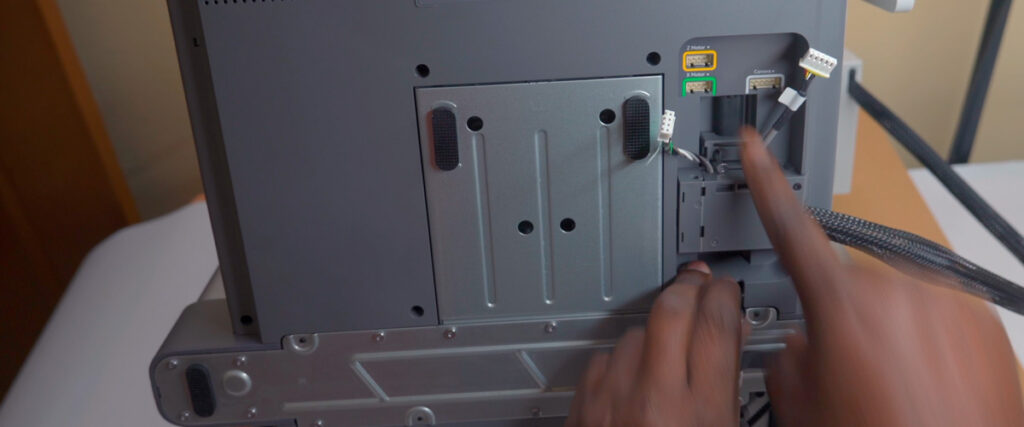
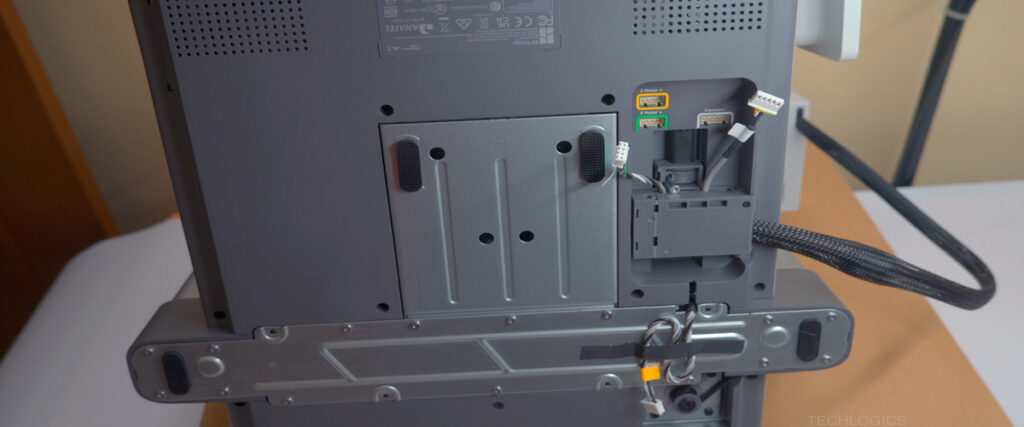
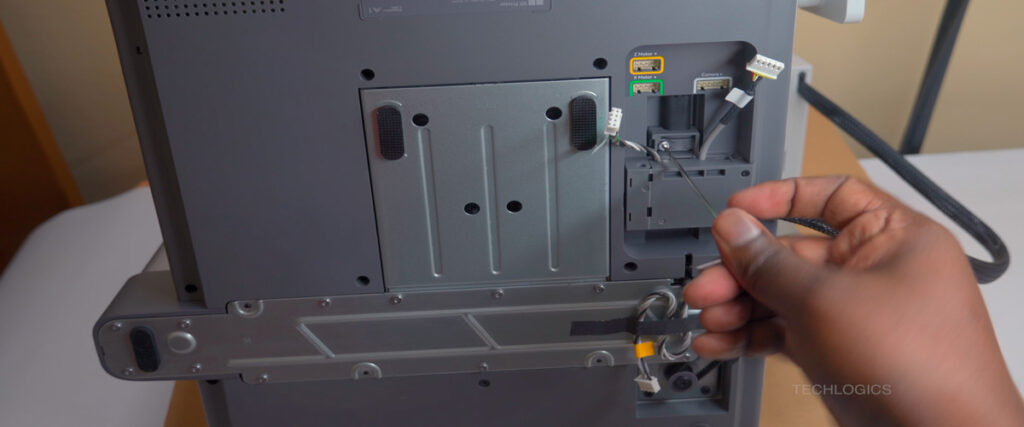
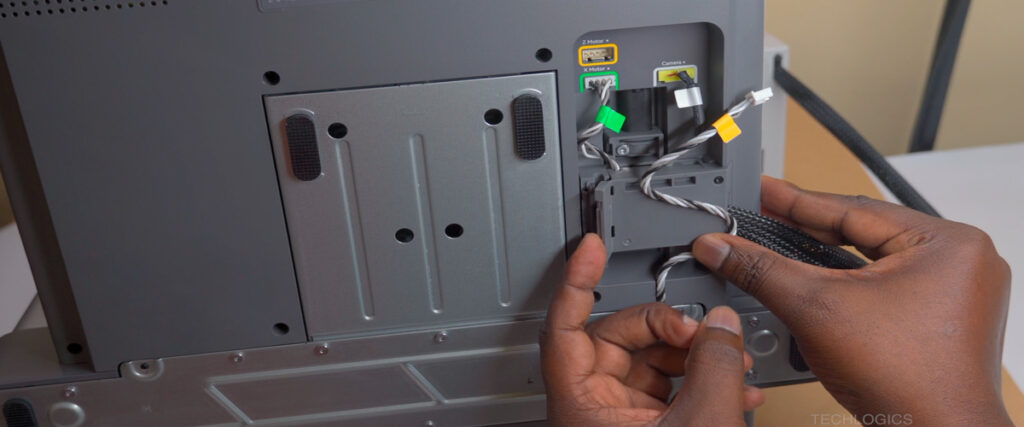
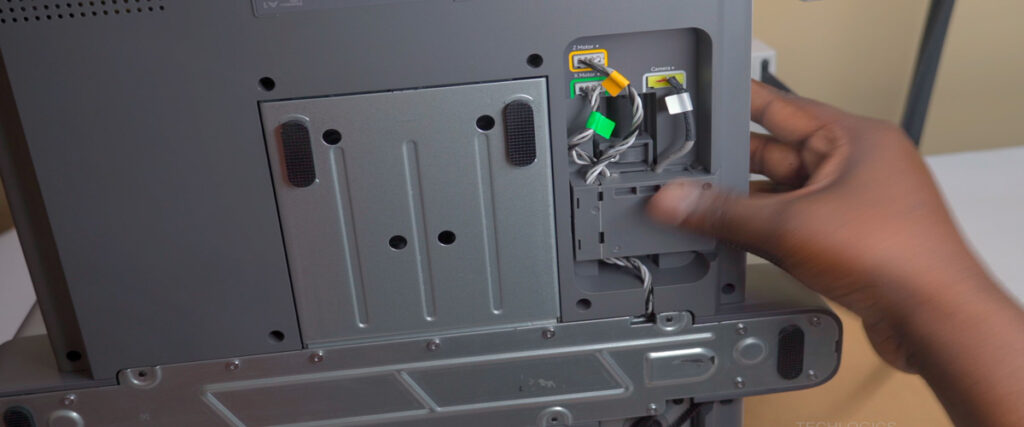
5. Connecting the Wiring Harnesses
- Elevate the Frame: Place the frame/base assembly on the original packaging cardboard to elevate it slightly, preventing strain on the rails.
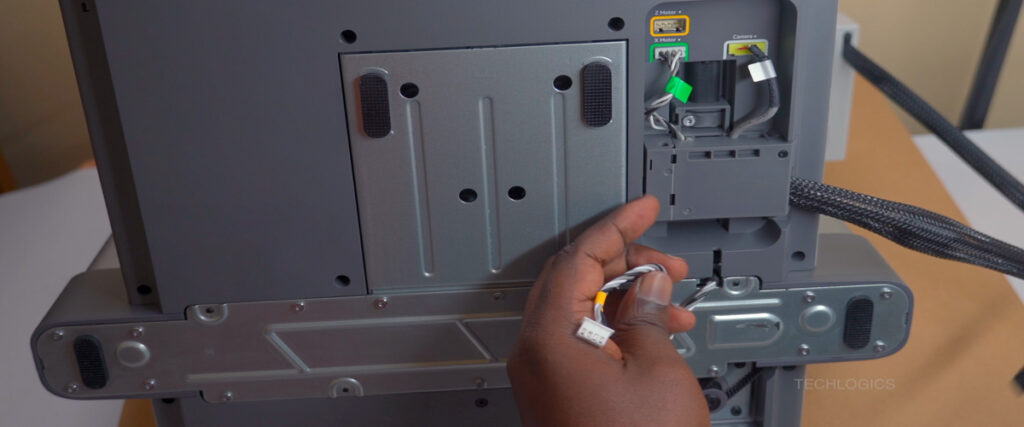
- Install Cable Junction Box: Gently insert the small cable junction box (with USB-C and white/green/yellow connectors) into the dedicated slot on the right side of the base. Push forward until the USB-C plug clicks insecurely, then lock it with the pre-installed screw.
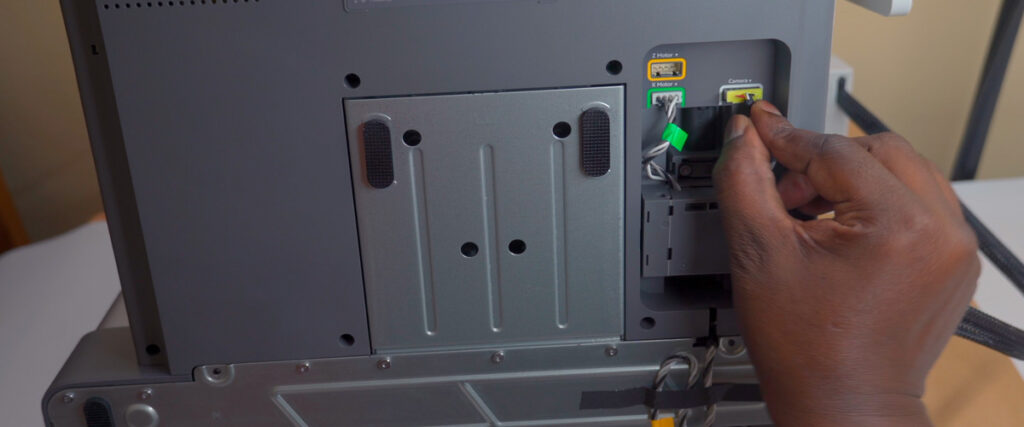
- Connect Wires: Match the color-coded connectors:
- Green wire → green labeled port
- White wire → white labeled port
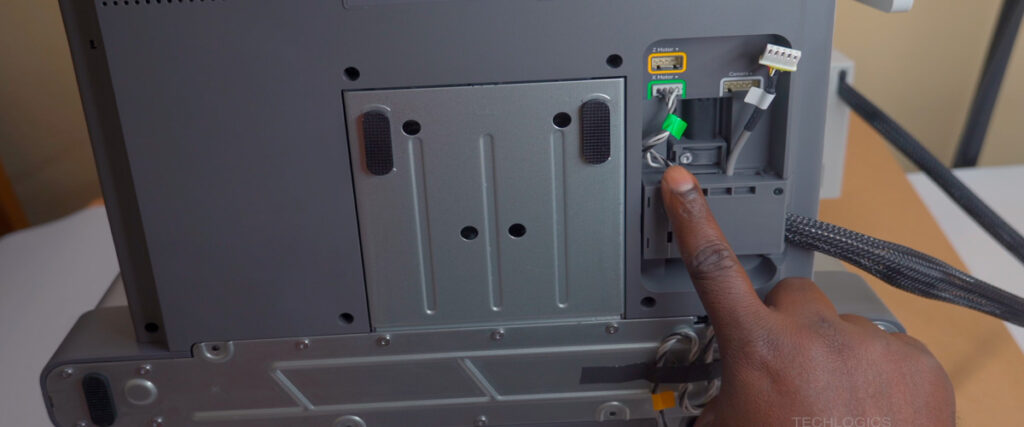
- Route and Connect Yellow Wire: Feed the yellow connector wire cleanly through the side cable tuck channel, and then connect it to the corresponding yellow-labeled port on the mainboard. Snap the tuck cap back on to secure the wire.

6. Installing Final Components
- Touchscreen: Gently fold out the 4.3-inch touchscreen from its shipping position and rotate it up until it locks into place at a comfortable viewing angle.
- Purge Wiper: Push the tool head to the middle of the X-axis rail. Slide the purge wiper unit into the slot at the far right end of the rail. Secure it with 1x M3×12 screw from below using the H2.0 Allen key.


🔌 First Power-On and Calibration
With the A1 assembled, it’s time to bring it to life!
1. Spool Holder and PTFE Tube Setup
- Mount Spool Holder: Open the rear clip on the spool holder and slide it onto the top rear beam of the printer frame until it clicks and locks.
- Connect PTFE Tube:
- Insert one end of the 600 mm PTFE tube firmly into the larger hole on the spool holder’s entry clip.
- Insert the other end straight into the filament inlet on the toolhead until it clicks and locks.
- Cable Management: Use a cable organizer clip to gently curve and secure the black data cable and the PTFE tube together, preventing kinking or snagging during printing.


2. Power and Clearance Check
- Insert the power cable into the rear-left port of the base and connect it to a grounded wall outlet.
- Clearance Check: Ensure you have at least 198 mm of space at the back and 90 mm at the front for safe operation.


3. Startup Wizard and Calibration (Due to the high volume of images and page load issues, the next detailed part of the post covering Wi-Fi setup, calibration, and the first 3D print will be available later)
- Power On: Toggle the power switch to ON.
- Initial Setup: Follow the on-screen prompts to select your language and connect to your 2.4 GHz WiFi network. Skip the Bambu Handy app binding for now.
- Start Calibration: Tap Start on the Calibration screen. The printer will run four essential tests:
- Bed Leveling
- Motor Noise Cancellation
- Vibration Compensation
- Auto Bed Leveling
- Wait: Do not interrupt the process. The printer will move, tap the bed, and tune itself. Once complete, a “Calibration Completed” message will appear.
- Lubrication: The screen may prompt you to lubricate the Y-axis rails. Apply a thin layer of grease now or choose “Later.”

⛵ First Print: The Legendary 3DBenchy
You’re ready for the ultimate test! The pre-sliced 3DBenchy file is built into the printer’s firmware.
1. Load Filament
- Mount Spool: Place the sample roll of Bambu PLA Basic onto the top-mounted holder with the filament unwinding clockwise.
- Prepare Tip: Cut the filament tip at a clean 45° angle.
- Feed: Gently push the cut end through the PTFE tube until you see it emerge at the toolhead inlet.
- Start Load Sequence: Tap the “Load” icon on the screen.
- Configure: When prompted, set: Manufacturer: Bambu Lab | Filament Type: PLA Basic | Color: White. Tap “OK.”
- Final Feed: The nozzle preheats. If the screen says “Check nozzle,” gently push the filament firmly until you feel the extruder gear grab it. Once the printer purges a clean line, the message changes to “Load completed.” Tap “Done.”
2. Start the Print
- Return to the main menu and go to Print > Sample Projects > 3DBenchy.
- Hit Start.
3. First Layer Flawless
- The printer heats the nozzle to 200°C and the bed to 60°C.
- The tool head purges a thick line of waste filament onto the purge wiper, confirming a clean nozzle.
- The lidar sensor performs a quick flow check.
- A single-line skirt is printed to fine-tune adhesion and flow.
- The 500 mm/s print speed kicks in, building the Benchy hull with silent, smooth motion thanks to the CoreXY system and vibration compensation.
After about 20 minutes, the print will complete. Wait a couple of minutes for the bed to cool, then give the magnetic build plate a gentle flex—the 3DBenchy should pop off clean and flawless!
Your Bambu Lab A1 is officially print-ready. Congratulations! 🎉


